In this section I will break down and describe in detail of all the effects I made and the process I used to make them.
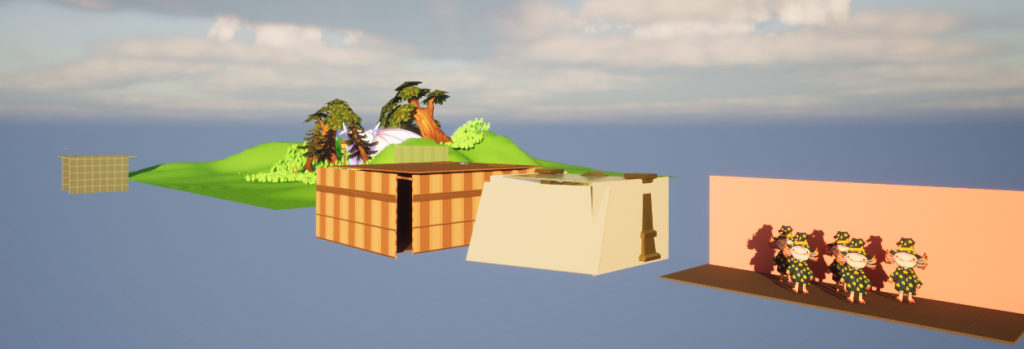
In unreal I set up little areas for each shot, filling them with items from the unreal market place.
For the effects themselves, I list them in order of appearance in the video but not necessarily in order of how I made them.
Sparkles & first shot
These sparkles appear at the start and through other scenes as well, they were very simple:
I drew multiple stars and sparkle shapes


And then applied them to materials.
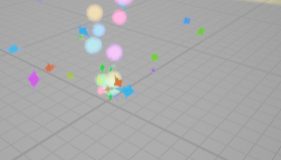
I then created multiple effects based on the confetti emitter and changed the material to the stars, I adjusted the size of the stars as they were way too small at the start. I then turned off the gravity so they wouldn’t droop and made the time they existed for shorter so it would be snappier.
I then repeated that for each different star, this process didn’t need much adjusting and was very straight forward.
I created this set up:
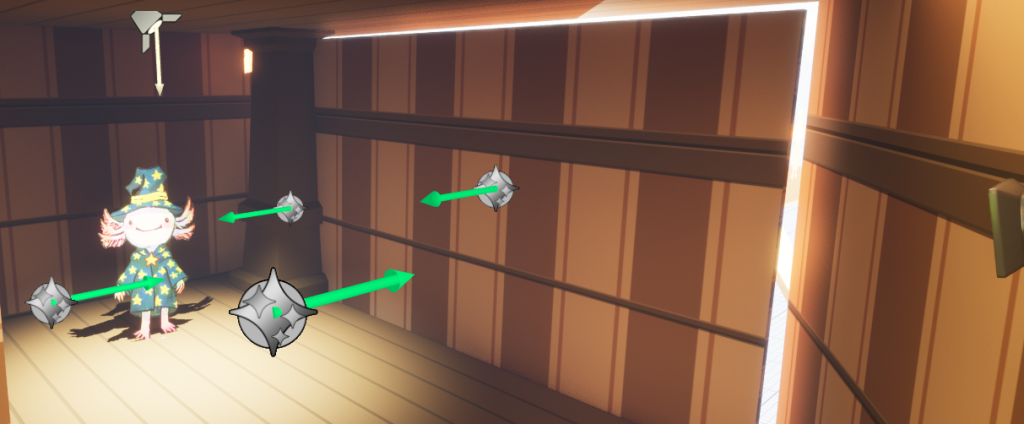
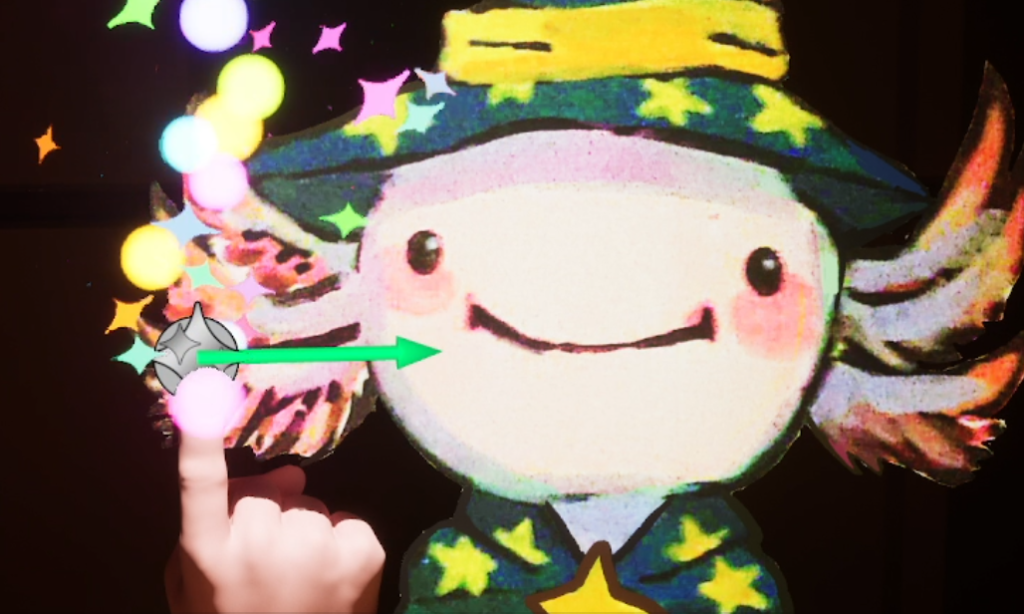
I placed 4 of these effect emitters in the scene and I set them to go off as the camera zooms in.
I listened and watched the animatic again for time codes of the original song and worked out the beats I wanted to match the effect with which ended up being about 0.4 seconds apart. I made them go off in turn on that time, so each one would go off 2-3 times.
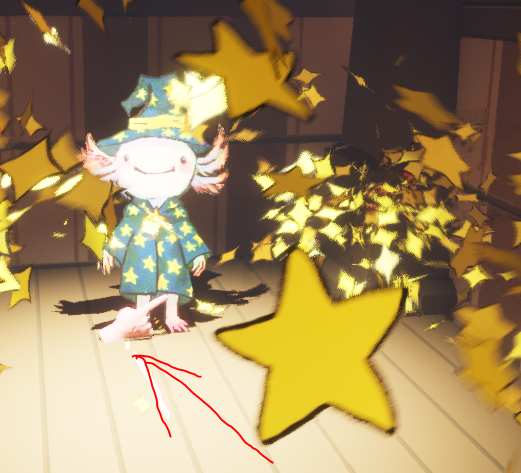
I also had the pointing hand asset animated to appear up through the floor as the sequence goes. I did this so the hand is not visible in the wide shot but it is in the zoomed in portrait shot.
I made it’s material pink to match Archibold the wizard’s skin tone.
The animation itself is supposed to be a bit janky to add to to the humour of the song and the vibe I intended.
Wine into Tea.
I don’t have record of this apart from trauma (I did this effect a lot later than the others)… But despite my ambition I don’t get along the best with unreal…. I struggle so much with all the different terms and weird buttons and I could not deal with Liquid sims. So I faked it! Or tried my best to…

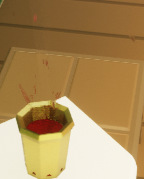
I couldn’t find an empty goblet or wineglass in the asset packs I downloaded so I just used a coffee cup and turned it gold. So it is totally wizard appropriate now! I then got a cylinder and made it red and put it inside to represent the wine.

To show the pouring I added a plane and animated it on a path going into the ‘goblet’.
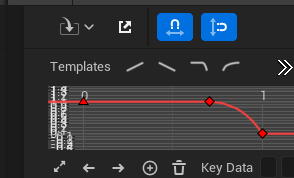
To make the colour changing I followed this tutorial:

I created this material with nodes, setting the wine at 0 and the tea at 1 with the change in the colour being controlled and timed by the sequencer
And to make things more realistic:
I created a splash using a Directional burst Niagra component that was triggered when the plane/spilling liquid hit the surface., with a tear drop texture I made.
Then finally:
Steam to show the tea is warm which was created using a fountain system.
I tinkered more with it putting the realistic steam on the texture, made the size bigger, the velocity and spawn rate a lot lower. Hence some nice steam for the tea. Wine into Tea complete.
Hand shots (Magic, Dust & tears)
I am writing about these and keeping them in the same section together as there were very simple and also consecutively made after one another.
Narratively it is just Archibold trying to gain sympathy and showing off his skills.
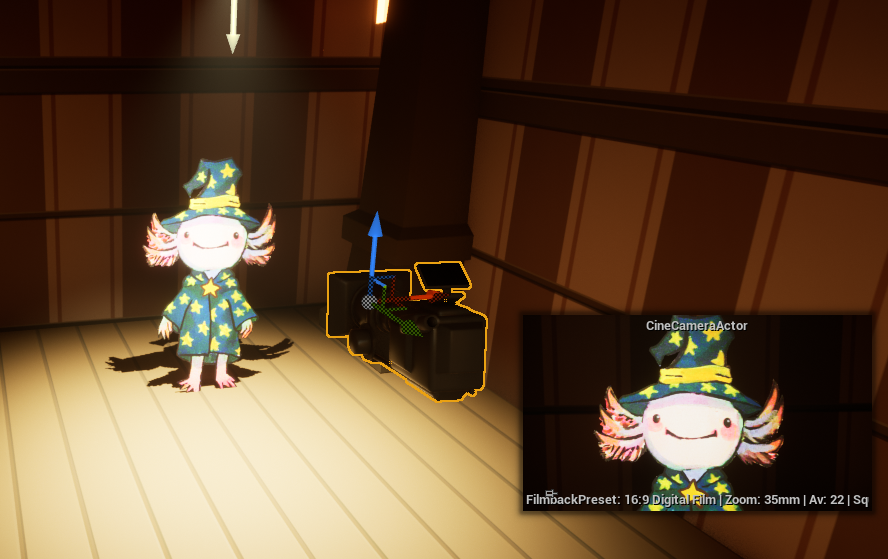
I set up the camera facing Archibold’s little cute face and set the aperture so he’d be in focus.
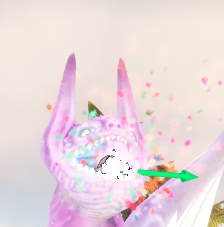
For the little magic spurt, I used two fountain modifiers stacked onto each other.
One with my custom sparkle shape and the other with basic circles.
I made them rainbow coloured and made the sparkles go out at a higher radius but lower velocity to make the circles look like the main stream and the sparkles a magical accent.
I positioned that on the pointing finger as I couldn’t find a hand holding staff item and decided to do this instead of spending time making one when this gets the same message across.
Next its the shot correlating to the line “But magic’s not cheap”
I first created a tear shape which will also be used in later scenes and put it in into unreal as a material.
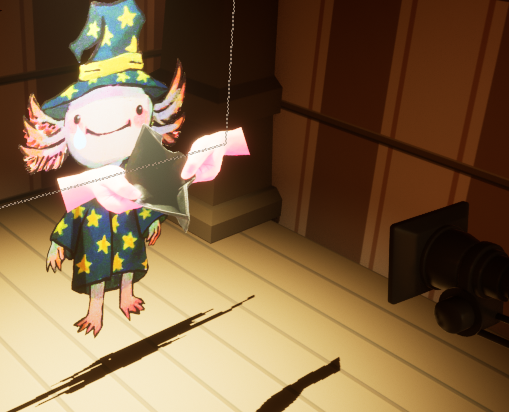
Using the hands holding the empty wallet I made in the first blog post, I repositioned things like this for this shot.

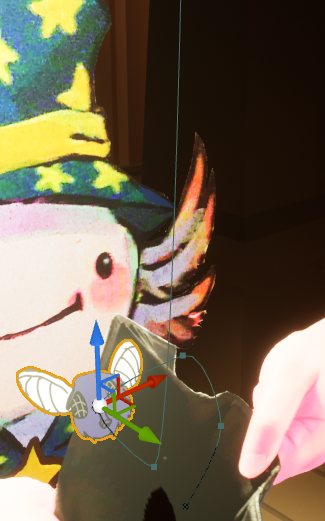
I then drew a fly and animated him on a path coming out the of wallet to show how empty it is. And thus how desperate Archibold is for money.
Now for the final shot in this collection.
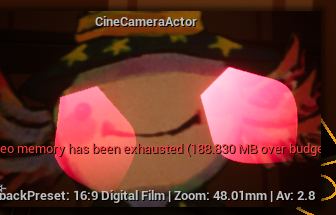
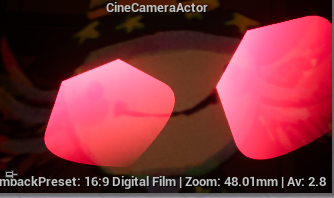
To start with I made a fountain system.
I took the tears shape I made with a small hue range in blue and turquoise.

I then positioned two of them by his eyes and put the thumbs up hand in front. I think it turned out pretty good.
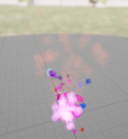
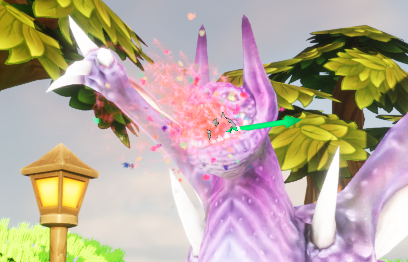
Dragon fire
So this will be big, scary, magical fire being produced by a scary purple dragon, with the implication that Archibold the wizard can fend off a scary dragon and thus you should hire him.
First I used a fountain emitter with the basic flame pattern on it.
Originally I was going to have it be blue to match the dragon’s mouth, but the blue didn’t really show up.

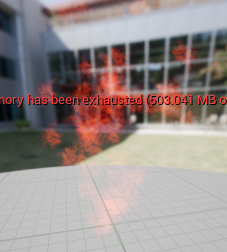
So I changed it to pink.
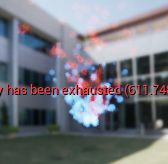
I wanted more oomph to the flame so I added a second fountain emitter.
I changed it to blue to match the inside of the dragon’s mouth.
I then made adjustments, making the cone angle higher and the velocity lower so it wouldn’t go as high as the flames and more intense at the base.
To make it more my own, I made a custom material using a little flame shaped texture I drew:
I then applied it to the magic texture and played around with colour variation.

Next to add the glowy bit at the base I created a third and final fountain.
I wanted this to look like the source of the fire.
After putting the flame in the scene I realsied the fire needed to be a bit more intense.
I changed the shape to ‘fire Splat’ from the unreal starters and got this 🙂
I think it came out quite well.
I then upped the lifetime of the magic to make it more visible again.
This time it looked a good amount of intense
Haunted bidet (Ghosts & fog)
The first thing I made was the atmospheric fog!
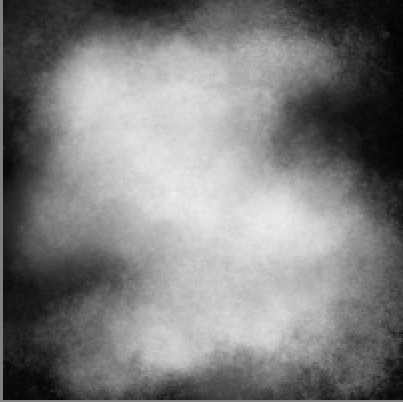
I started by using textured brushes in Krita to make a fun smokey cloud shape..
And it didn’t work! it didn’t like the semi-transparency, for some reason??
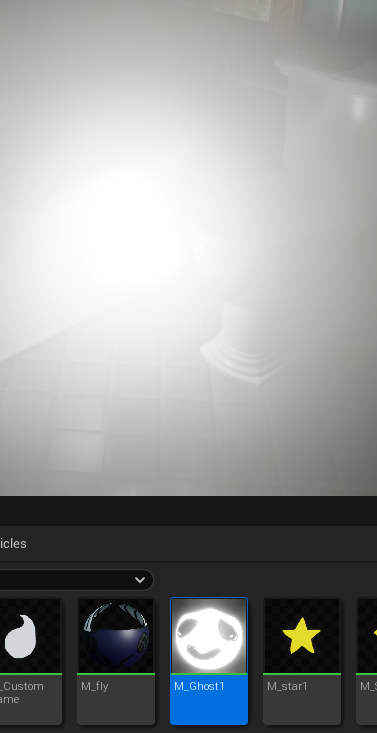
I moved onto just dealing with the ghosts and seeing if it was fine with an absence of mist.
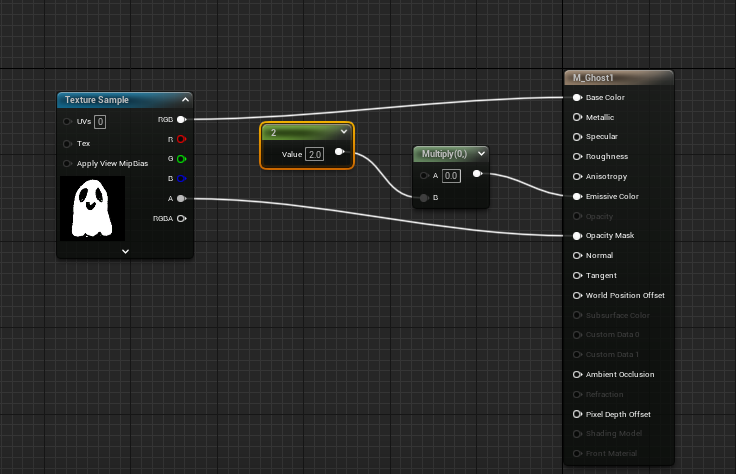
I set up the ghost to be glowy.
But because of the spot light I already placed it didn’t show up much. So I moved the spotlight…
And he still didn’t show up!
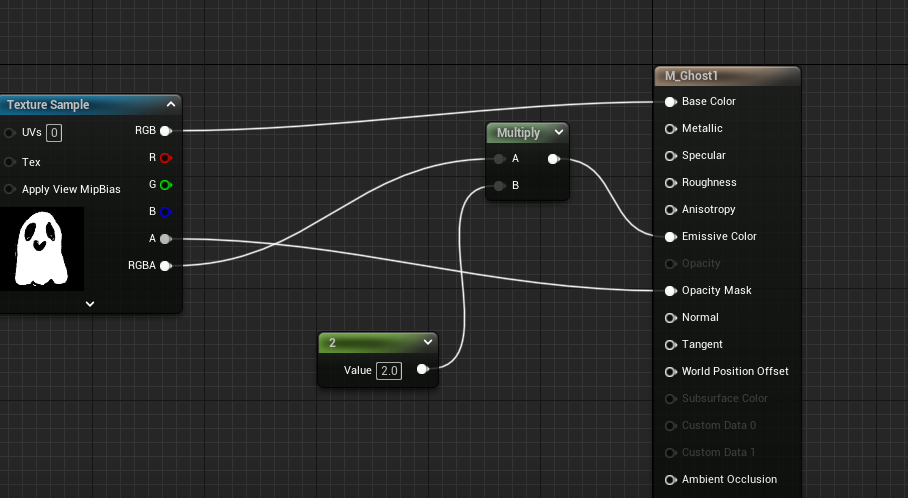
When I made just the value in Emissive colour too high you couldn’t see his little ghost face. So I connected the image texture sample to the emissive colour through multiply and it fixed it.
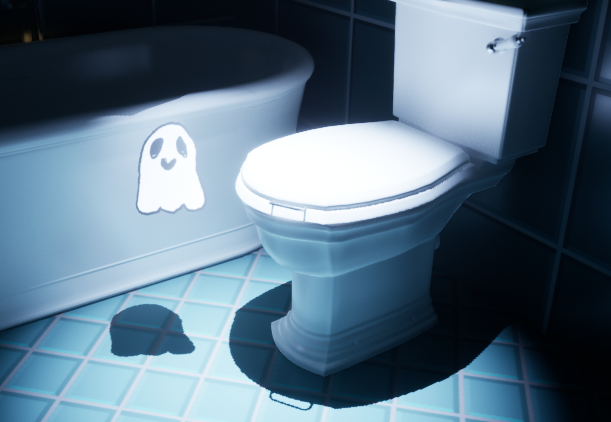
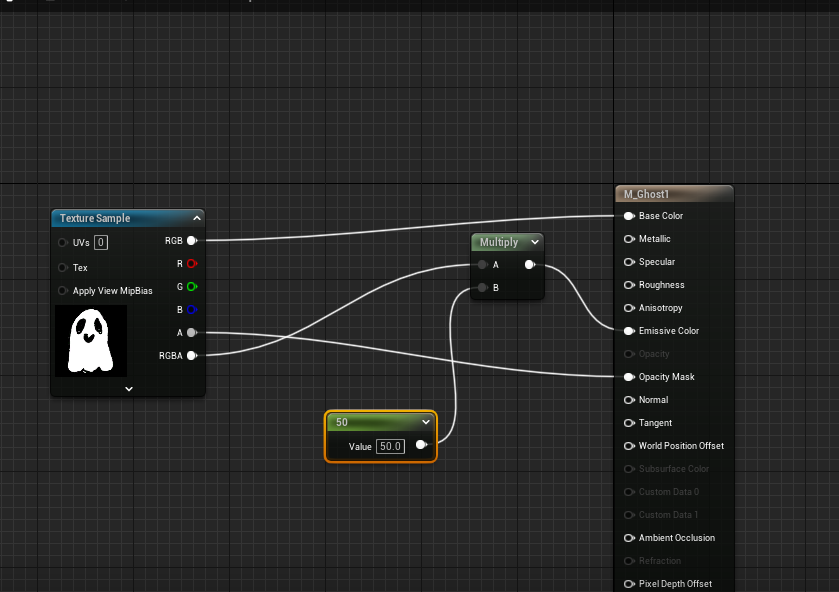
He was still very bright…
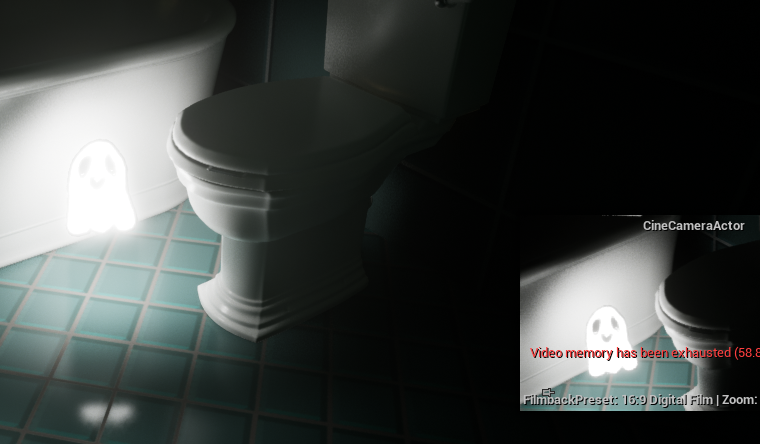
So I adjusted it more and turned the brightness down till I had something that I liked and repeated the same material effect on the other 2 ghosts.
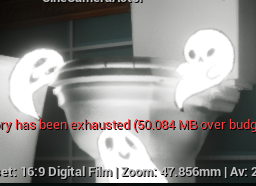
I added the other ghosts in. I decided with just the ghosts alone it was spooky and cute enough, so I changed the camera angle and forget about the mist idea.
Magic with a Price
This scene goes with the lyrics:
“When it comes to magic you get what you pay”
I am making these in reverse order of their apperance.
The idea is it starts with exciting magic before showing a price tag that decreases and the magic gets worse.
My plan was to start with the ‘worst magic’ effect and then make it progressively better.

I start with a Dynamic beam and a dynamic burst niagra component and to make them more pathetic I did the following:
– lowered the life time
– I kept gravity on the burst.
– I made the beam short and fat
– made the velocity low.
I had to mess around a lot to make sure it wasn’t so sad it was invisible.. But I eventually got something Pathetic but visible enough.

Next was the medium priced beam. To make this better I made these changes:
– Turned off gravity on the burst
– Made the beam wider and taller
– made the burst bigger
-Upped the lifetime on everything
Time for the big boy:
- I added a confetti burst with zero gravity
- I made the beam longer
- I upped the life time
Coin drop
This section is Archibold’s dreams of the riches this advert will make him.
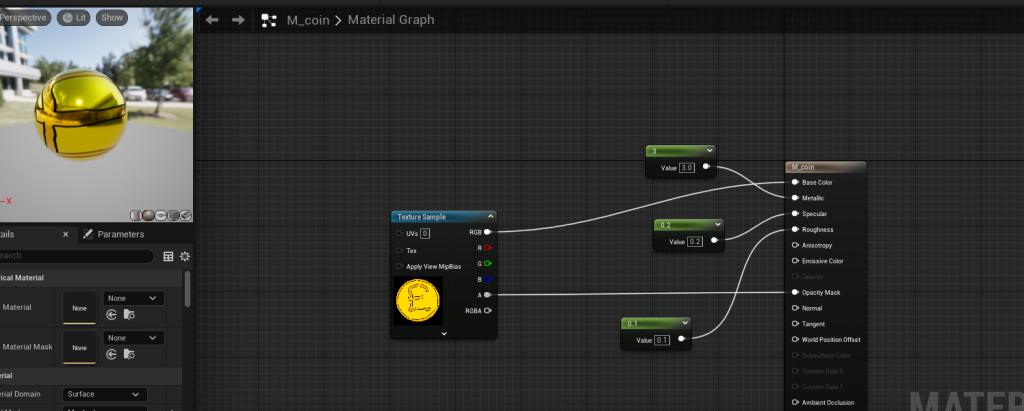
To start with I made a very shiny coin texture using a coin I drew for this project in Krita.
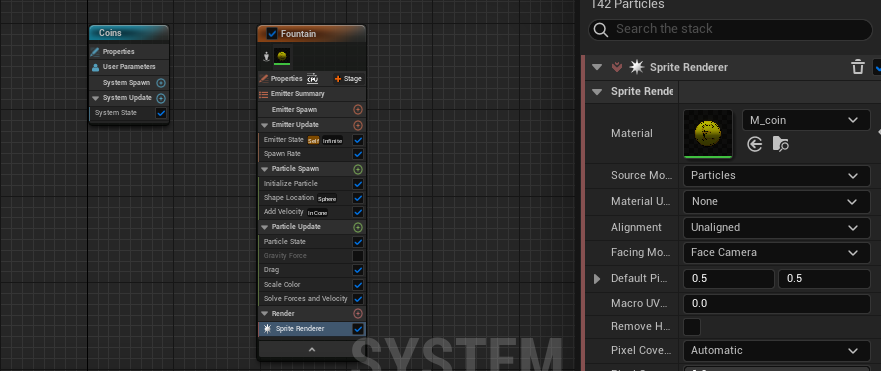
I then applied the coin material to the Fountain emitter, which I also turned the gravity off of.
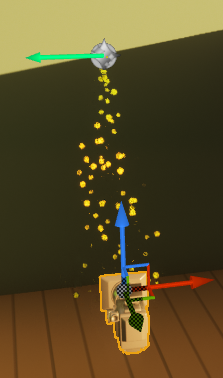
I put a fountain upside down against a plain background for the effect of falling coins.
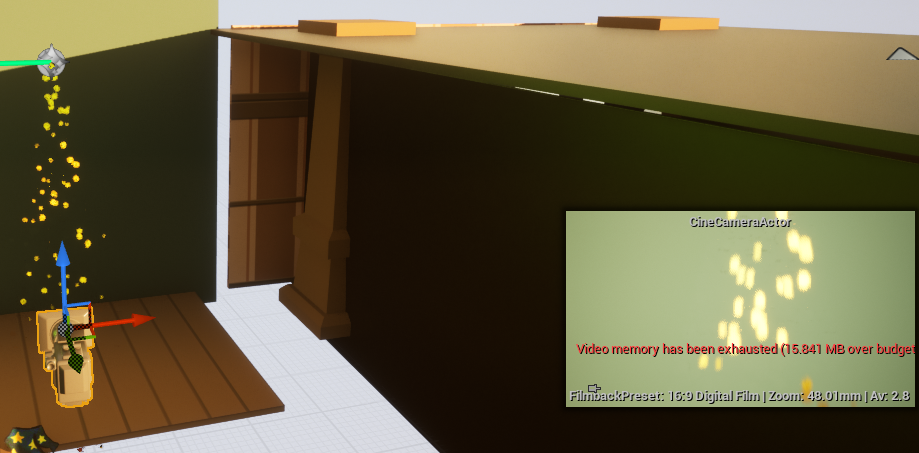
Unfortunately it was wayyy too fast for the camera to focus on.
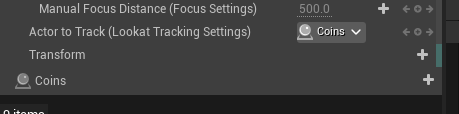
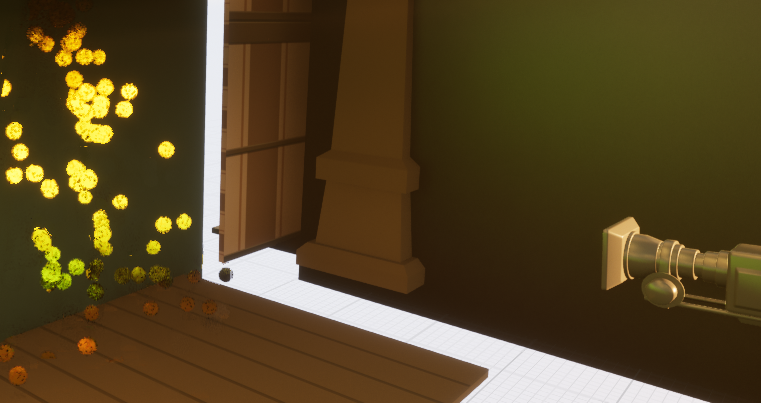
I managed to lower the speed and make the coins bigger, as Well as setting the camera to focus on the coins which improved it quite a bit. Not perfect but I tried..
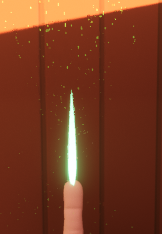
Laser Beams
One of the main ‘menacing but cute’ shots of this project, which was used as a transition shot.
It was quite simple:
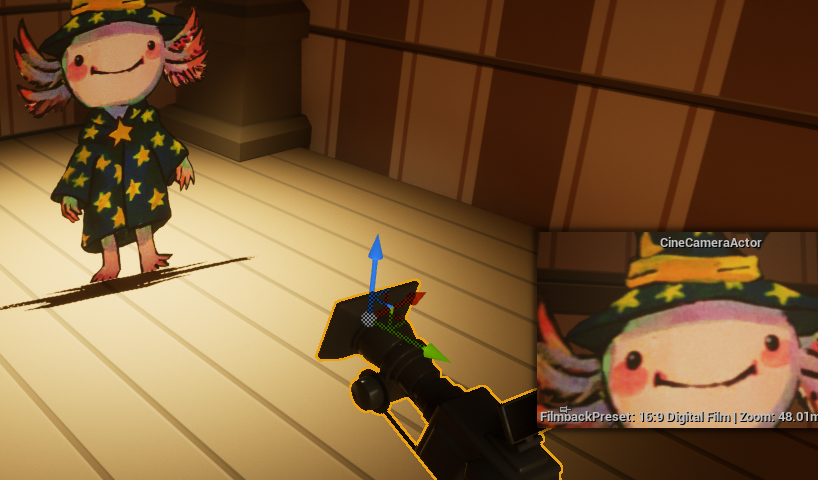
I aimed the camera at his little face.
Then I made a Beam effect. Easy Peasy.
I changed it to red and used the beam width menu to change the shape
I then messed around tillI was happy.
Hypnotism
This was taken from the storyboard, and was something I thought was kind of smart!
It was made using animation not Niagra.
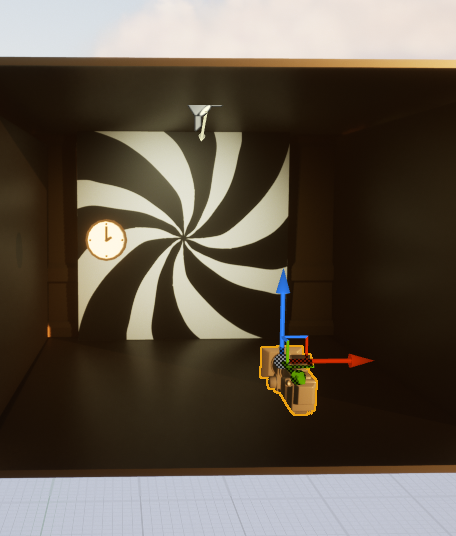
I turned one of the other filming scenes I was finished with into the spot for this.
I turned the walls to black and put a swirl I drew earlier onto the back wall. I also got a clock from an asset pack.

Despite many efforts it kept changing direction at random. I kind of just gave up because no matter how hard I tried to make sure it went the same way it still went the other way. and my disabled limbs could not cope with key framing each and every frame.
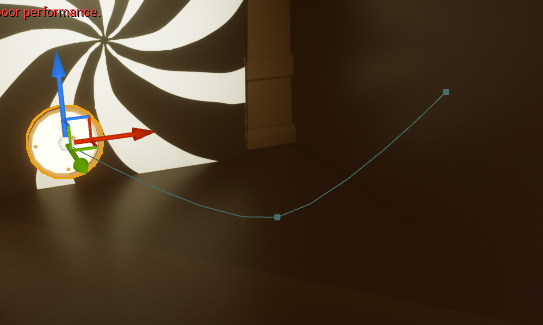
I set up the clock on a very simple curved path in the way of the camera.
Luckily with the clock swinging the swirling changing direction was a lot less irritating.
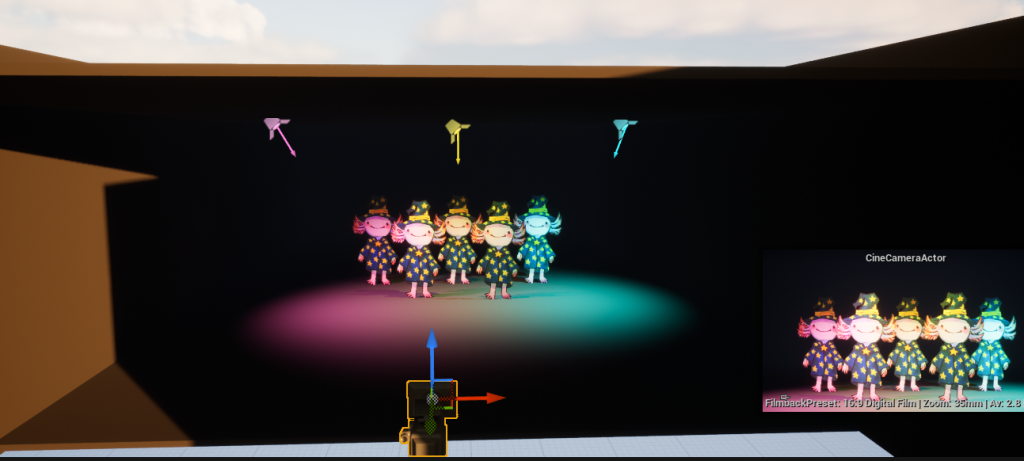
Royalty shots (Sparkles)
To make the sparkles I simply got a hanging emitter.
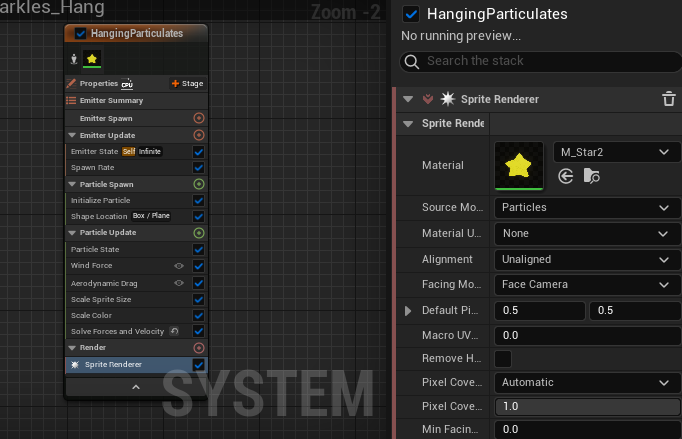
Then I changed the material to my custom star material.
I noticed the stars were small…
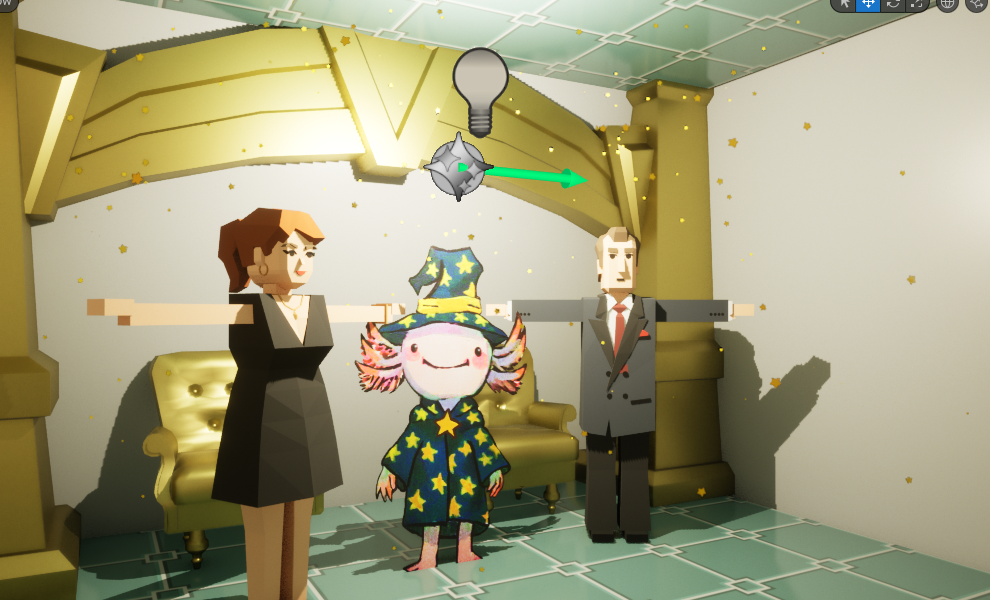
so I made them bigger to make them more visible and I thought that looked good in the scene.
To cover the Royalty ‘young & old’ I had to go slightly off story board:
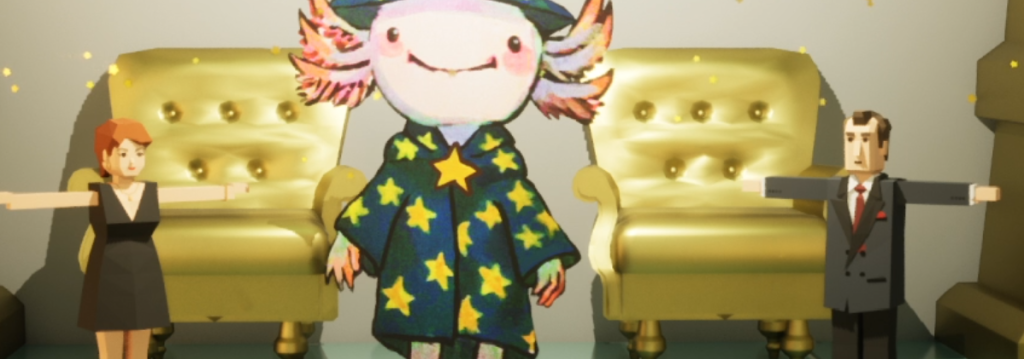
I couldn’t find a baby in the asset packs I downloaded so I simply shrunk the first royal couple.
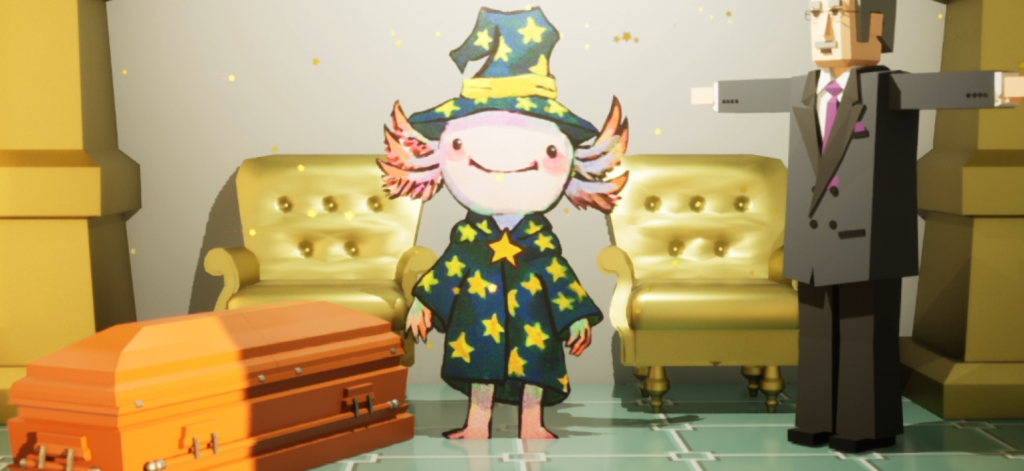
I couldn’t find an old woman, so I simply used an old man and a casket, and decided it was ‘dark humour’ (take that liberals)
Oops I made him god?
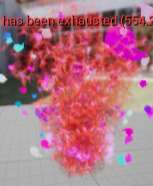
So between the storyboard and the animatic, on the line “shut bud, I need money” the general idea for this shot is intimidation. Archibold has exhausted every other option; showing competence, trying to garner sympathy, showing his resume of previous clients. So in a contrasting shot before the hilarious end shot he’s showing some aggression.
I had several plans for this until I noticed a ‘mistake’.
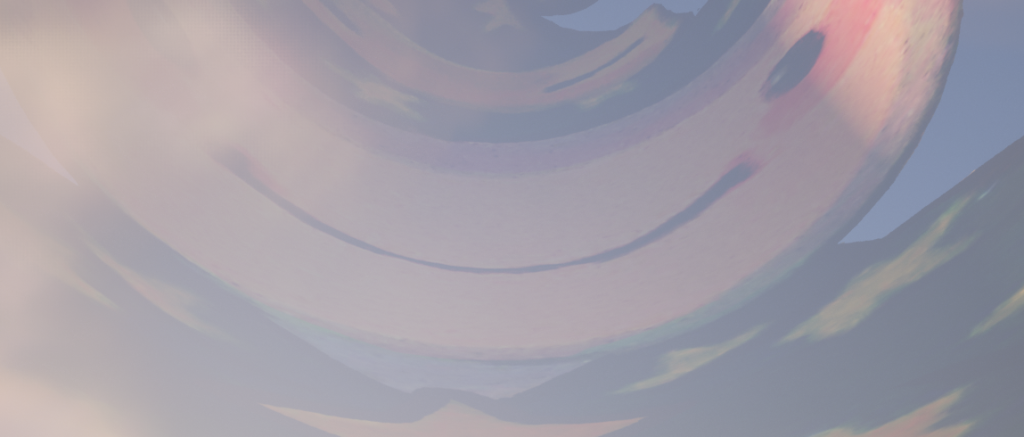
At some point I set the skybox texture to Archibold.. By accident!
But it was so hilarious I decided to include sky-god Archibold in this shot.
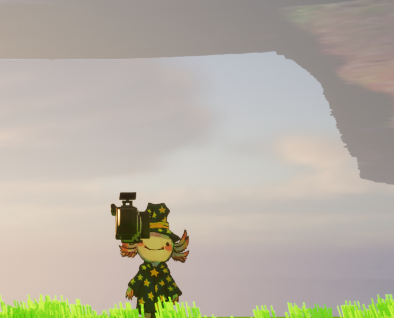
Sort of ‘don’t speak to me or my son ever again type energy.
I positioned Archibold at the edge of the lawn where the dragon scene was, and simply panned the camera up from normal archibold to the sky god while also zooming out.

Final shot
Originally I made an open box but I edited the area to better suit the needs of the scene:
I made it longer so the sun light wouldn’t interfere and also so that there was not a splash on the backwall from the spotlights I placed.
Because everything was going to be chaotic and colourful I decided to make the walls and floor just a matte black so it was easier to see the chaos.
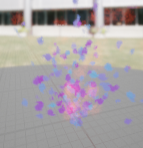
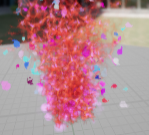
To make the first effect, some colourful magic stuff. I started with a fountain emitter.
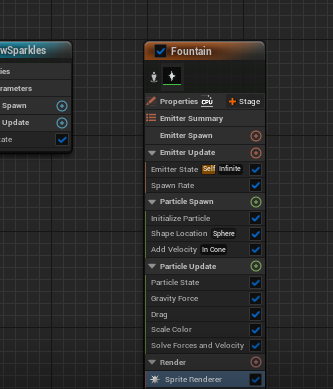

The reason it’s white now is I set up the colour to match what ever the particle effect says it has to be.
Speaking of colour:
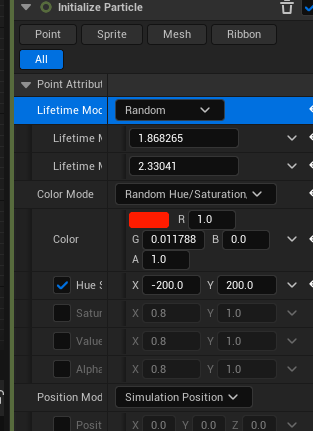
It took me a bit to long to work out how the colour range worked but I eventually got to a point that it was colourful enough!
I then upped the Velocity and mass to make it a bit more intense.
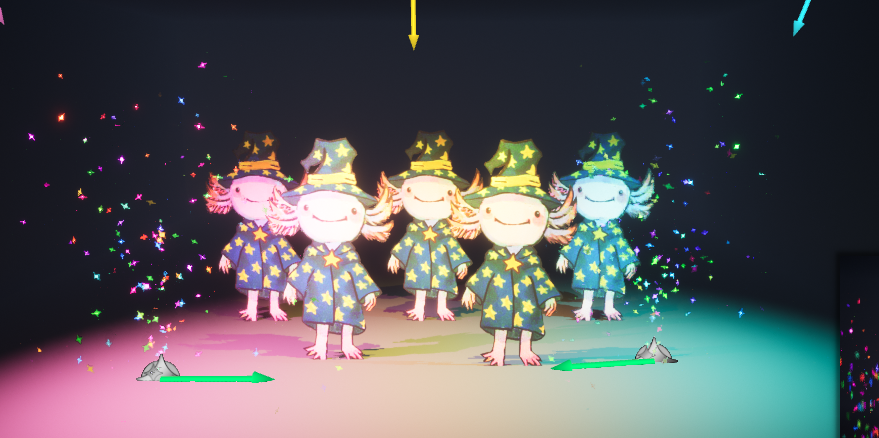
I added two of the raindow magic emitters into the scene, I liked how they looked but thought it needed more.
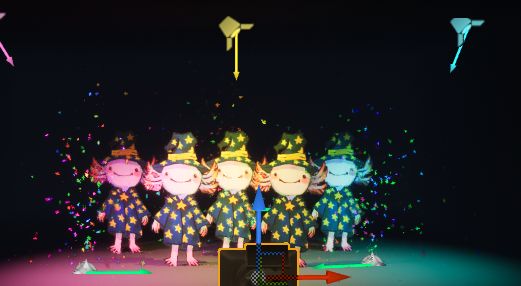
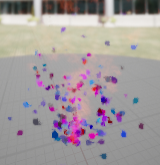
So I added a third.
That was a good amount from the bottom. but I wanted more.
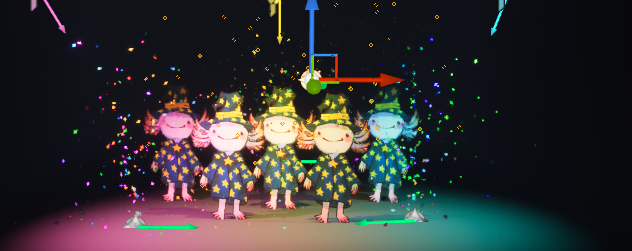
I got the sparkle effect from the royal shots and added it to on top of that
From there I added some animations..
Which didn’t go to plan but I decided it was funny and extra chaotic so it was fine!
Leave a Reply