To start off with, I manipulated one photo to see how much I could adjust the mood and tone of the picture.
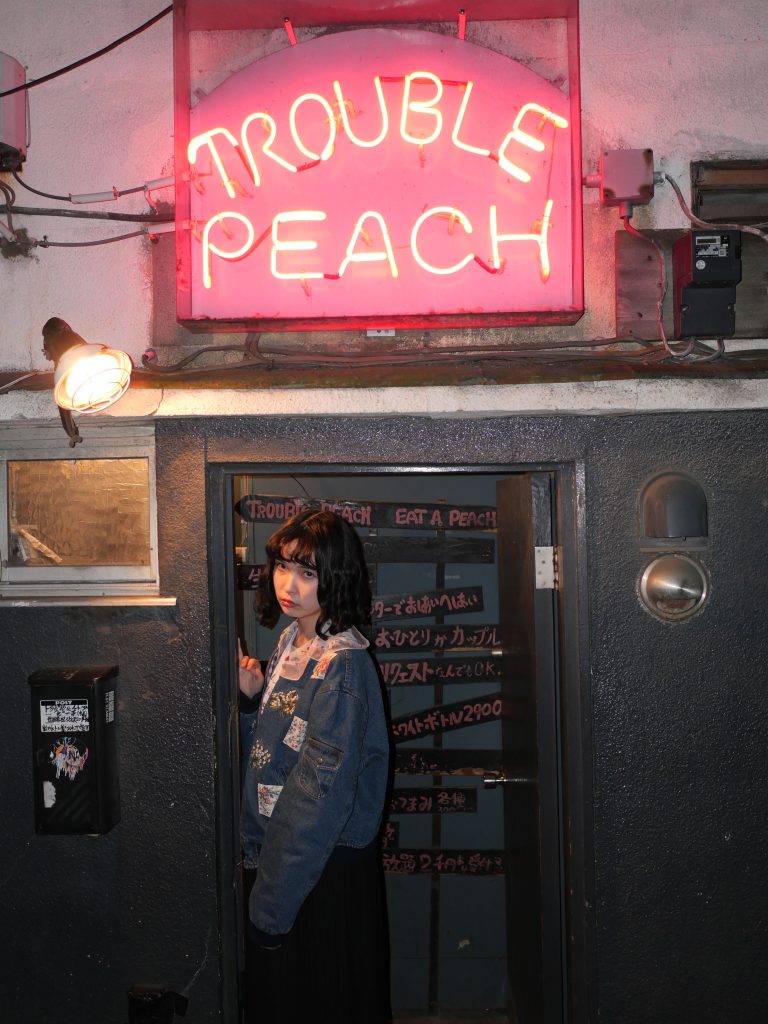
I started with this picture I got from Pexels taken by Tianwang Xiao. I thought it had the potential, as it matches many different moods. There are several focus points you could use. I decided to do three manipulations trying to achieve different effects. I have been illustrating digitally for six years, so I have gotten used to layer modes by now and have knowledge of using them, so I will be using my knowledge to try and take this image in three very different directions.
Manipulation 1
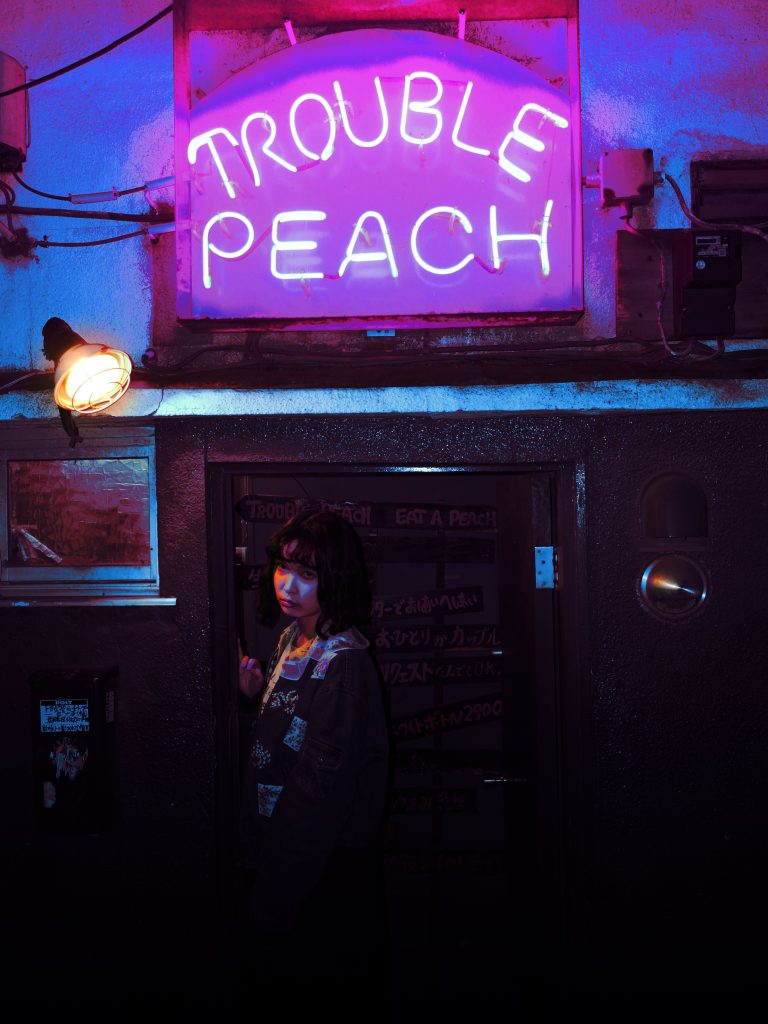
For this first photo manipulation, I tried to go with a moodier, and Cyberpunk look, I wanted to concentrate on changing the colours from warm tones like red and yellows to cool tones like blues and purples, as you’d see in many cyberpunk artworks. To create this I:
– Created a new layer over the top and filled it with Black, set it to “Overlay” and set that layer to 67%. This made the contrast stronger, but I lowered the opacity so it wasn’t too harsh.
– Next, I duplicated the original photo, then used the “colour balance” filter to turn everything to more blues and purples, Then I moved that layer to 80% opacity to make things less harsh. I then erased some of it by the round lamp and her face, to stop it from seeming monotone.
– I then used the gradient tool to add an extremely dark blue gradient at the bottom, and then I set it to “multiply” to make the bottom of the picture darker so the viewer wouldn’t focus on it.
– I then used the gradient tool on another new layer, this time in a Lilac colour, and set that to “Overlay” to brighten the top of the image by the Neon sign, to make it more noticeable; by making the colours more saturated and lighter.
Manipulation 2
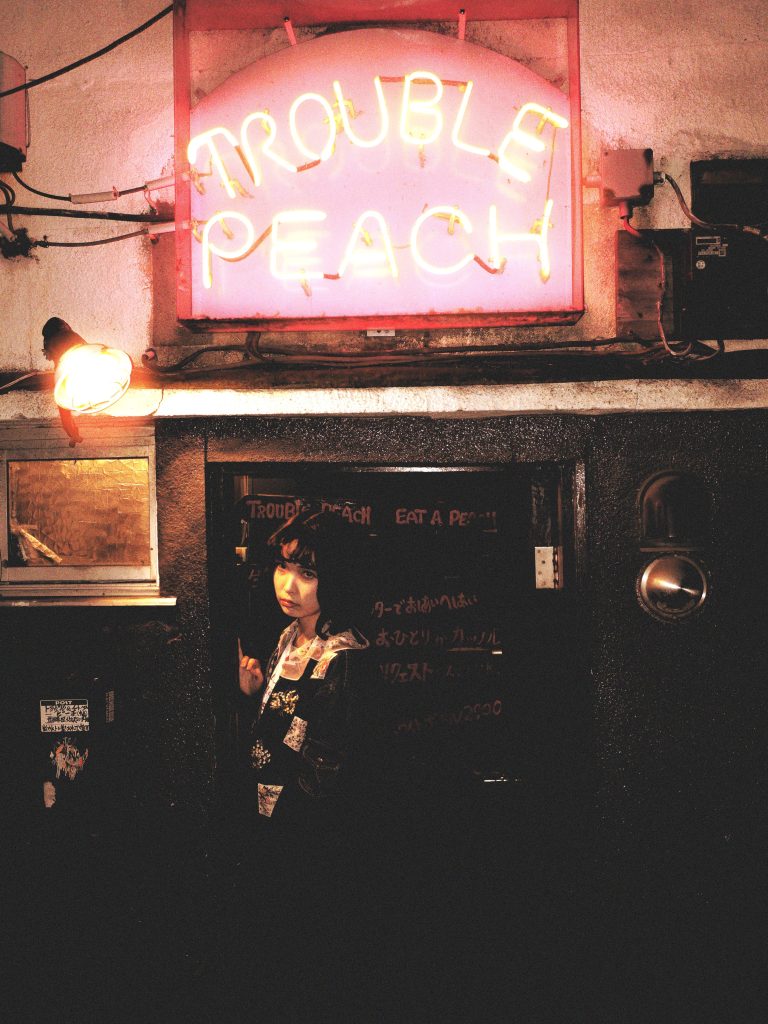
This time I aimed to make it look like a vintage photograph, genuinely older, If you look at vintage photographs they are often grainy and have light bleeding in them, So I wanted to add this effect to the image. To start off with I used a cross-channel adjustment curve, on lightness, to make the lights and darks stronger, to give the more ‘low quality’ effect of older photos.
– I then added a layer filled in with light brown and set that to overlay on 70% to heighten the contrast and also make it look faded.
– Then, on a third layer, I used an airbrush in a warm orange colour, brushed over the lights, and set it to “screen” to make it warmer and create a light bleeding effect.
– I then created two more layers, the first filled with beige, and the second with white, I used the “create random noise” option on both. Set the beige noise layer to overlay to add to the ageing effect, and the white noise layer to Screen, to lower the contrast so it looked less high quality, then lower the opacity to 20% on both.
Manipulation 3
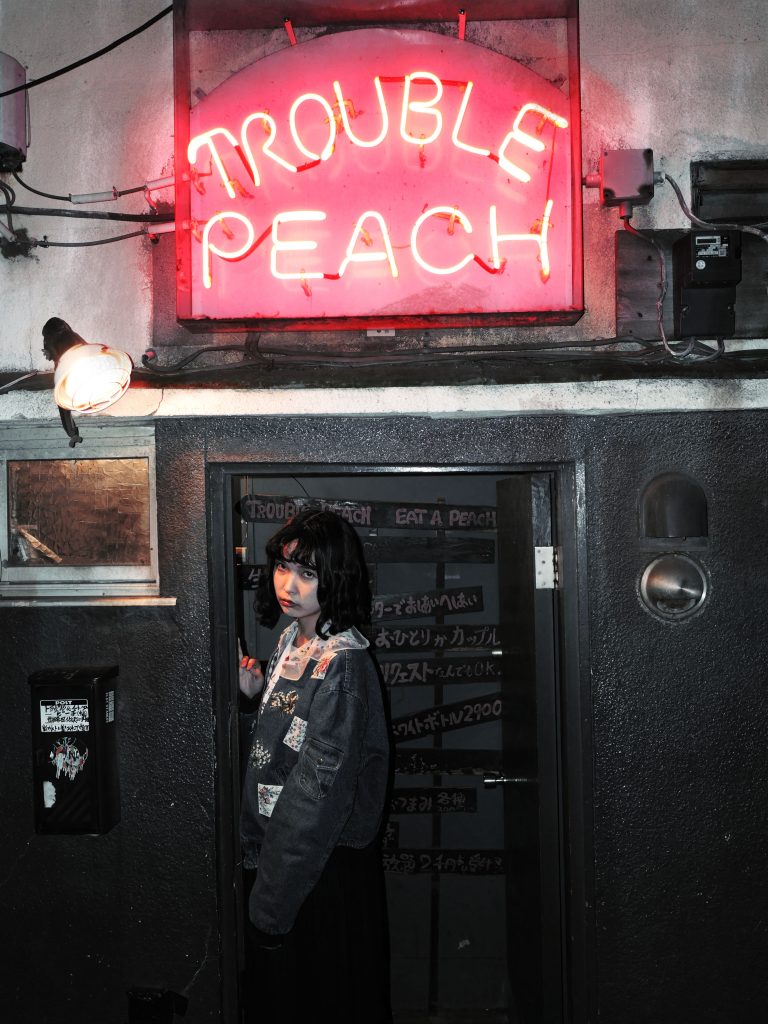
This last image I deiced to try and make it look moody ala dark drama stories. I also wanted to bring more focus to the sign at the top of the image.
– First I duplicated the photo layer and used the ‘Desaturate Filter’ on ‘Min’ mode, set to overlay, this changes the contrast as well as desaturating.
– I created a new layer on top, filled it with a brown colour, and set it to Lighten at 52% to add to the griminess.
– Orange, divide, 23%, Divide changes it to the opposite colour, so blue, added a coldness to the image.
– On a new layer I used a rough chalky brush in brown and made lots of scratches at the top of the image, I set the layer to Multiply at 50%
– On the final layer, I used the airbrush tool in red over the text on the sign, then set it to ‘Overlay.’ I did this to add more of a focal point to the image and draw the viewer’s attention there.
I decided to base my photo-bashing piece on a personal game concept. In this game concept, a villain makes monsters from strange things. So I decided to use my pet cat, Beetle, as the ‘monster’.
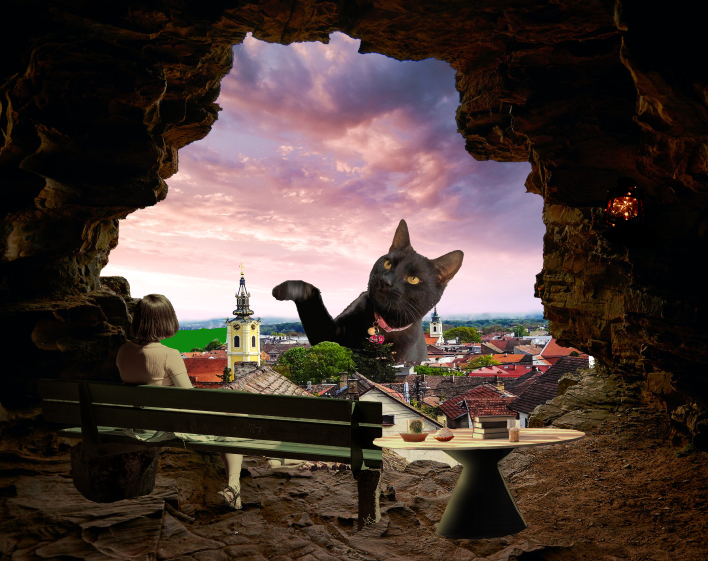
The above picture is when I added all the photos and did a quick colour match, bringing it to warm colour tones. I was focusing on it appearing like the villainous witch character was watching from a more homely cave while their Cat monster attacked the city.
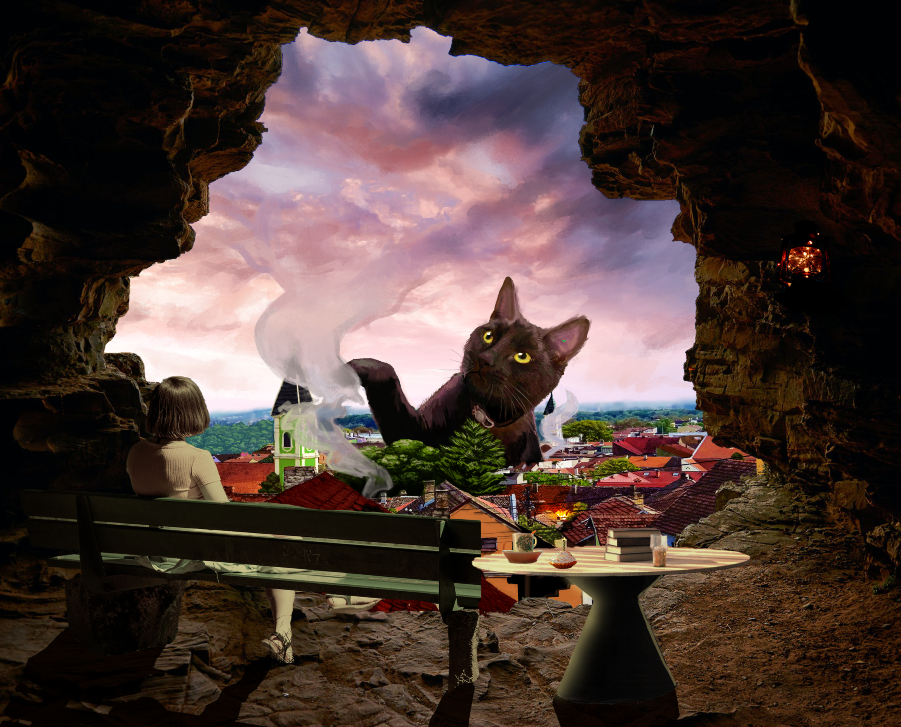
Next, I concentrated on the city. First, I used various layer modes, such as multiply and overlay, to add more colour by creating more variety to the roof colours and the sides of the buildings. I also used mainly warm colours to make the city look like it was very friendly and inviting pre-monster invasion. Next, I concentrated on rendering the giant cat monster. This involved adjusting the lighting to make it match everything else, above and behind, then adding a pinkish tinge to match the sky. I also made the cat’s pupils bigger to make him look more like he was playfully hunting. Finally, I added some destruction by adding holes in buildings, fires, and smoke. I created the smoke by using the airbrush on a layer at about 60% opacity and then lining it with a paintbrush tool.
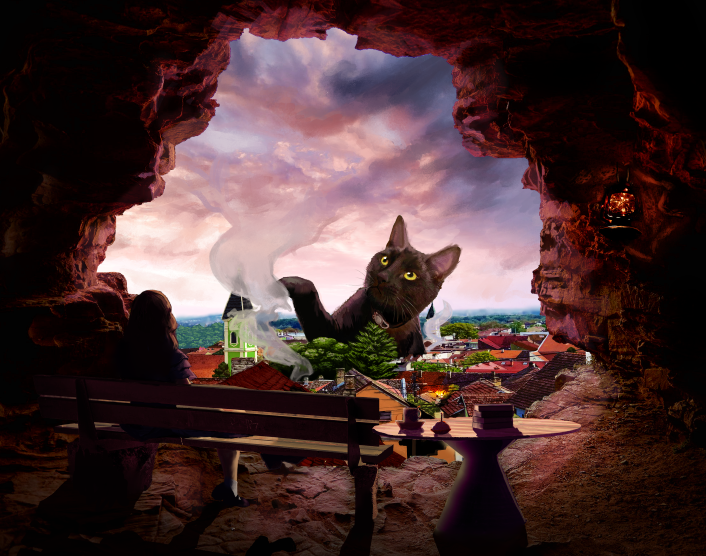
Here I concentrated on the cave, first I corrected it to be darker and more mysterious and match the pink lighting from outside, I also added a secondary orange light from the lantern on the wall.
I also edited the woman to match the design of my witch character, I put her in a dark dress to make her seem more intimidating and mysterious. I added shadows too, to match the lighting and make the objects feel more integrated into the scene, with the shadows I blocked and merged edges a lot more to make the scene more simplified and get the viewer to focus more on the town’s destruction and less on the rock.
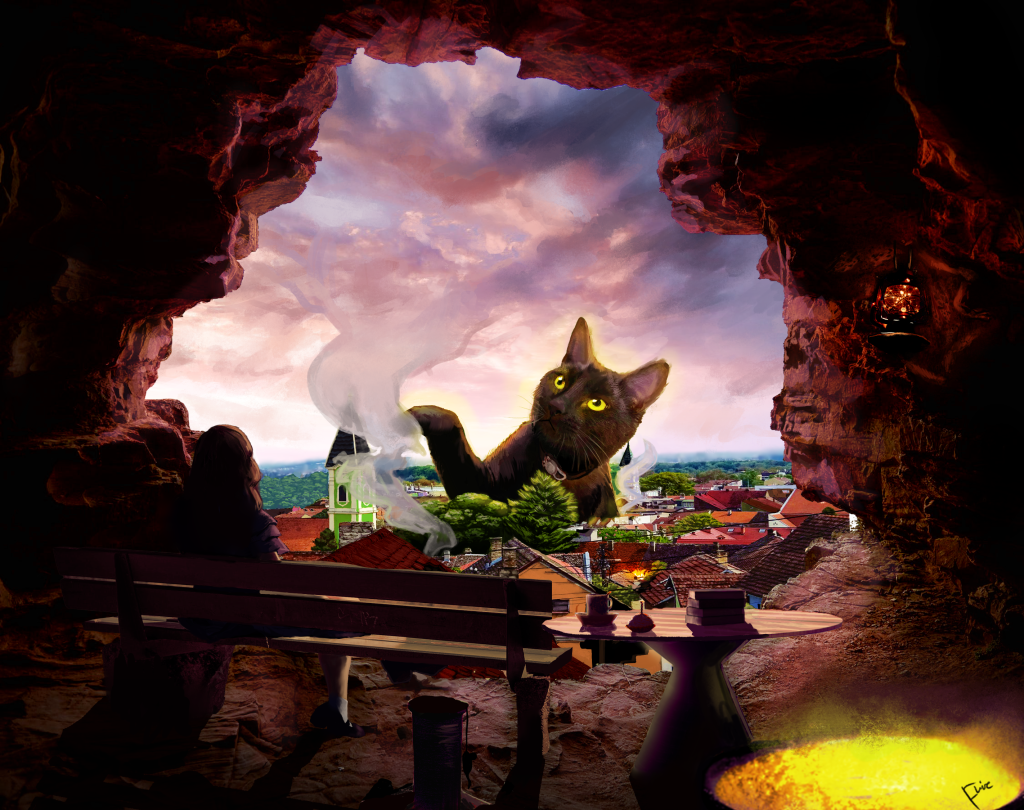
Finally, I liked the image but thought it was unclear that the Witch had created the cat, so I decided to add some cat toys and also a cauldron, I added a glowing yellow effect from the cauldron and then added it to the cat to make them connected.
From there I was happy with the image, and considered it completed!
Leave a Reply