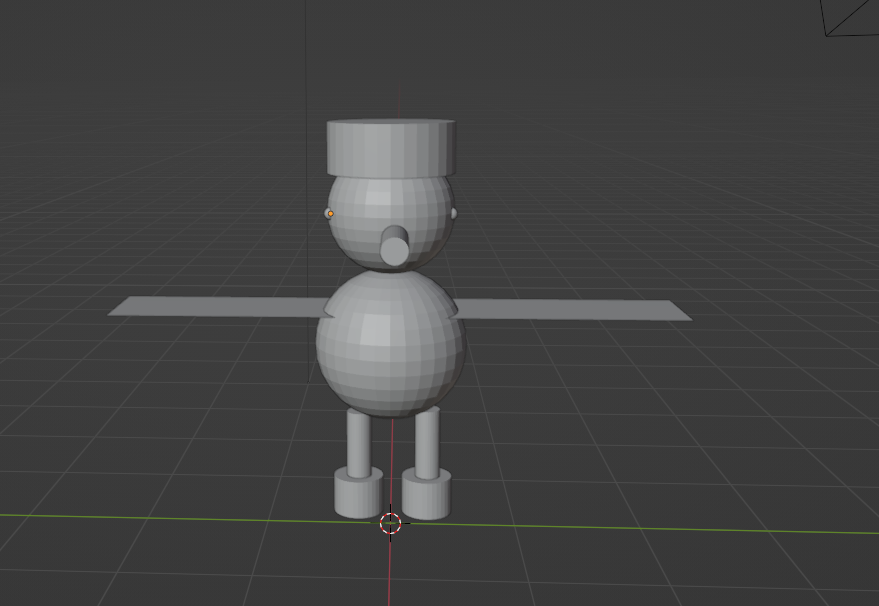
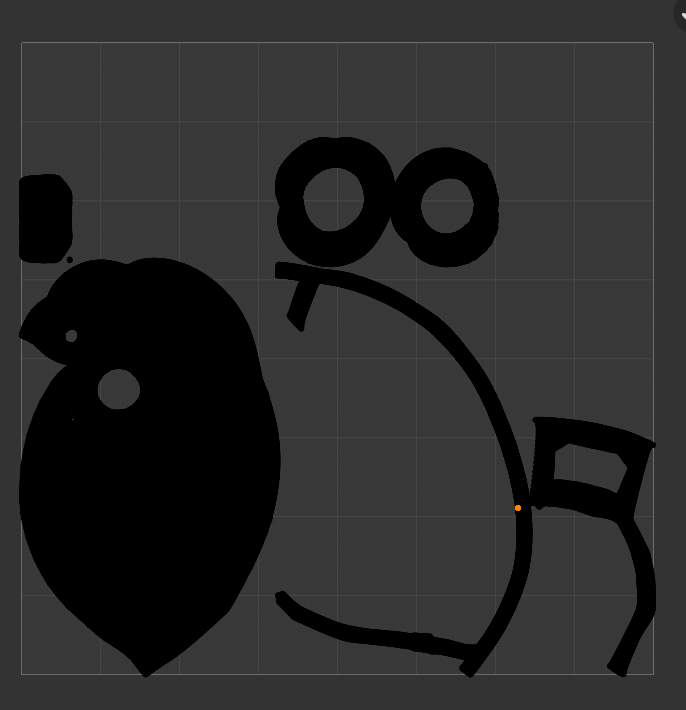
First I did a block out

After finishing the limbs I did the main body, head and hat, using basic shapes with minor adjustments like the basic move/rotate/scale tools, edgeloops, extrude and bevel.
Next I went to subdividing for sculpting, Unfortunately several parts didn’t fare well:

Like the beak, which I had to delete due to it going badly as I messed it up with the knife tool. Some other things occured, so I had to select certain parts then un-sub-divide to fix it.
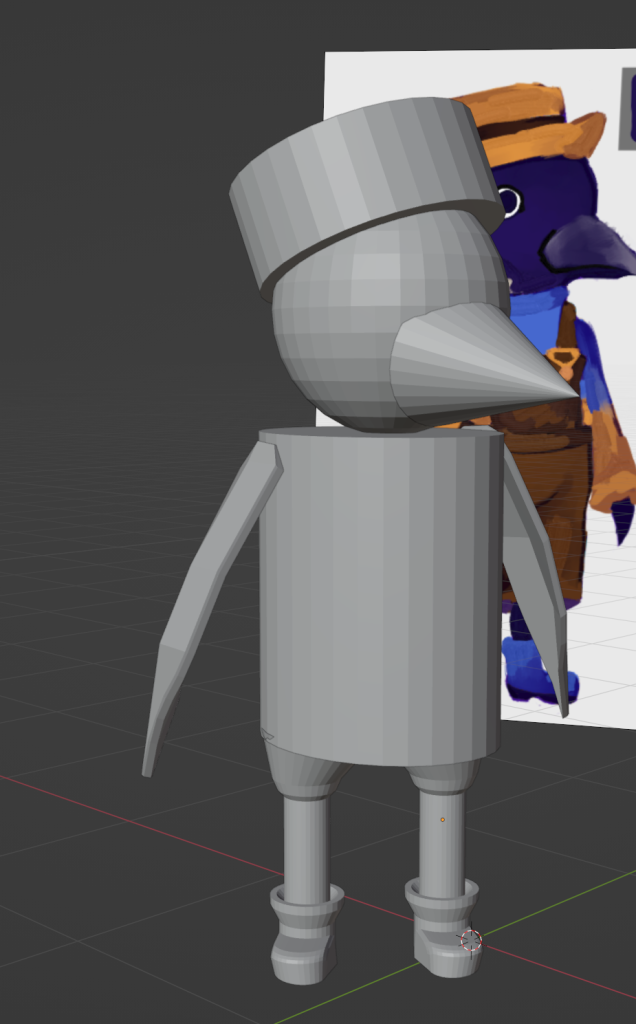
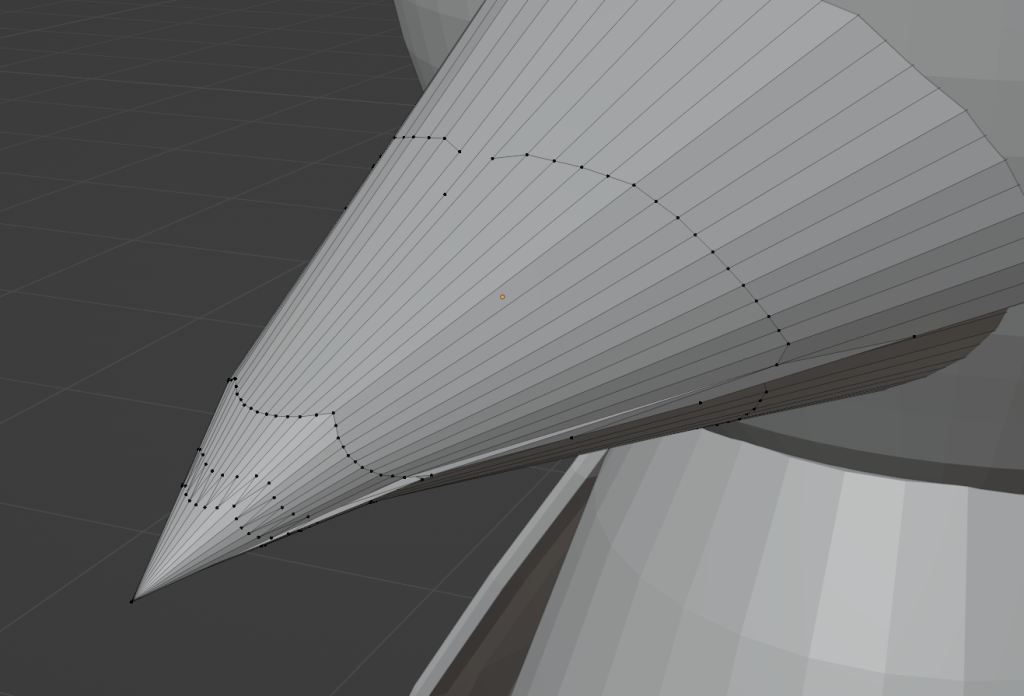
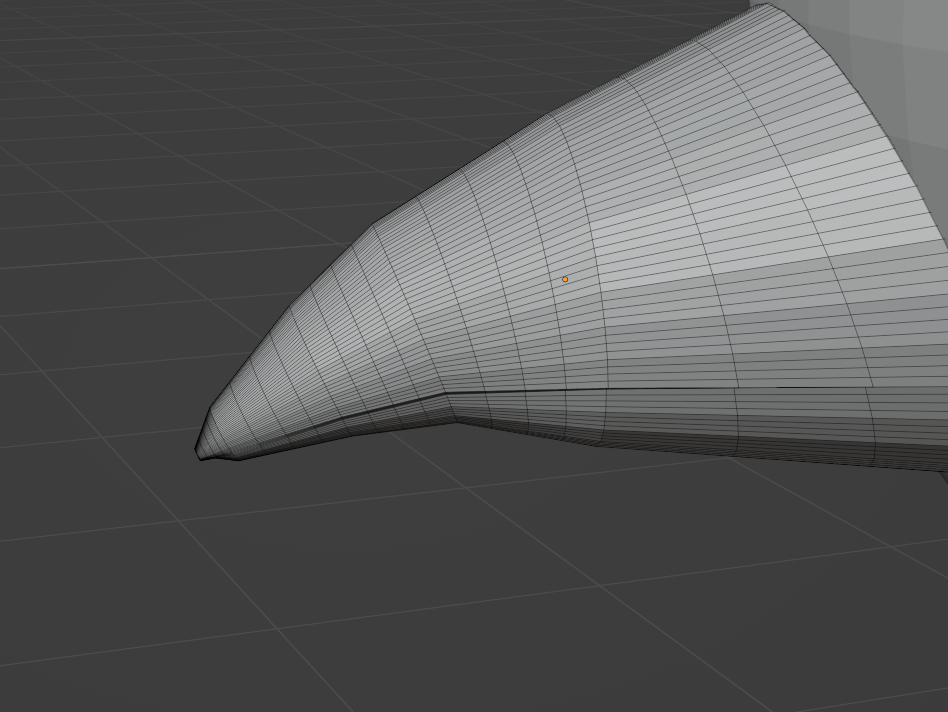
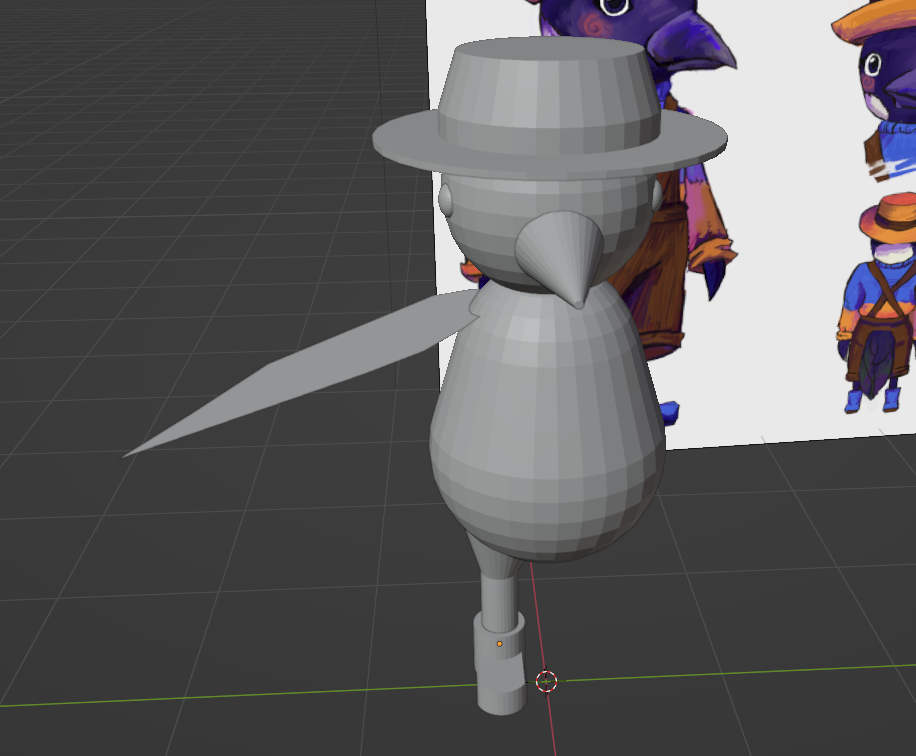
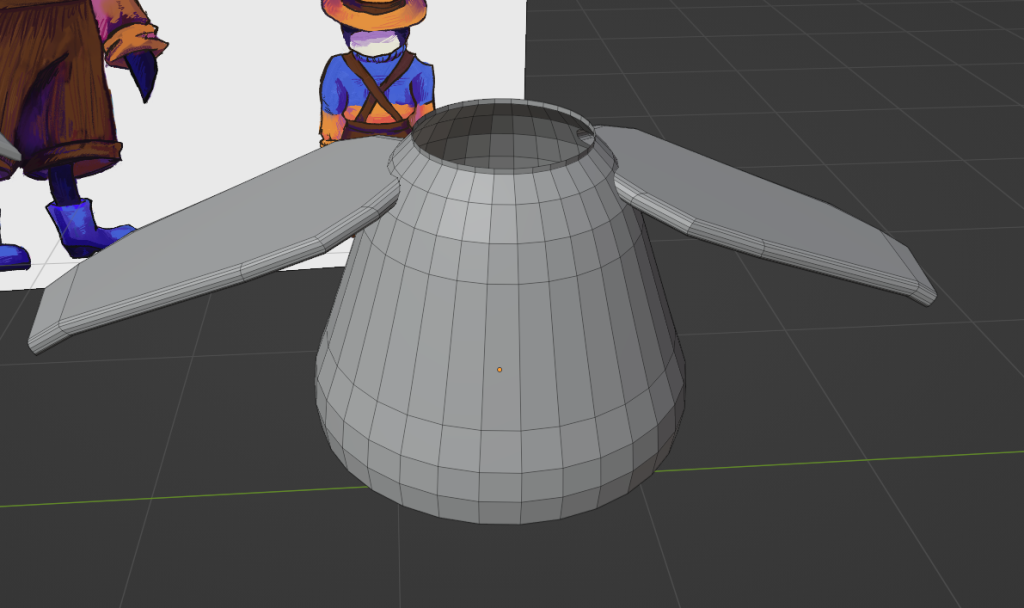
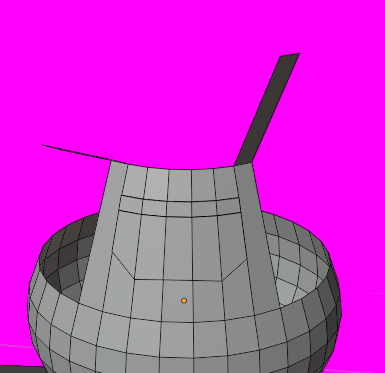
The issue with the beak was a lot of tools like edge loop don’t work on cones. So I used a cylinder and then scaled one end super small so it was like a point, when zoomed out it was unnoticeable.
The finish simplified beak looked like this:
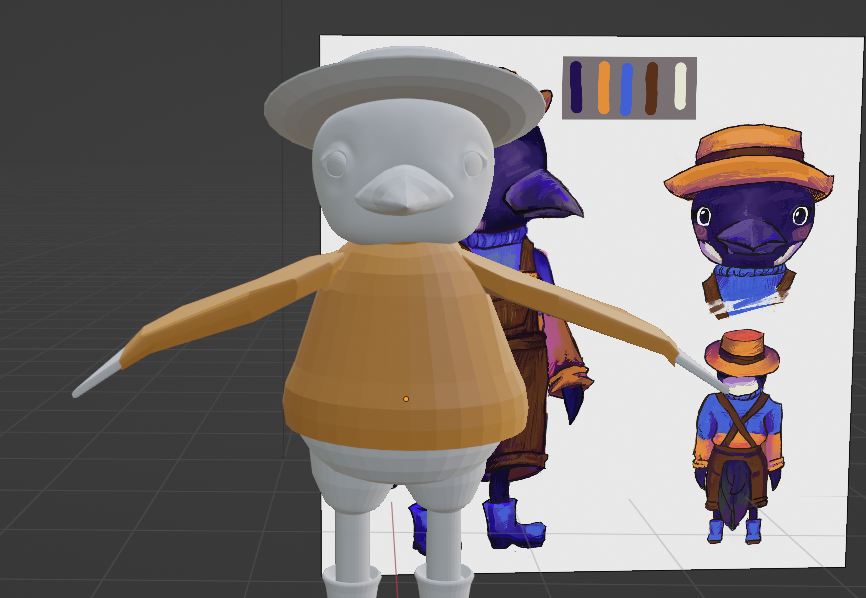
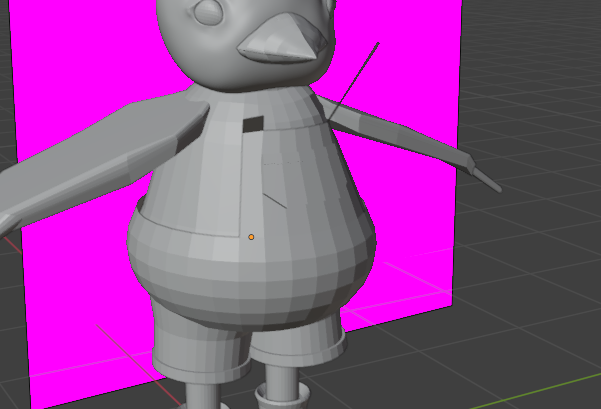
The finished mesh looked liked this:
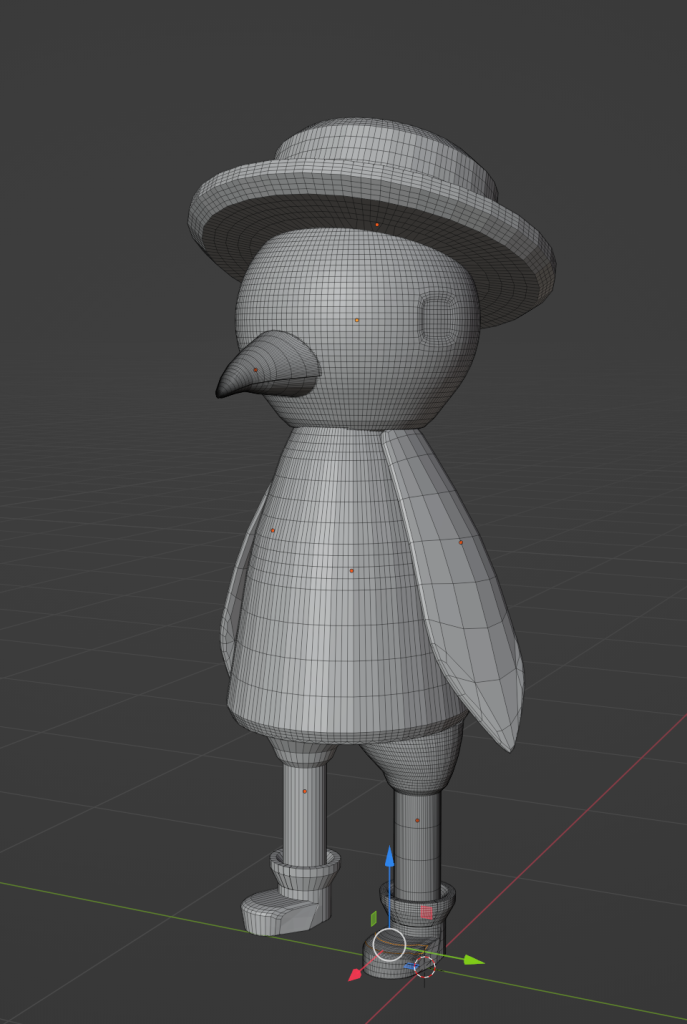
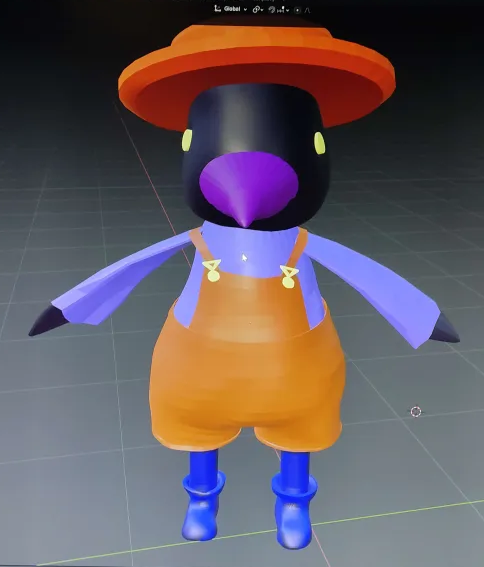
From there I did some scuplting, to make her look more round and friendly, and also add some nice rough edges.
When it came to sculpting I had some issues with making the head look ‘cute and round’ and not ‘stung by 100 wasps’. It mostly took patience and getting the symmetry better until:
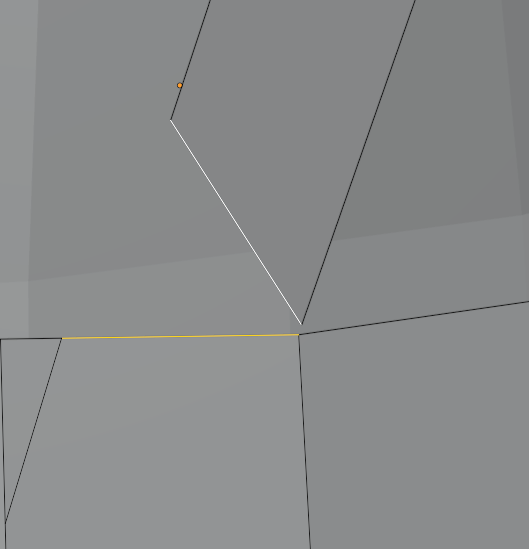
Another issue arose with this happening on the boots:
Where it concaved randomly.
I deleted the inside of the concave and then filled in the gaps and somewhat mended it.
After that I started making the jumper and dungarees. But because I had some issues with the sculpting it was a bit challenging at the beginning.
First I did the jumper, I started by selecting faces on the wings and body for where I’d want the jumper to be, I then duplicated those faces and turned them into separate objects.
I then used the boolean modifier (twice) to make all the parts all one object.
I did the same technique on for the dungarees
Next I did more work on the dungarees, I used scale tool to make the short leg area more straight and not curved like her thighs. To match the concept art.
I then selected the bottom edge and extruded it to add little cuffs
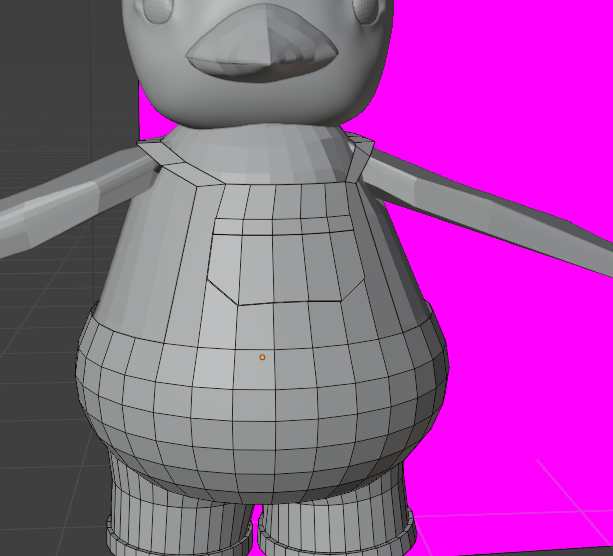
I did the same technique of selecting and extruding to make a waist band and chest pockets
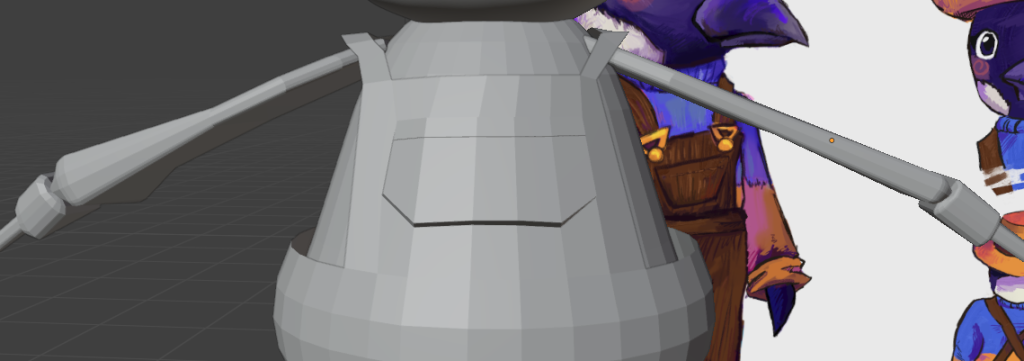
Now came the time to add the straps…
I hadn’t thought a head, so I went with my first instinct!
Extrude then curve!
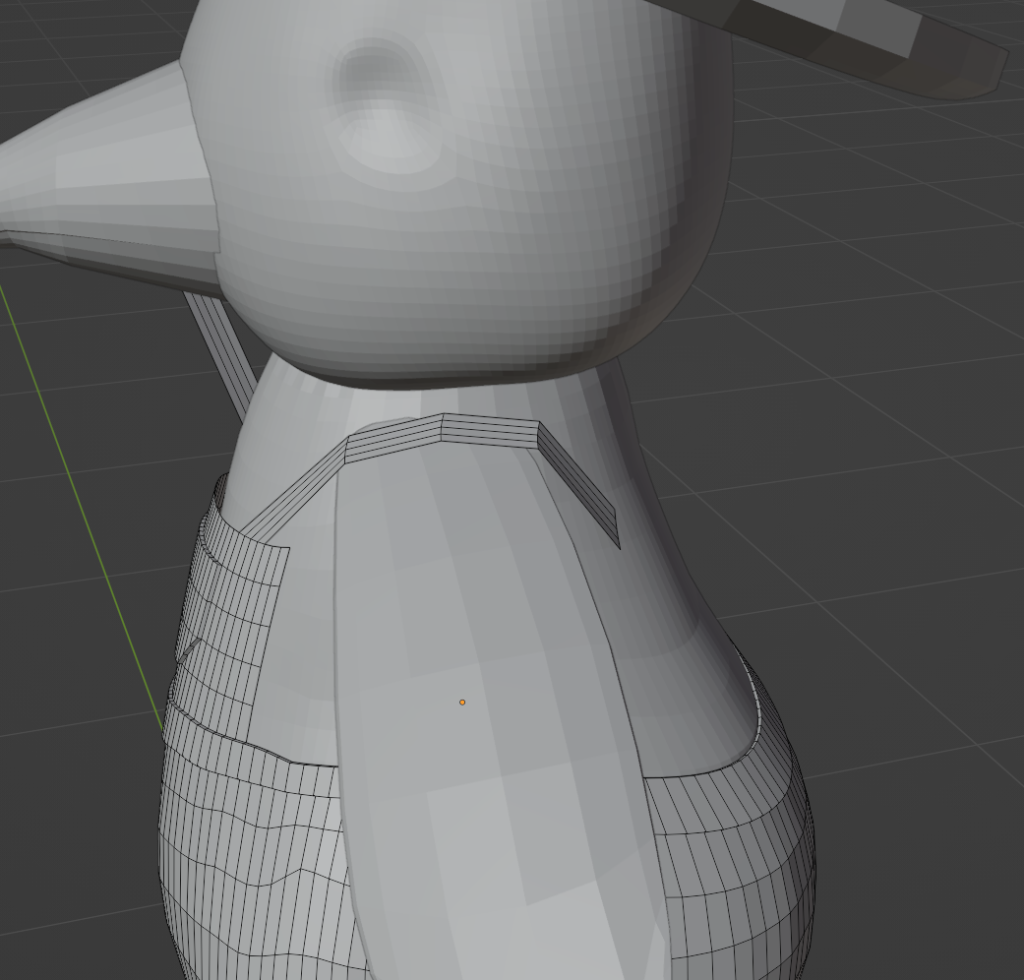
It worked.
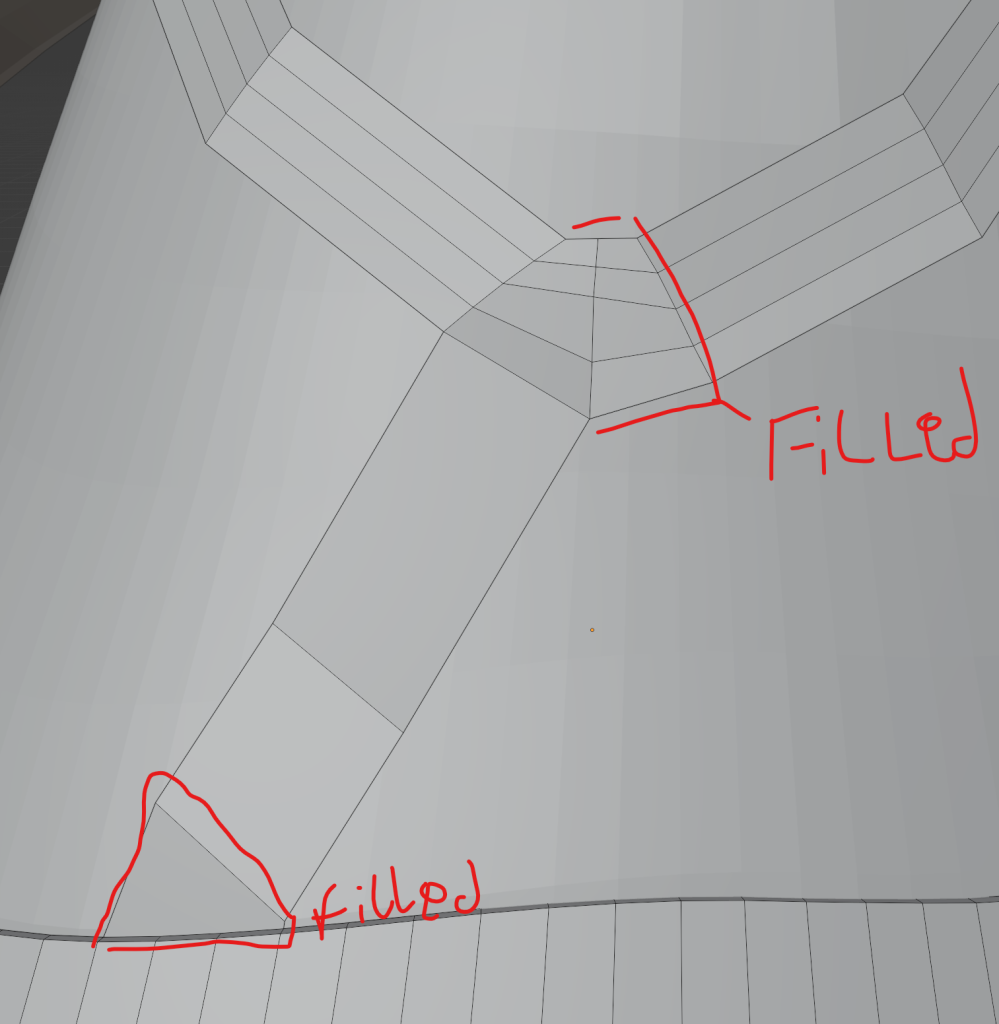
So curved the two straps around and filled in the gap, and then extruded from the bottom of the fill.
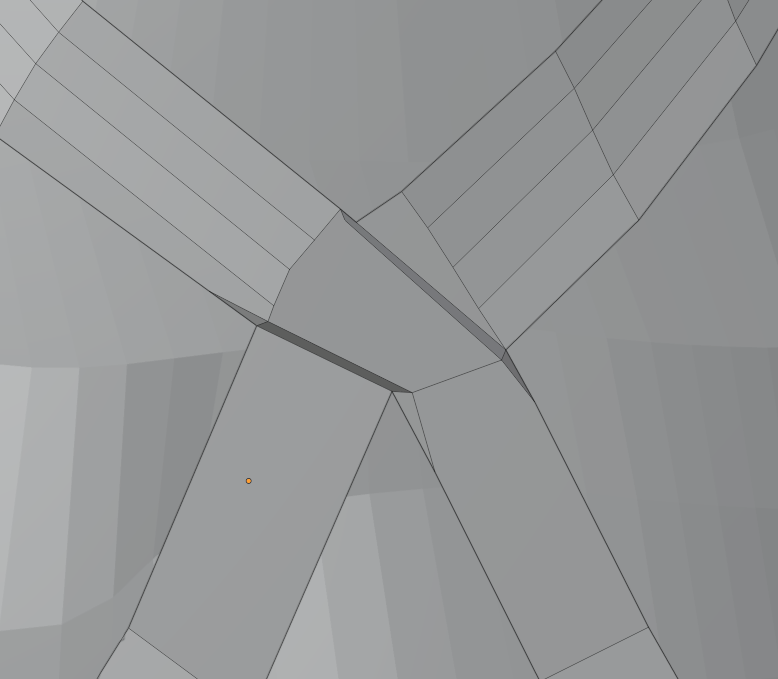
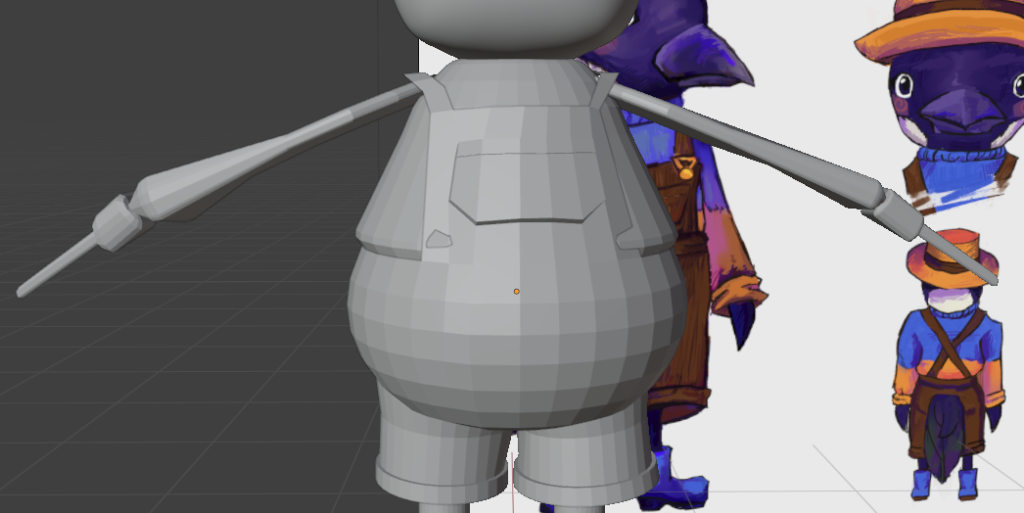
I repeated on the other side and then extruded the intersection like it does on some actual dungarees/suspenders.
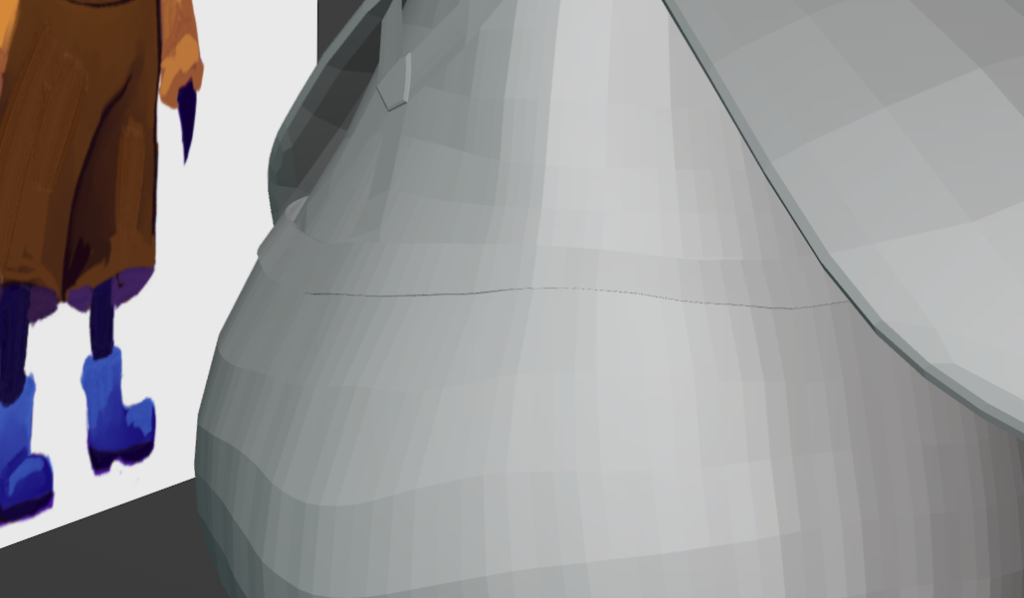
I used the grab tool, in sculpting to make the waist band and top more straight.

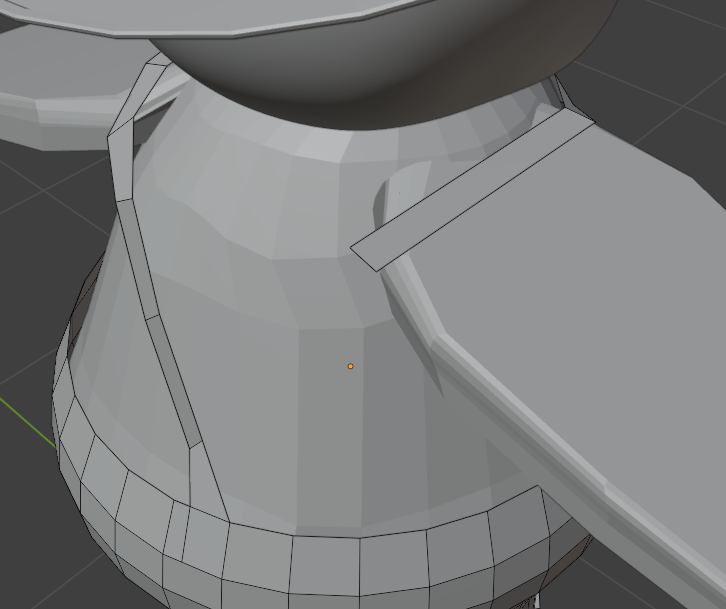
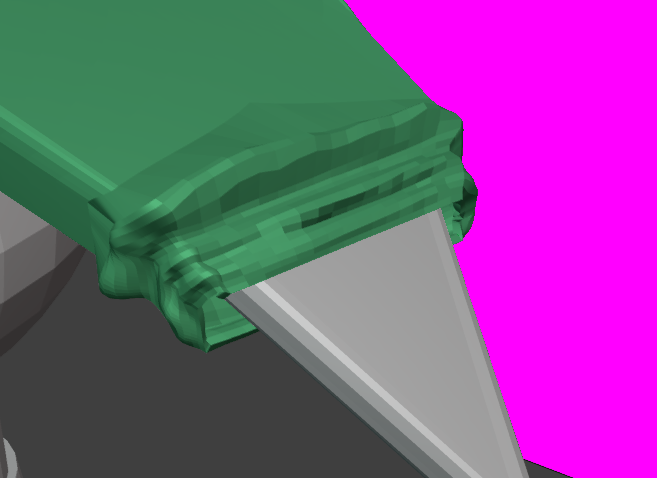
I noticed the straps were clipping with the main body, so I used bevel, loop-cut and rotating tools to make it more smooth and go with Pia’s Body.
I then started editing the jumper, even after using modelling tools it was clipping weirdly. So I started using sculpting tools to fix it.
The sleeves were shorter and more tight fitting than on the reference so I extruded the cuff and made the bottom hang more.
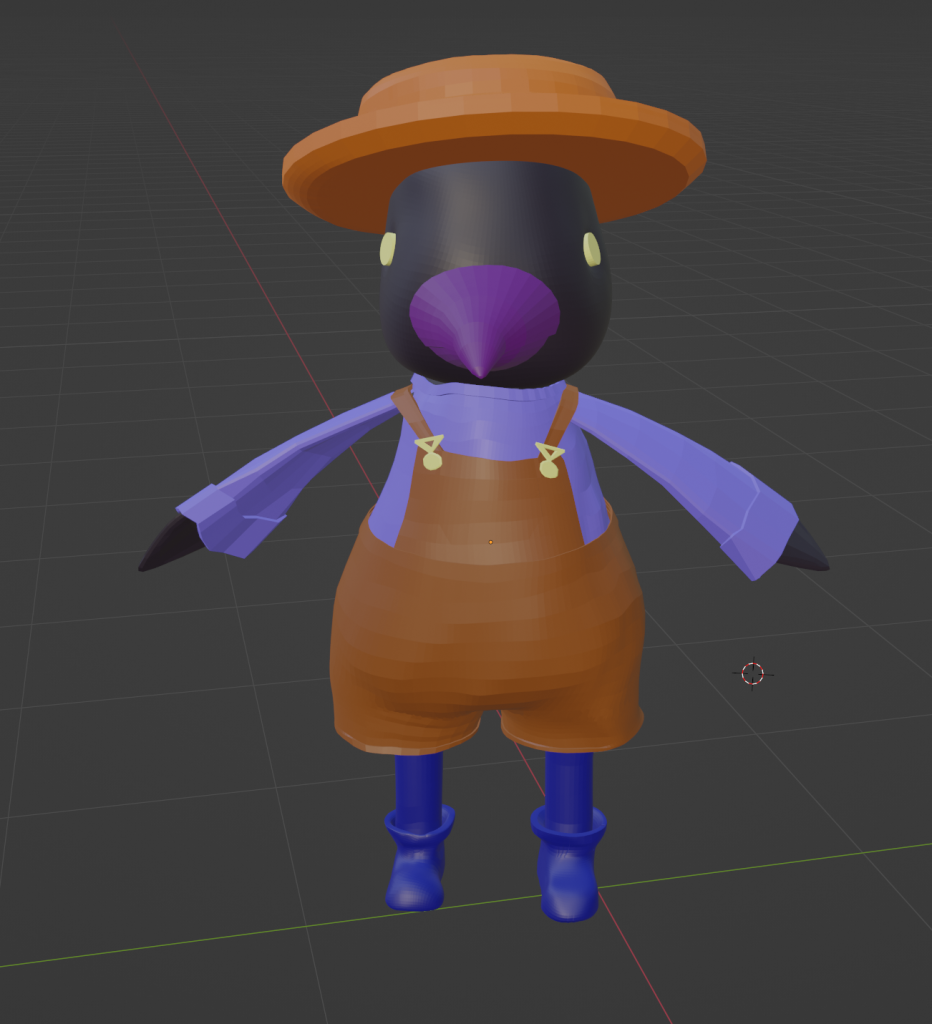
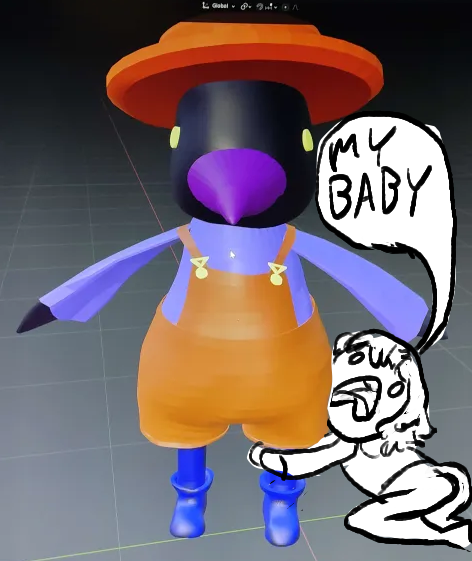
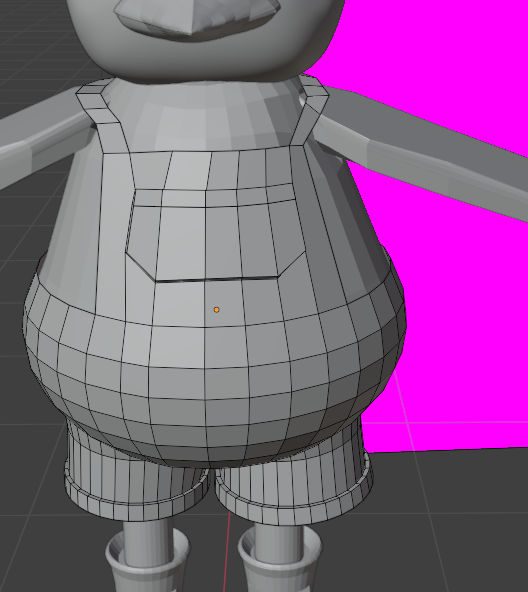
After I had done all of this. I was please with the results!
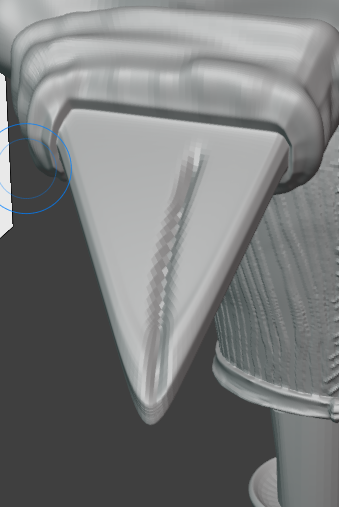
For the last detail:
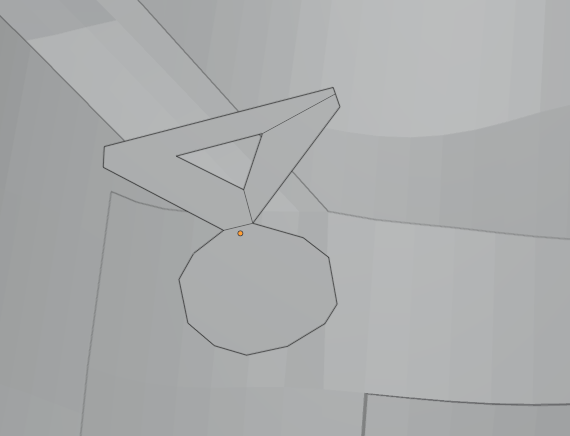
I used a plane and cut bits out until I got this.

I extruded for thickness and then beveled the edges of the circular button area.
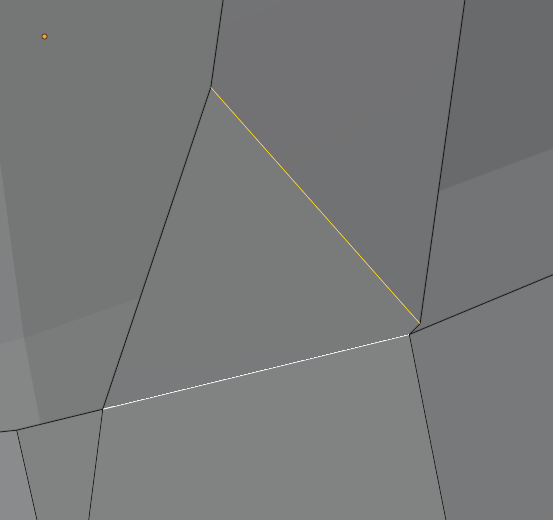
Because of the lines going to the center on the triangular buckle area I couldn’t use the bevel tool.
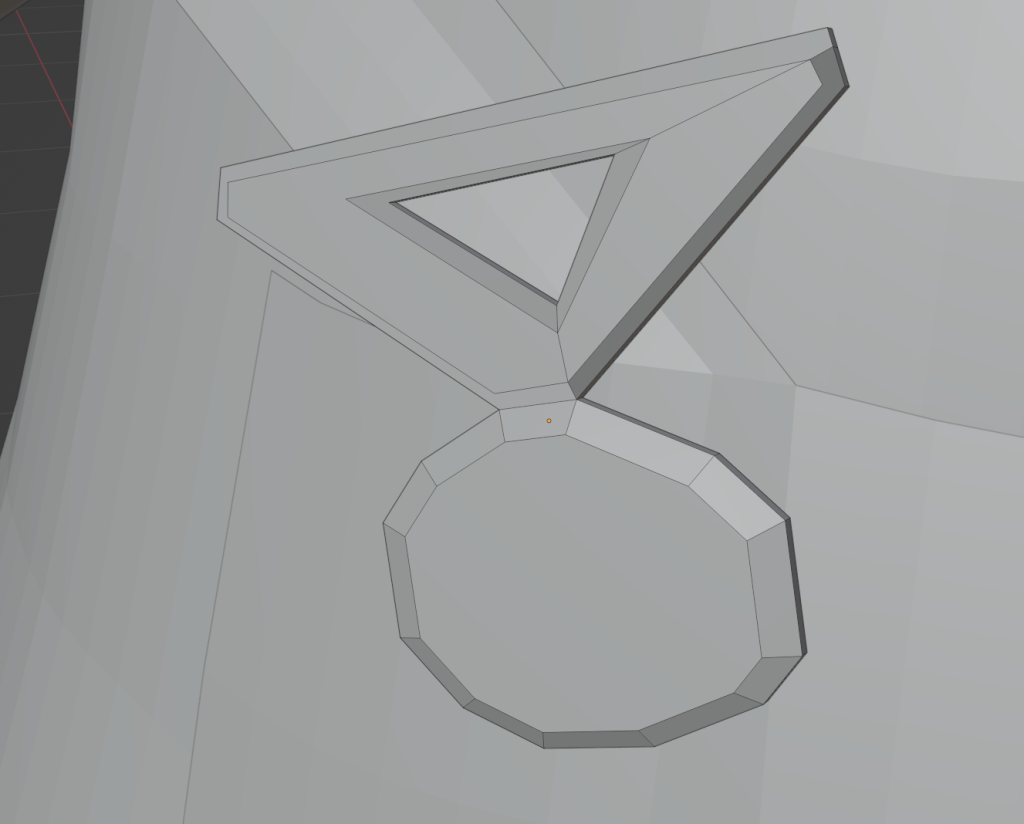
So I used the knife tool and then moved the edge up to make it slightly rounded.
For the final bit of modeling I duplicated the buckle so there would be two and added two small cylinders for the eyes.
I also used the Solidify modifier on the clothes to make it better for modelling.
Now for unwrapping!
(help)
So first I had to put seams on the character so she could be painted.
I started with the clothes.. unfortunately, as It turned out the sleeves of the jumper were very messed up mesh wise, and I didn’t realise how bad, or how it got that bad, and I still don’t know.
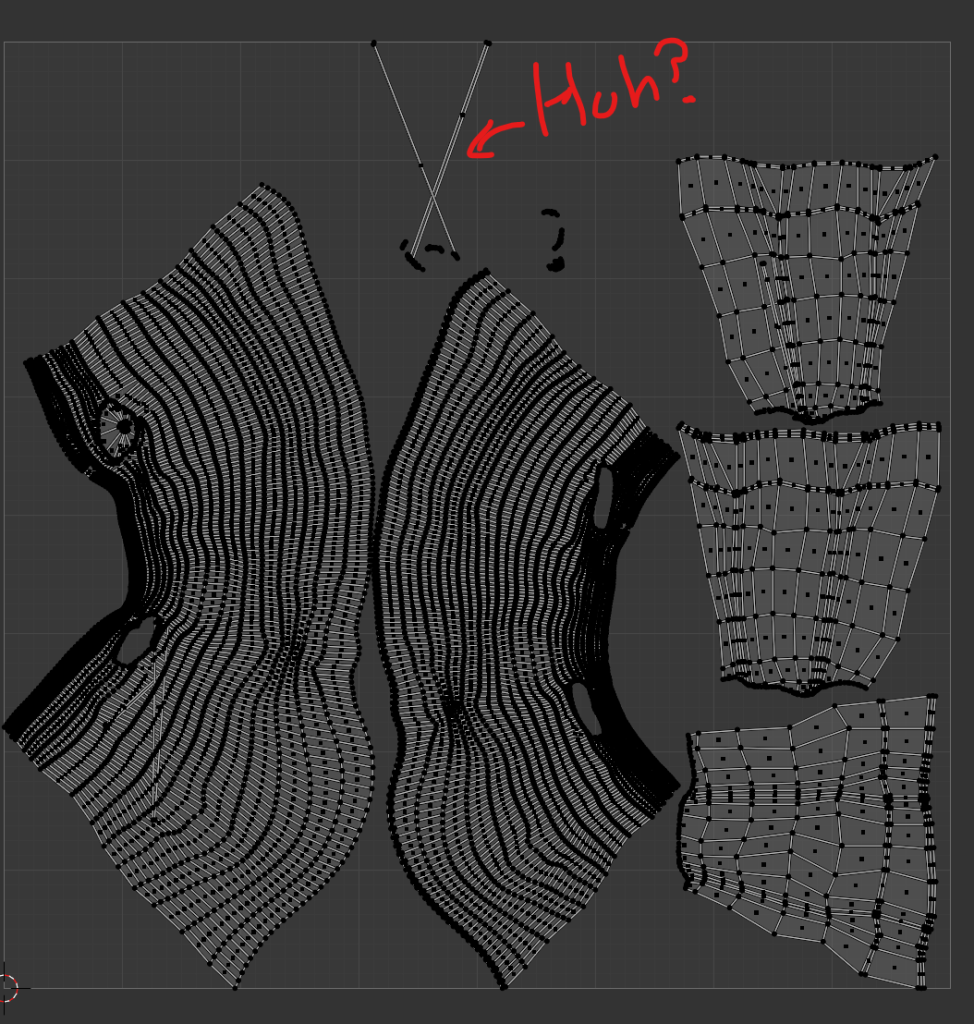
So I redid the seams, and it was better.. but…
There was an intersection between a sleeve piece and a torse piece,
but I manage to fix it.
I then contined making the unwraps.
After finishing the unwrapping I applied materials went home for the day.
I then returned the next day and……
DISASTER STRUCK
The module had rolled back to basically nothing, for some reason the University PCs had deleted 2 weeks of work.. So I had to start from basically the beginning.
Take 2
So this time I was gonna make some things easier for myself by; Making the boots a separate object to the legs and not subdividing too early so the mesh won’t be messed up again.
So I started with a blockout and some basic modelling
I removed the second wing, leg and boot so I could just duplicate and mirror after modelling, Less work, more efficient!
I started adding shape using the modelling tools!

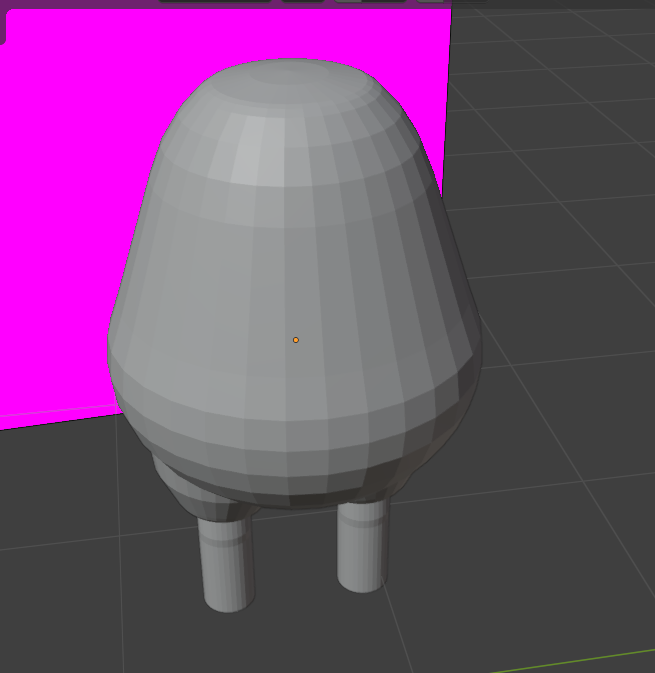
First I flattened the top of the body so the head would go on nicely.
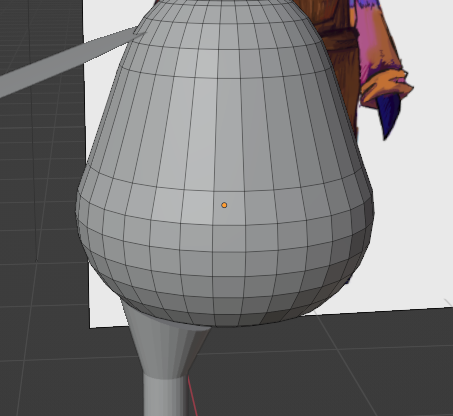
I flattened and widened the bottom so her body would be very ‘bean shaped’ like it kind of is in the concept art.
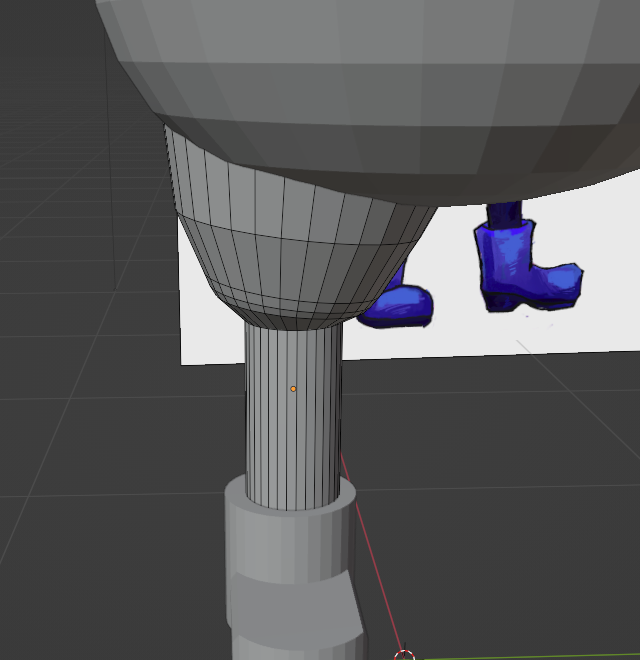
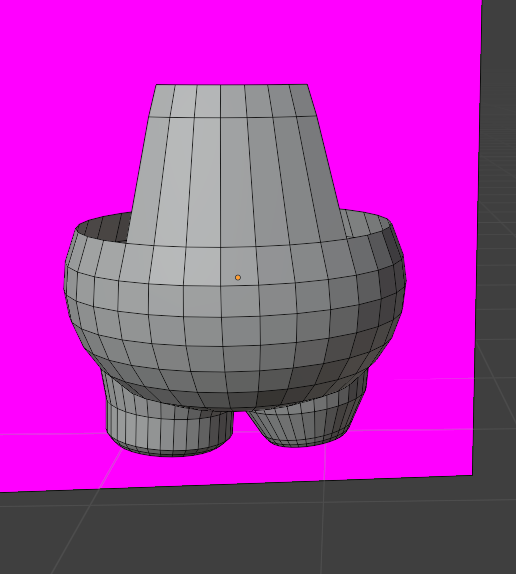
I then rounded up the upper leg.
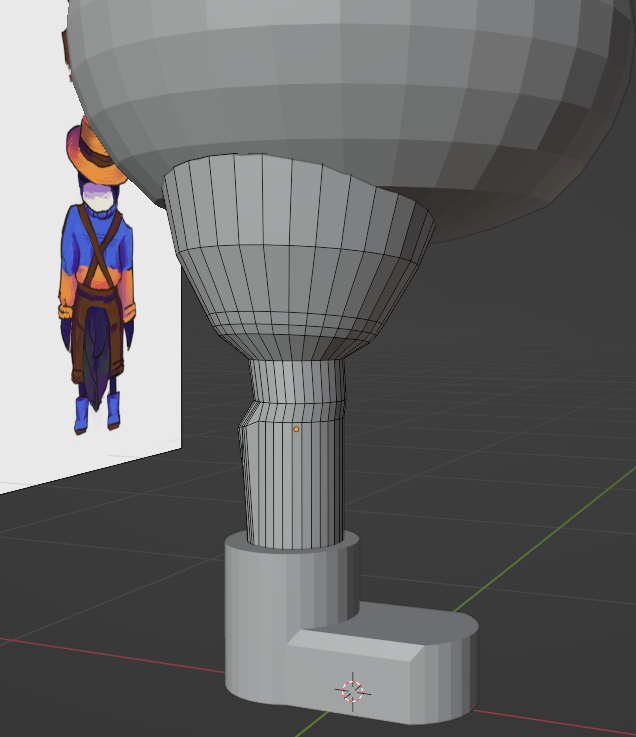
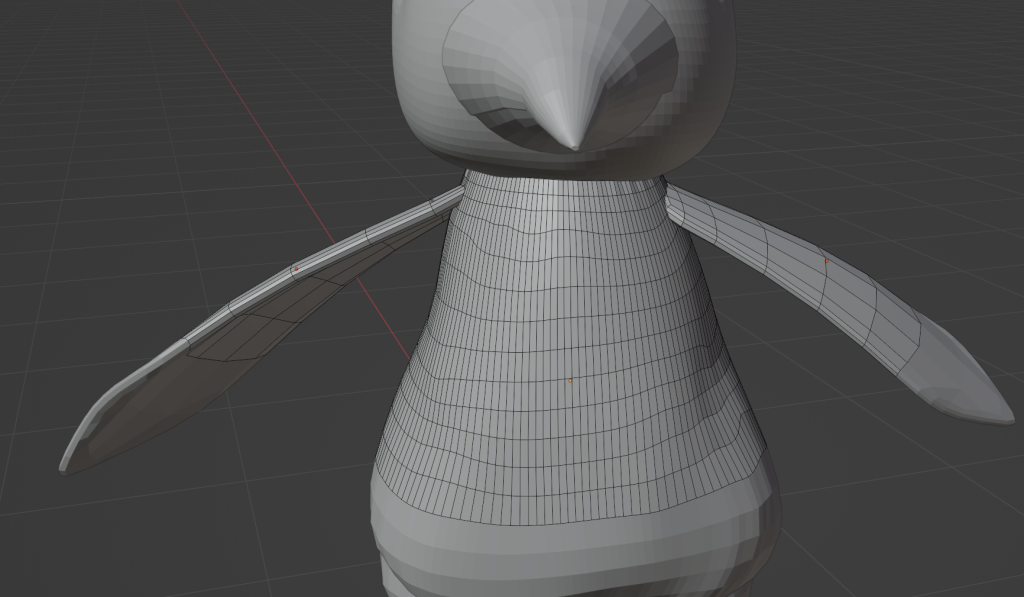
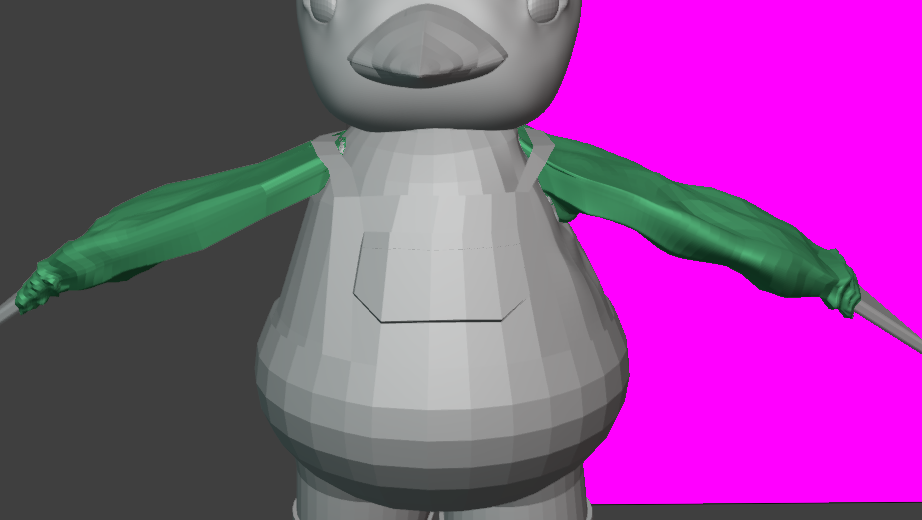
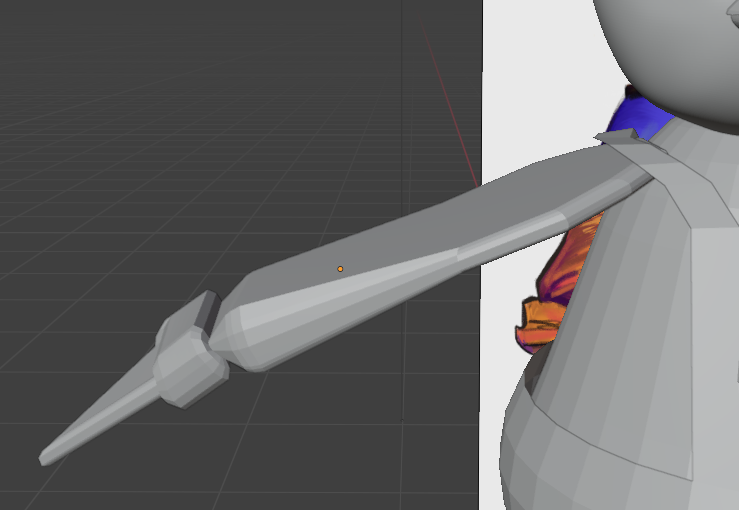
Before adding some shape to the back of the leg. It kind of looks like a human shin or the curve on most bird legs. I then moved onto the wing
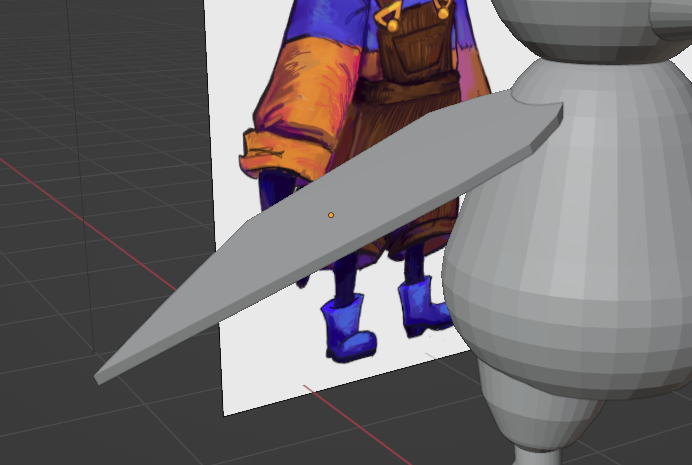
I started by applying the solidify modifer onto it so it wasn’t just a flat plane.
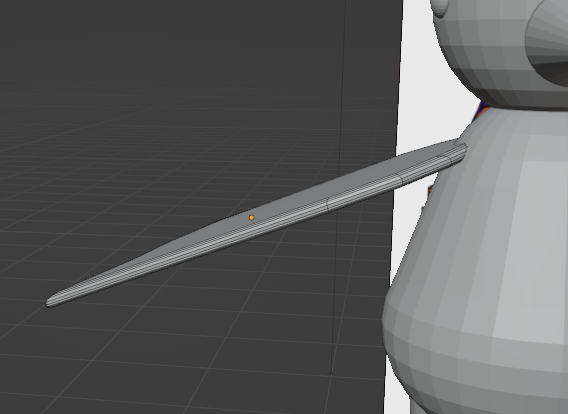
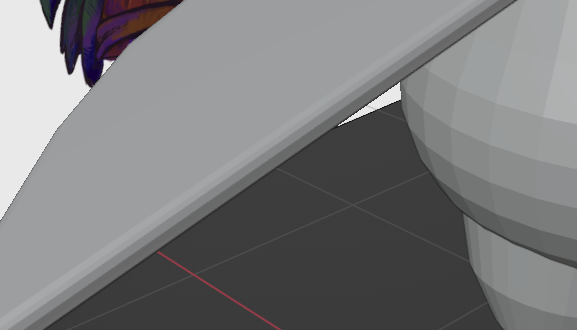
I then beveled the edges.
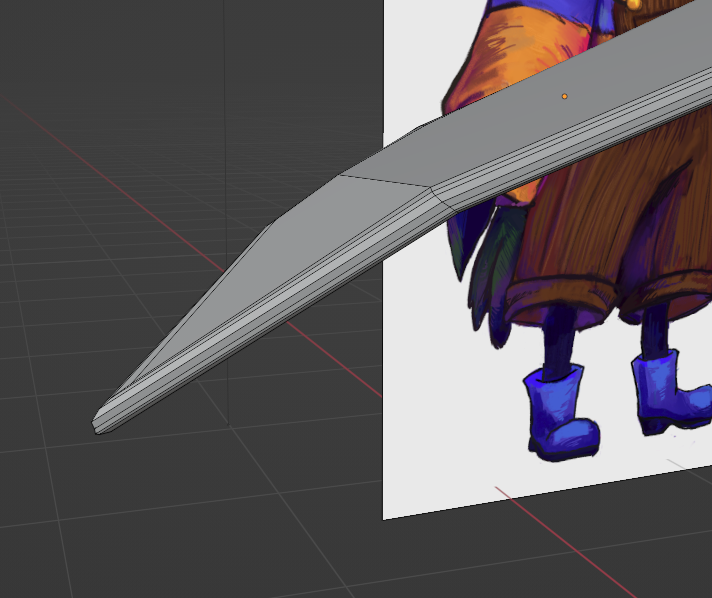
I used the knife tool to cut a line across the wing and the move the tip of the wing down to give the wing a slight bend to give the model the affect of more diemension.
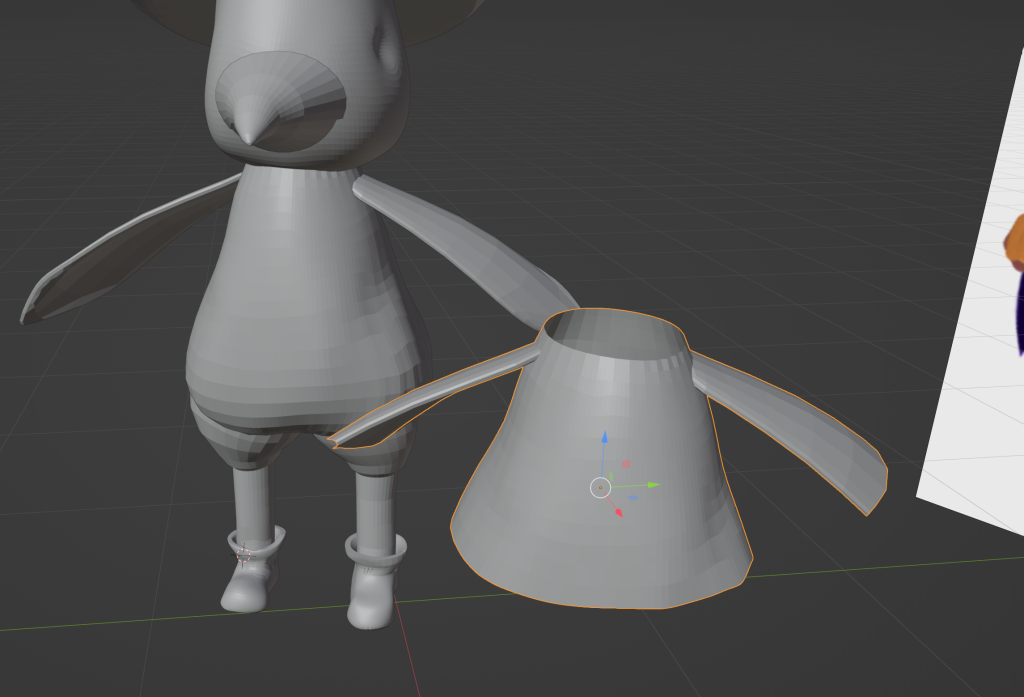
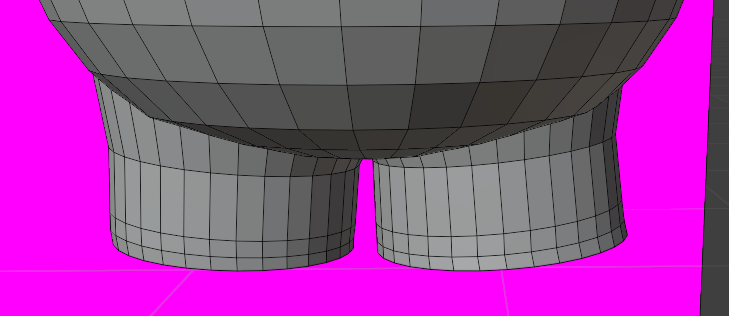
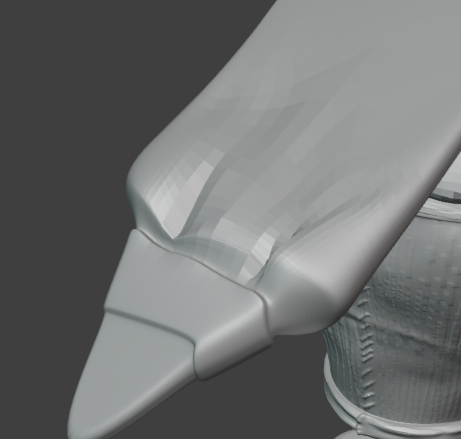
I then moved onto the boot.
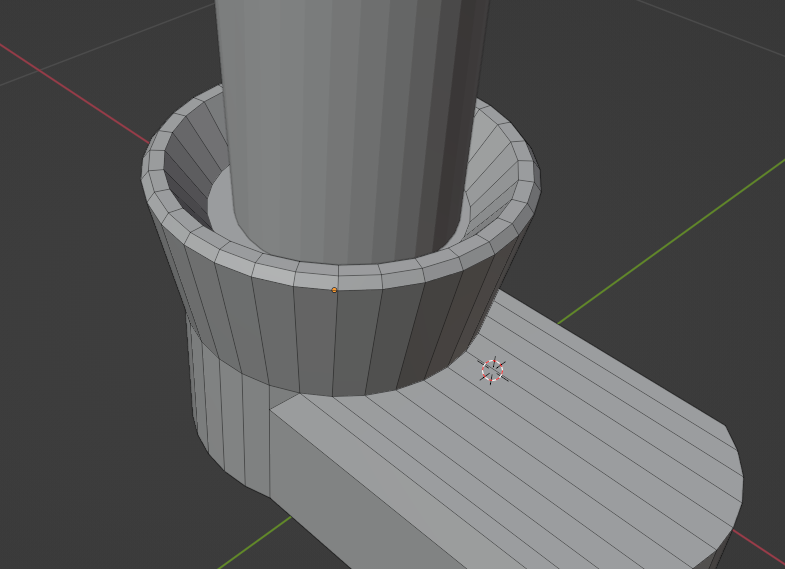
I made the top of the boot flare out a bit with the scale tool to give it the same shape as the character drawing.
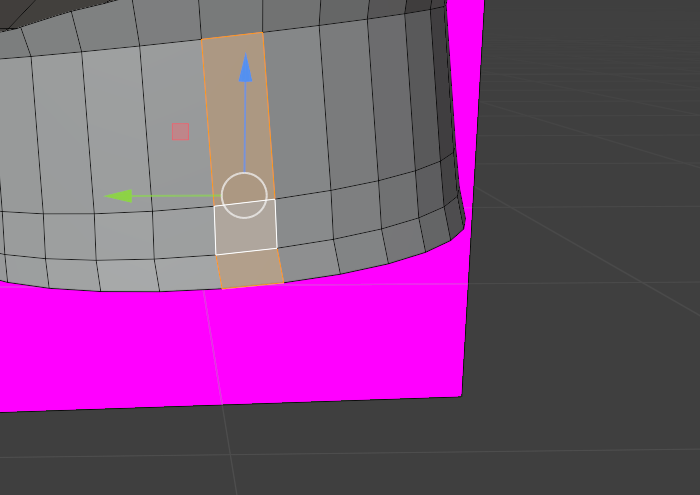
I then used the insert faces tool to round off the edges and make an indent in the top of the boot to make it a bit less obvious the boot was a separate cylinder object as the joining with the leg object was hidden inside the boot, now, not on top.
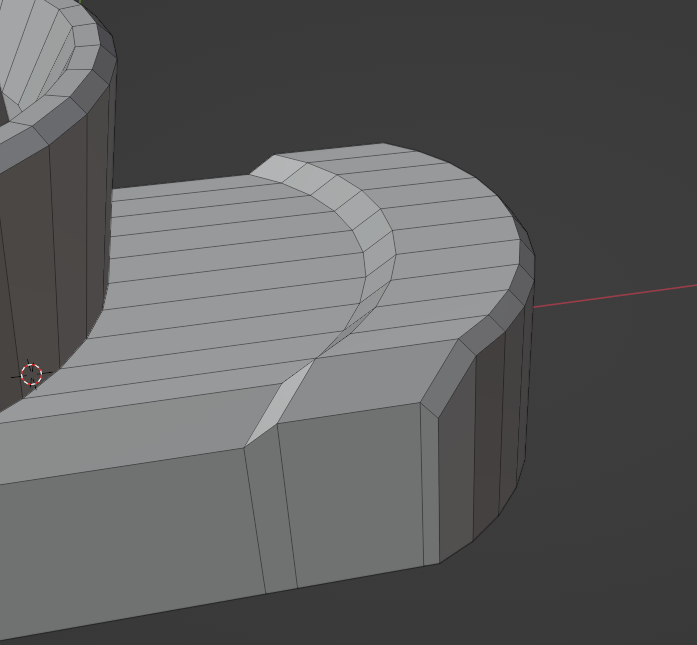
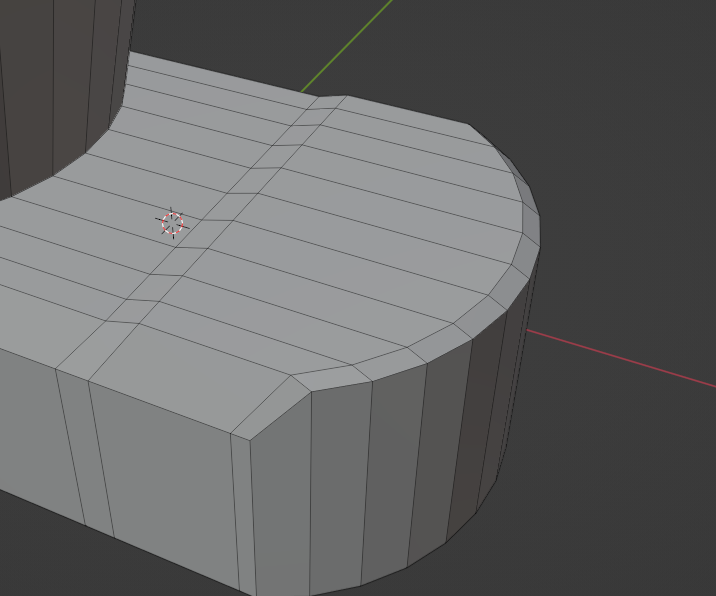
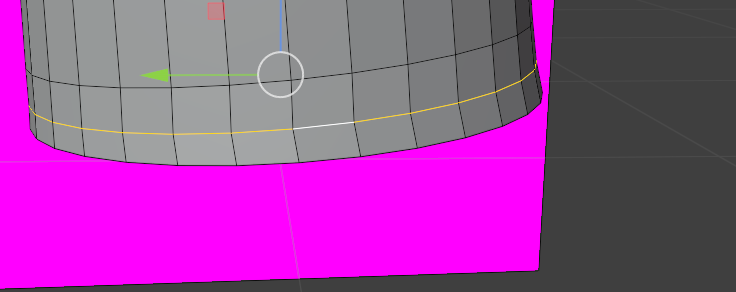
I started to make the toe cap on the boot, at first I used loop cuts but it curved with the boot and looked very weird, so I dissolved those edges and used tyhe knife too to make a edge staring across.
I used the bevel tool to round out the toe-cap.
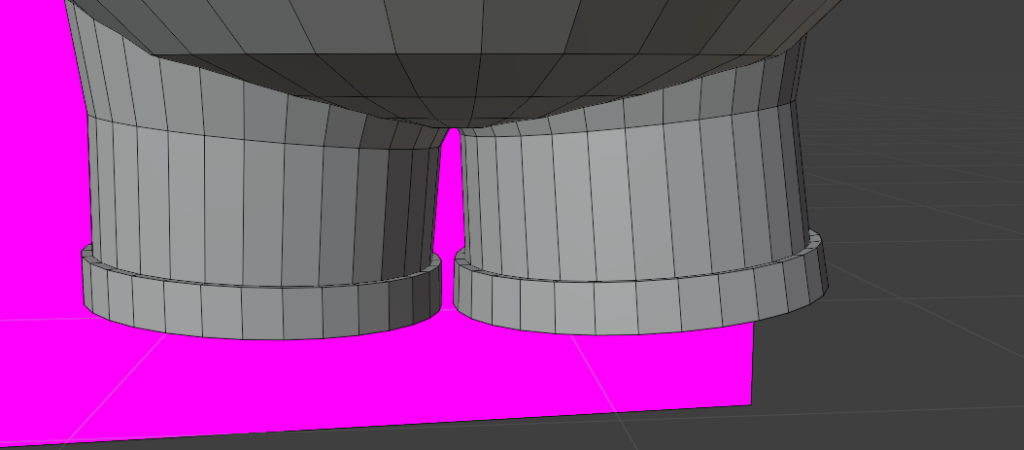
I scaled the bottom of the boot down slightly to make it wider at the top.
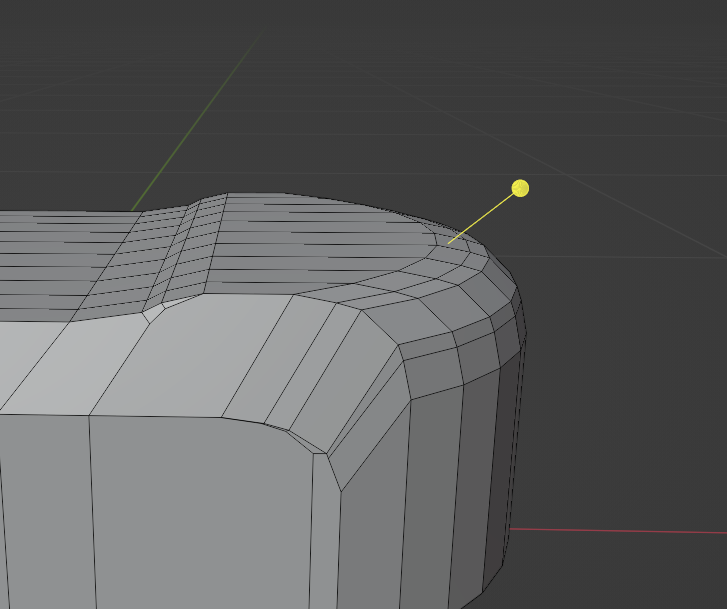
I couldn’t work out how to do the height difference and angles between the heel of the boot and the ball of the foot… or claws?
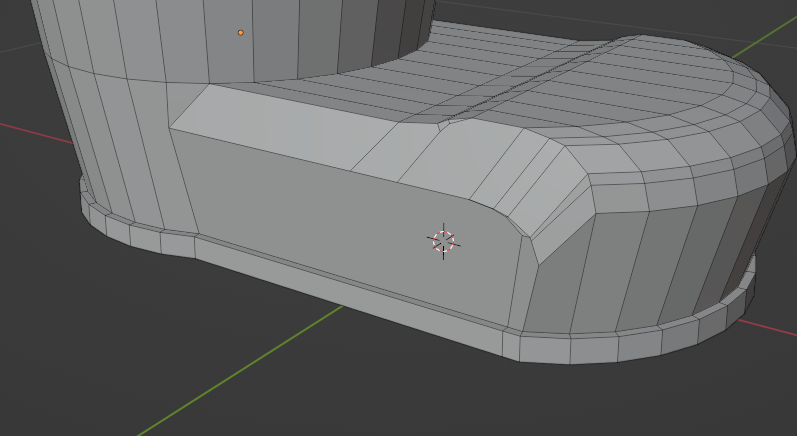
So I just extruded from the bottom and then extruded out slightly.
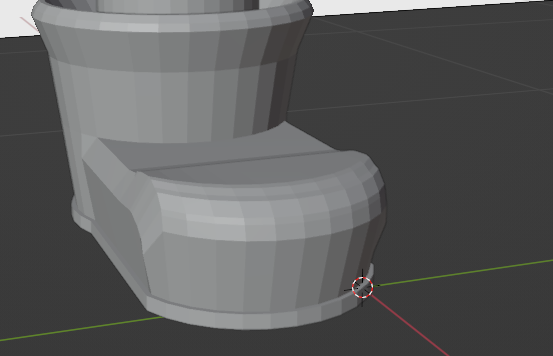
With that I used some of the scale, move and bevel tools to edit the shape slightly, and from there I had a pretty good boot!
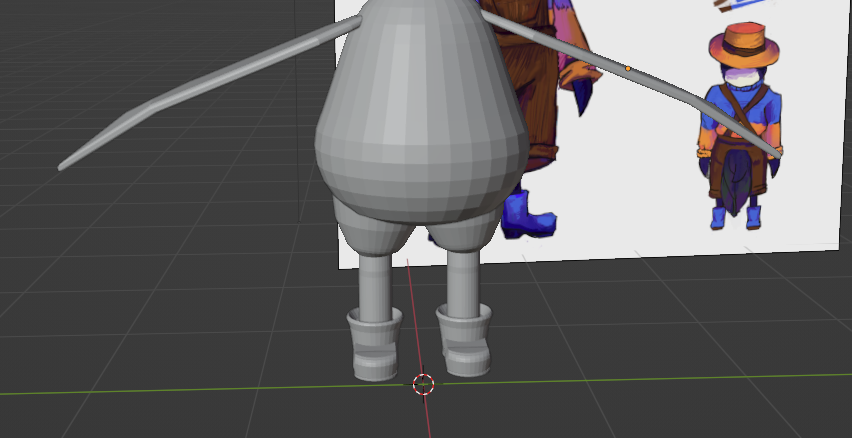
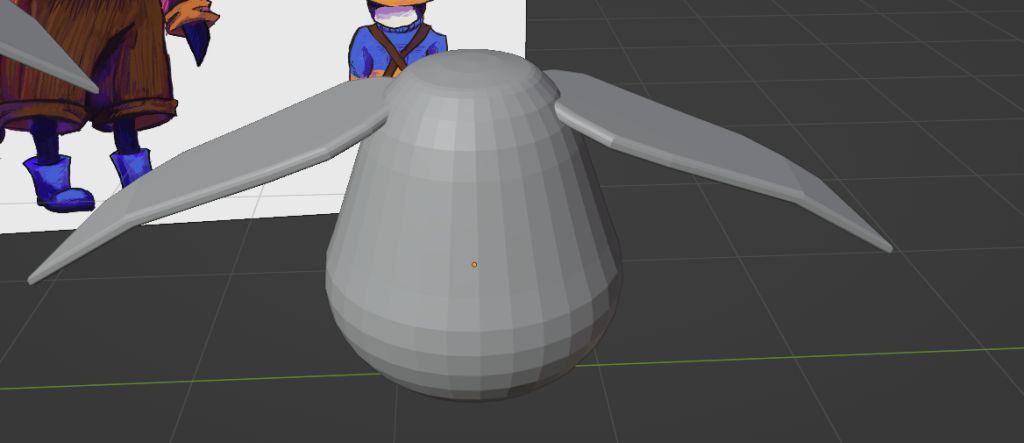
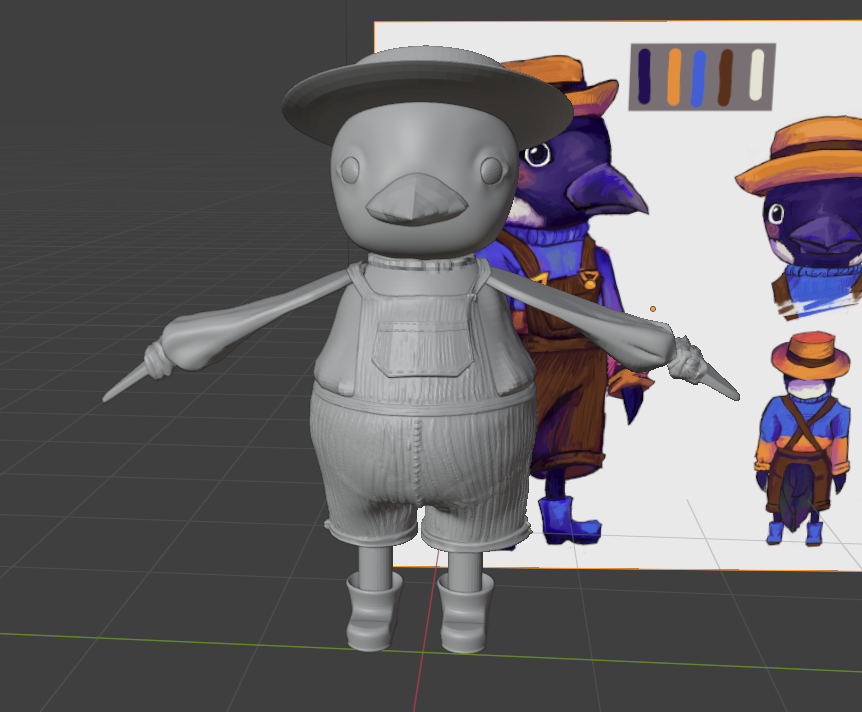
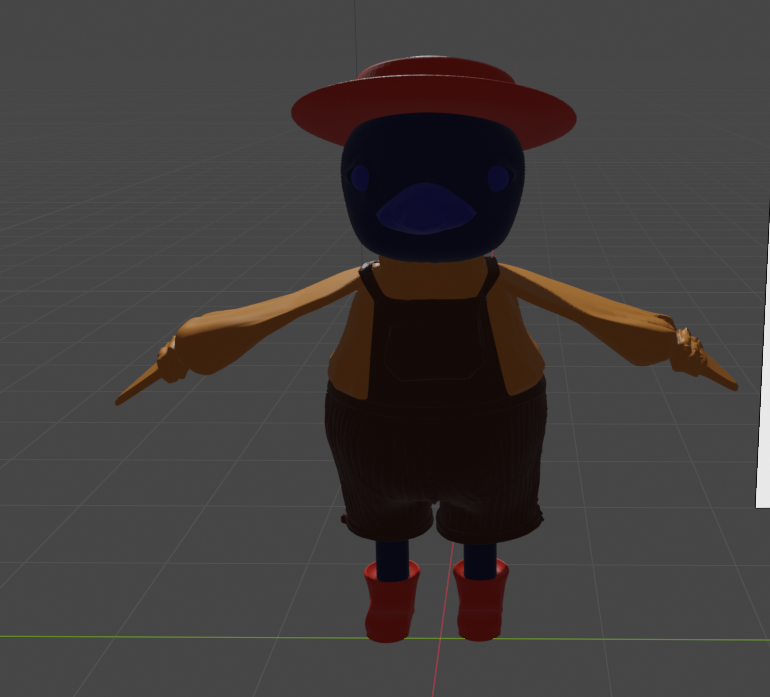
After duplicating and mirroring the leg, boot and wing I had finished the body!
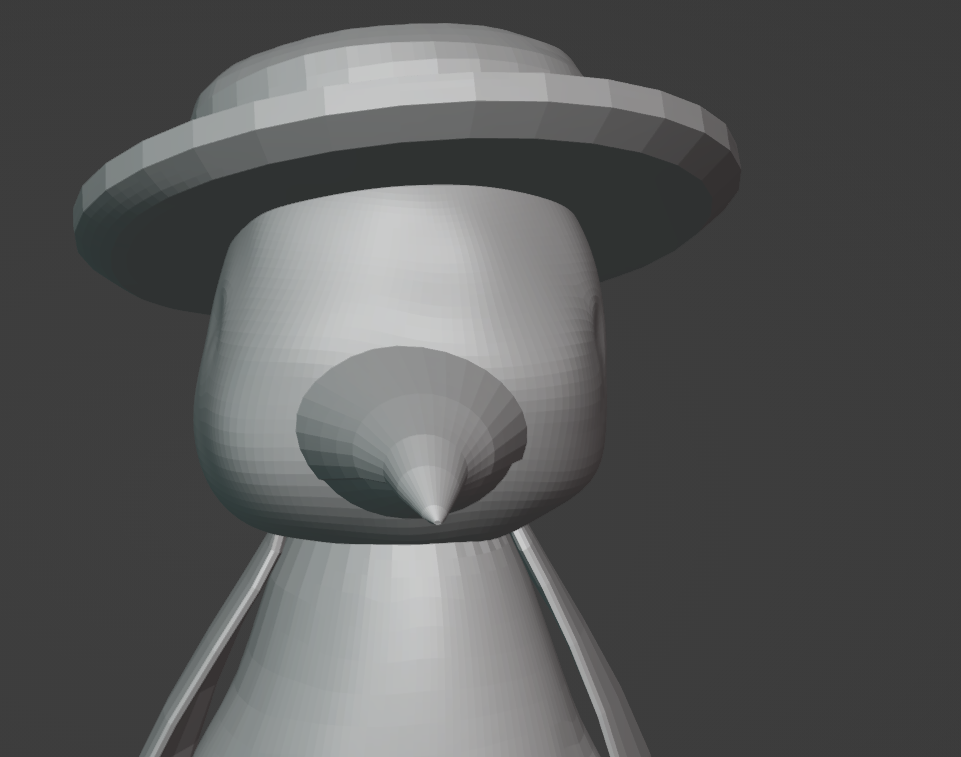
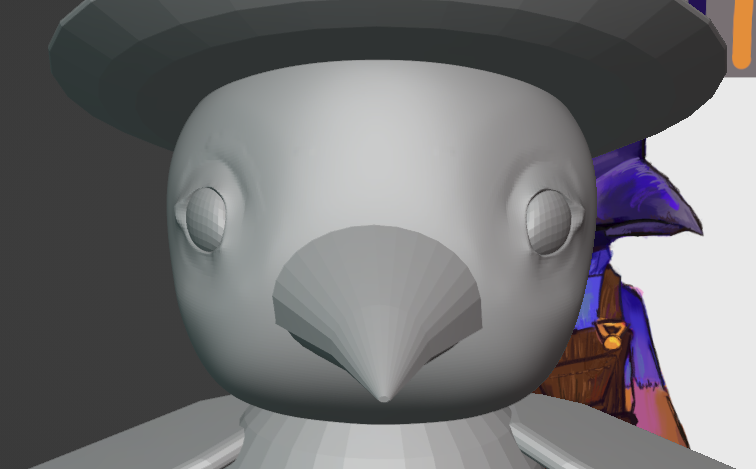
Next was some modeling on the head:

I started by making the beak a bit shorter and wider, with the scale tool, to match the art and actual Magpie beaks.
I then used the the move tool to add ridges where the top beak goes to the bottom beak and used the loop cut tool sto add a slight bend.
I moved the eyes slight forward to match the art for the cutesy vibe.
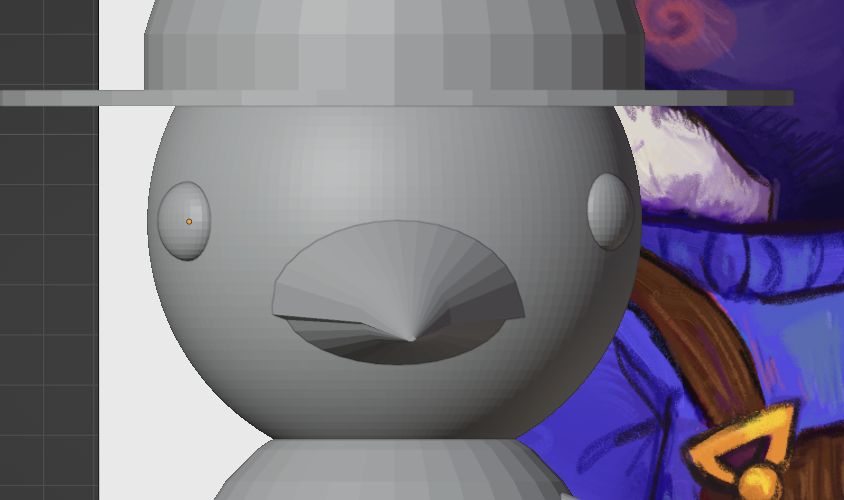
Next the hat:
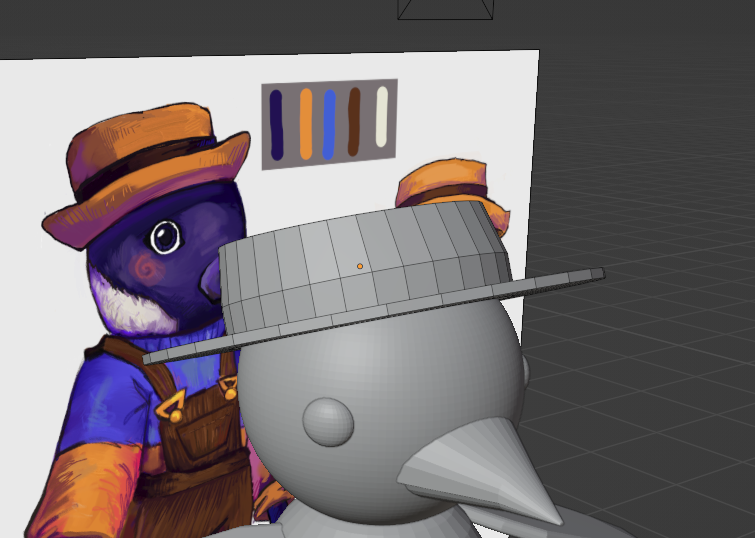
I first tilted the hat back slightly on the head, like in the art.
I then extruded along normals to create the ribbon, and used the knife tool to create the slight indent. Then I used the bevel tool to round off the top and the indent to get rid of the sharp edges.
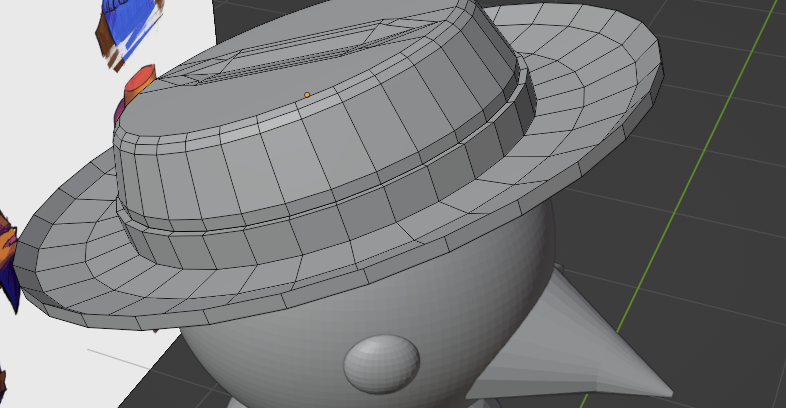
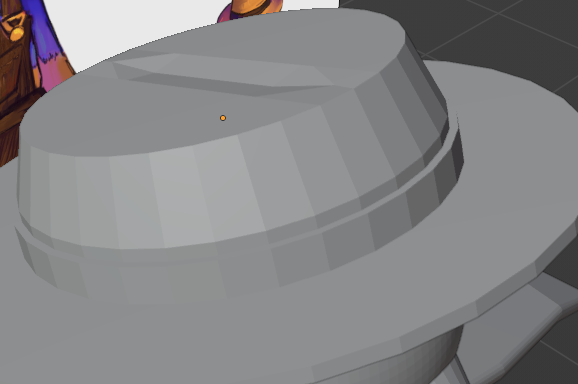
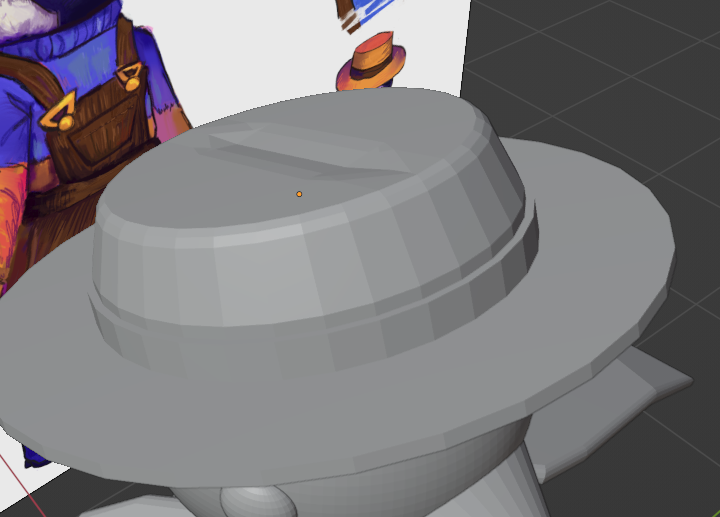
I used the loop cut to create a slight upwards curve on the hat to match the rim of her sun hat.
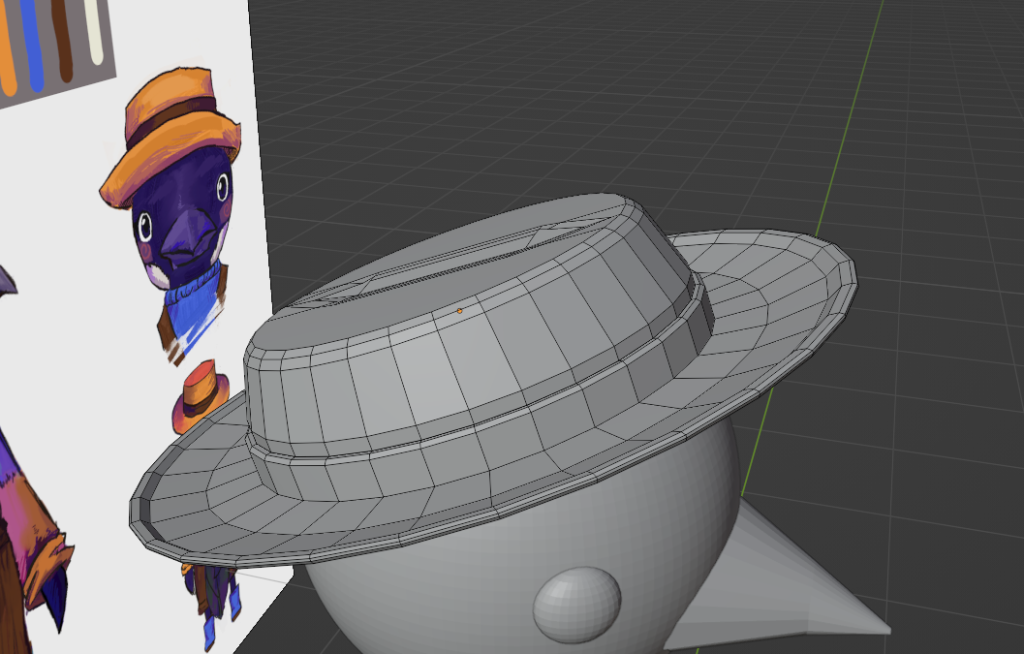
I then used the bevel tools on the rim and the top of the ribbon to round everything off as I wanted the hat to be soft shapes for the most part.
Now for the sculpting of the body,
I knew I didn’t need to do too much sculpting as a lot of it would be under her dungarees and jumper, so it was mostly on the head area.
At the start I couldn’t sculpt the head object but then realised I hadn’t applied the subdivision modifier and that was the issue.
Also this time I worked out how to apply symmetry so it went better than version 1 of the model.
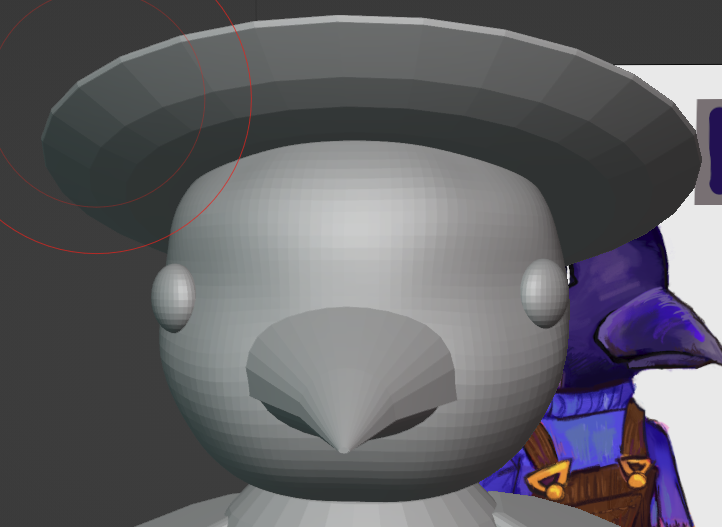
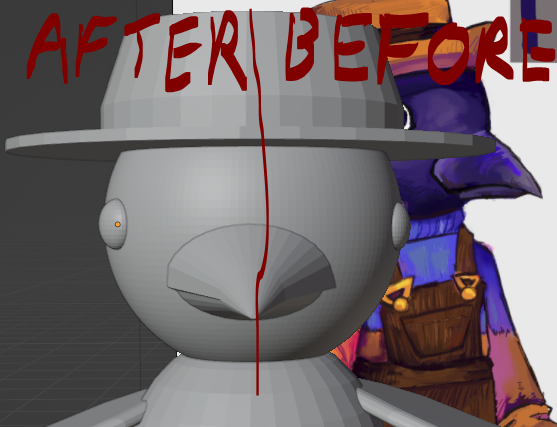
I started by adding some roundness to the cheeks for the cuteness factor as well as changing the shape of her head slightly to match the art.
I also added a slight hint of a brow bone because of the anthropomorphism so if she were animated she could do expressions.
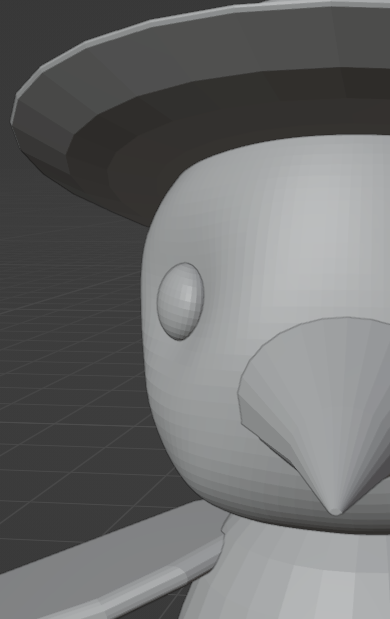
I then did some adjustments until I was happy. After I was done I moved the eyes back into place.
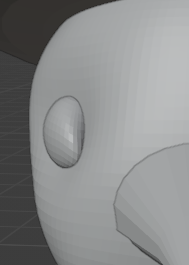

I then adjusted the eye shape so it was still rounded but had some more structure to it.
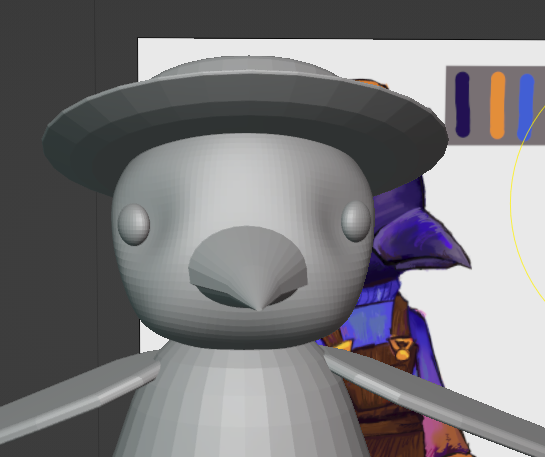
So back to the head, I now needed to add the ‘lashes’ in.
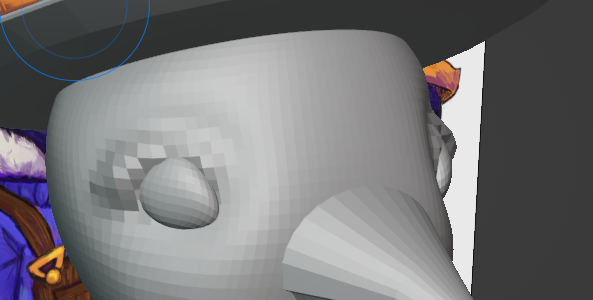
At first it was quite alarming because I hadn’t subdivided enough so it didn’t have enough polygons to show the detail.

She looked a bit too like a sassy supermodel bird so I need to scale it back to country bumpkin bird eyes.
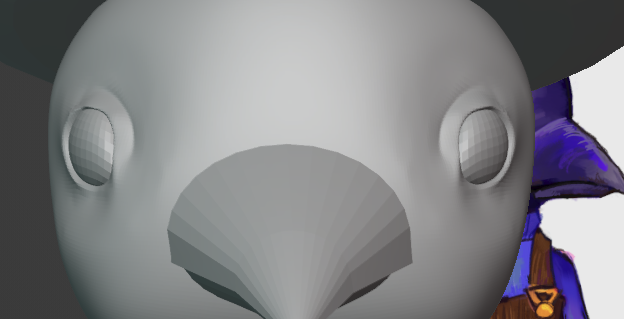
I managed to round it off and make it look a bit mroe like actual magpie eyes.
I realised that it was looking more super model because of how high the eyelash trinagle was, it looked like eyeliner. I wanted it to look more like the art.
The slightly lower and more down turned triangles and extra roundness made the eyes look really good!
Next was the beak.
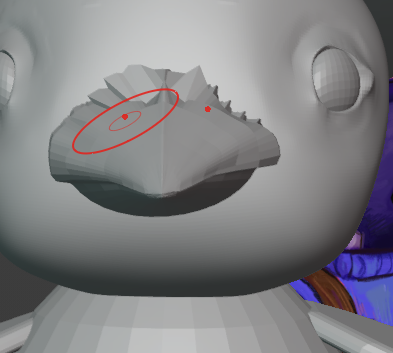
I wanted to make the shape of it match the art a bit better, but for some reason it went all crackly and sharp.
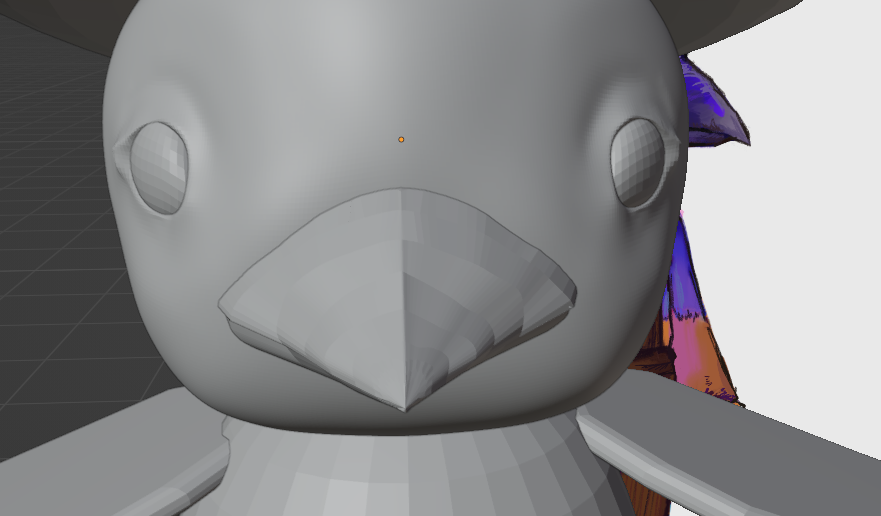
Luckily with some patience, the smoothing tool and the grab tool I fixed it after a long battle.
Now the head was about done.
Time for clothes.
I duplicated the body and wings and joined them together with the Boolean modifer.
I then cut off the tips of the wings, and made a hole in the bottom and top so the jumper would have sleeves, a bottom hem and a head hole.
For some reason scaling didn’t work on making the jumper fit so I used extrusion and the grab tool in sculpting.
That worked so I started on the dungarees
I duplicated the body and legs and used the Boolean modifier to put them together as one object.
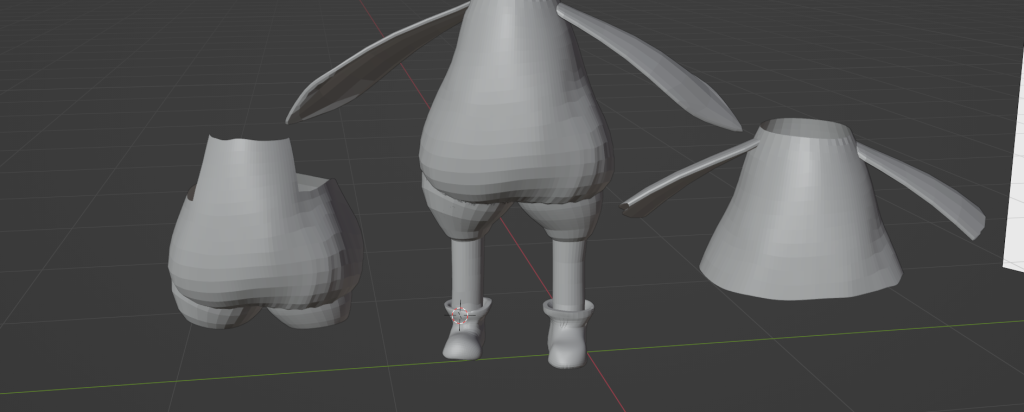
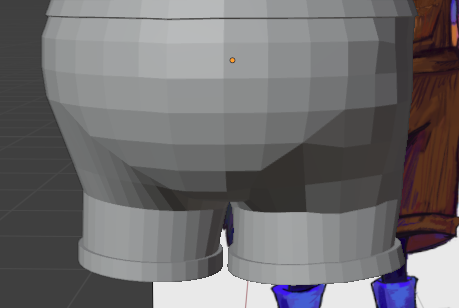
I deleted the faces I wouldn’t need. (I accidentally modeled the shorts leg before taking the first screenshot, oops)
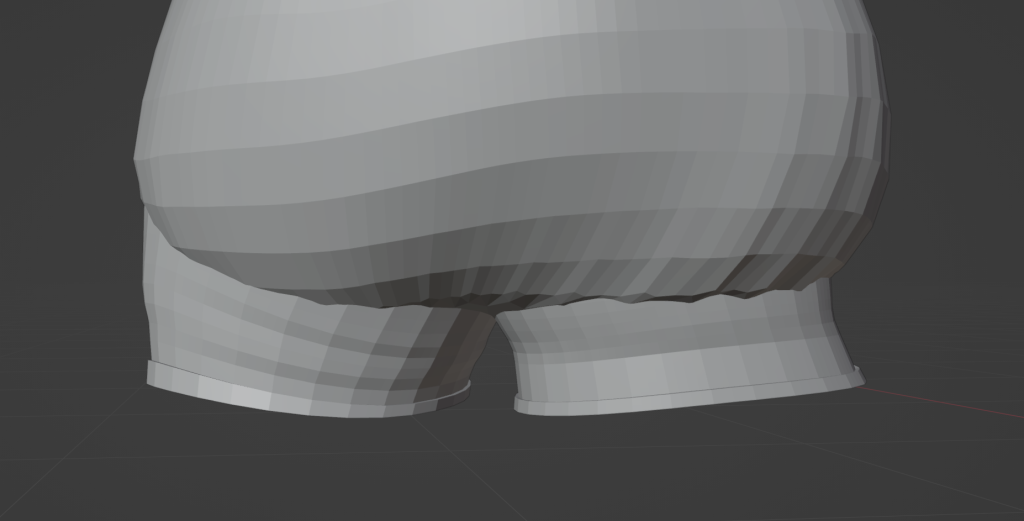
I started by widening out the bottom of the legs, to its like a straight trouser shorts leg.
One thing that saved a lot of time is:
I worked out that I can loop select edges around the circumference but not the faces, which is what I was trying to do on these dungarees before, so luckily this made selection a lot faster, Hooray!!
I dissolved the loop selections to make it straighter/because I didn’t need them. I also extruded the bottom and then extruded it out to make cuffs.
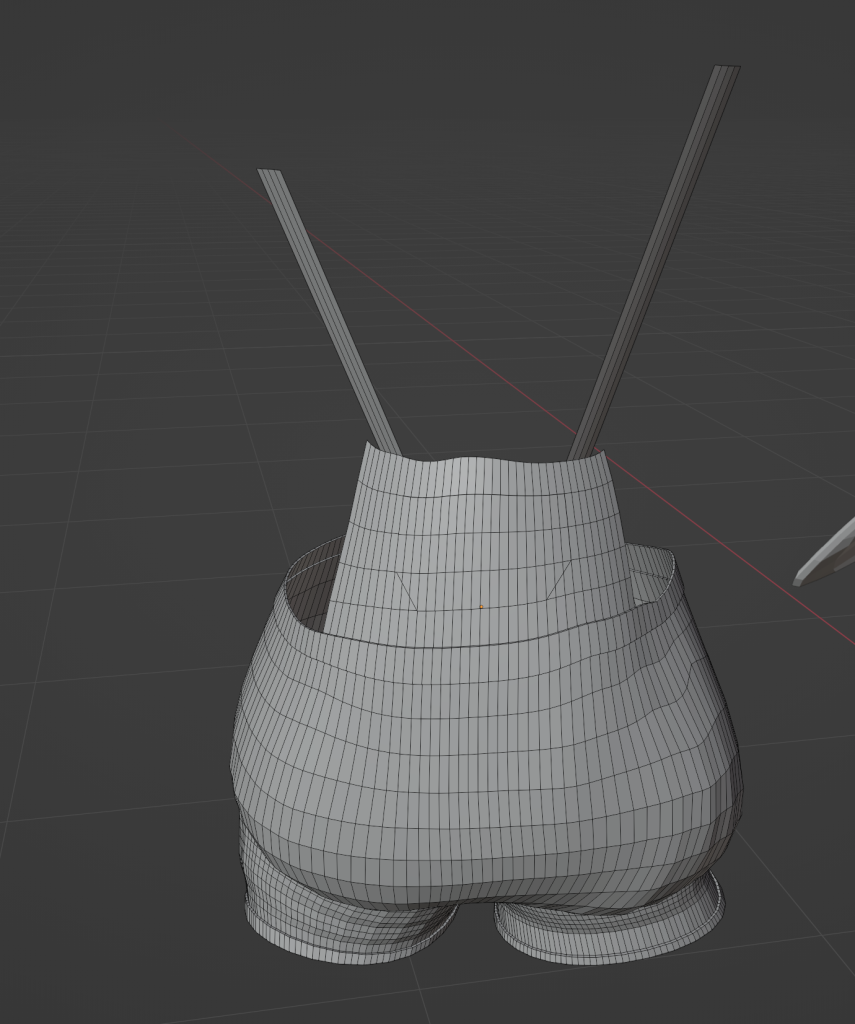
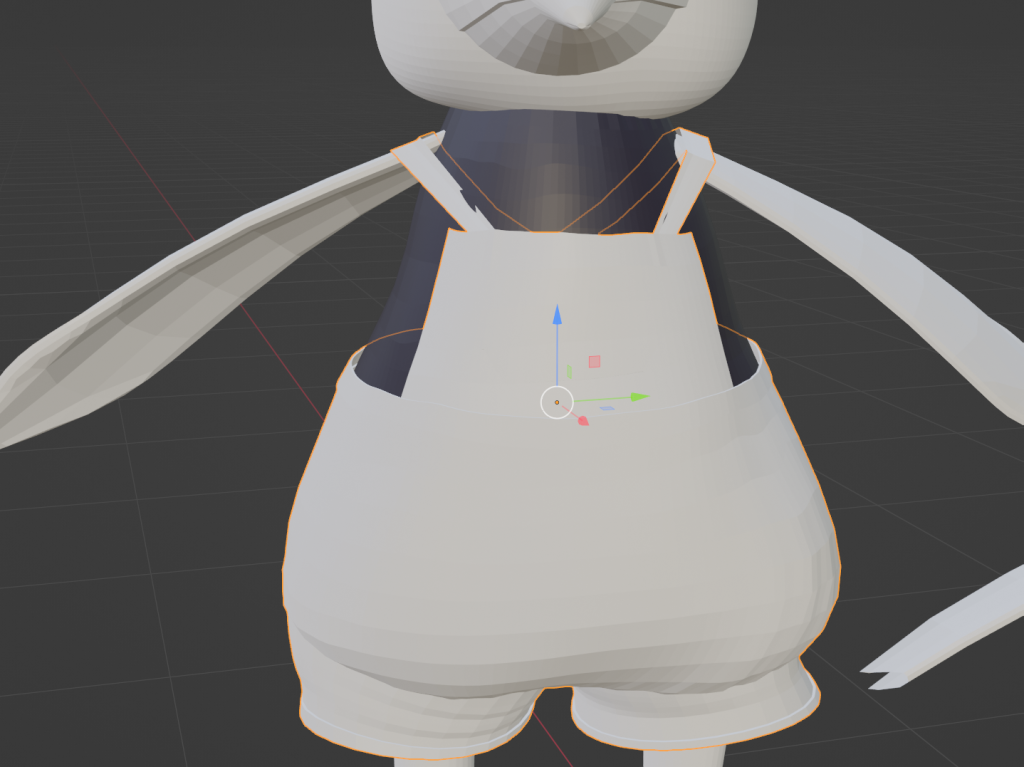
I then added a chest pocket and the start of straps.
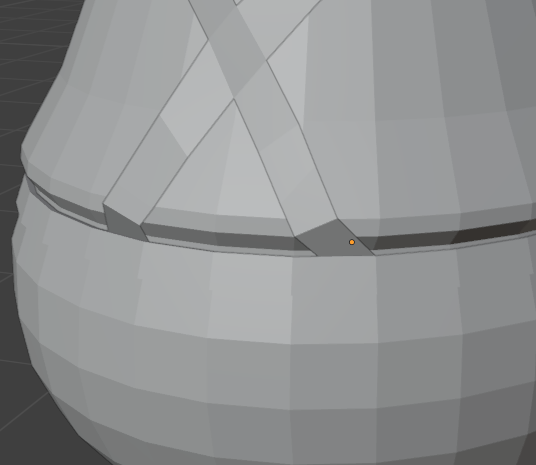
I fitted the dungarees around Pia’s body.
Now I did the straps, much the same technique as the first time, but I extruded for long regions and then added loop cuts and rotated them, and it was a lot faster.
I would then use the bridge tool to connect.
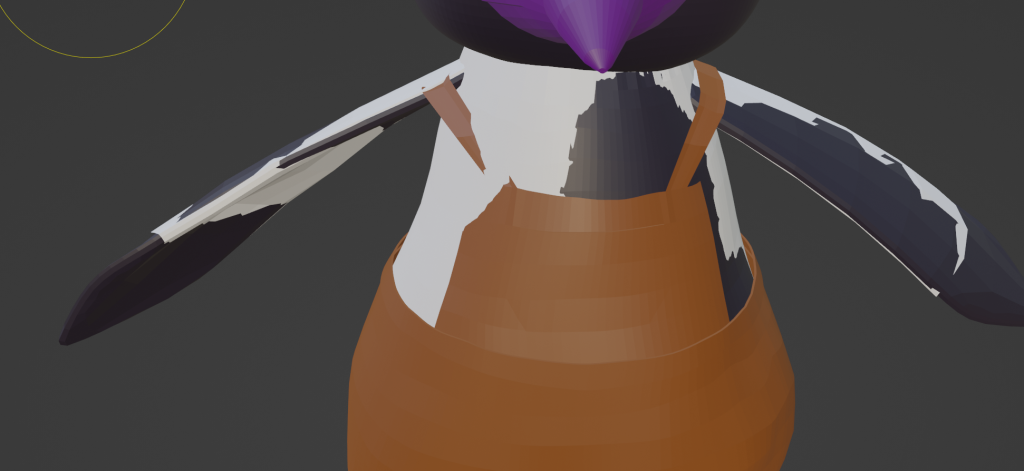
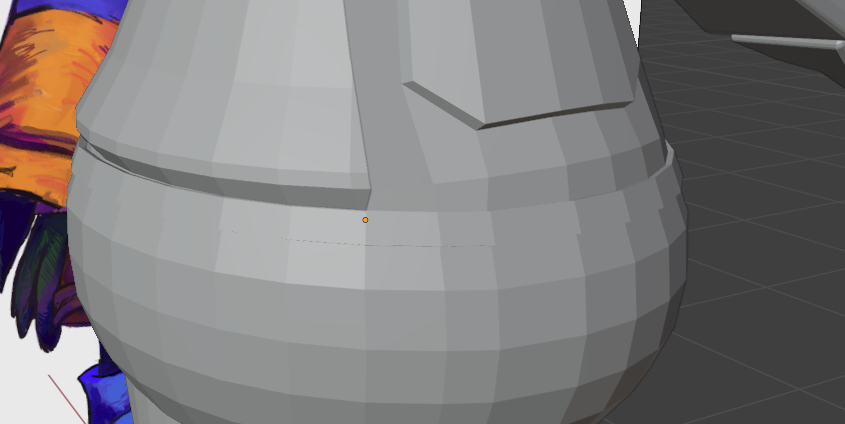
As I thought I could move onto sculpting… it appeared the front of the dungarees was lopsided.
I did a quick fix.
Now I can do sculpting!
After subdividing so I could add detail, I made the bottom of the sleeves all wrinkled.
I added more volume to the rest of the sleeve.
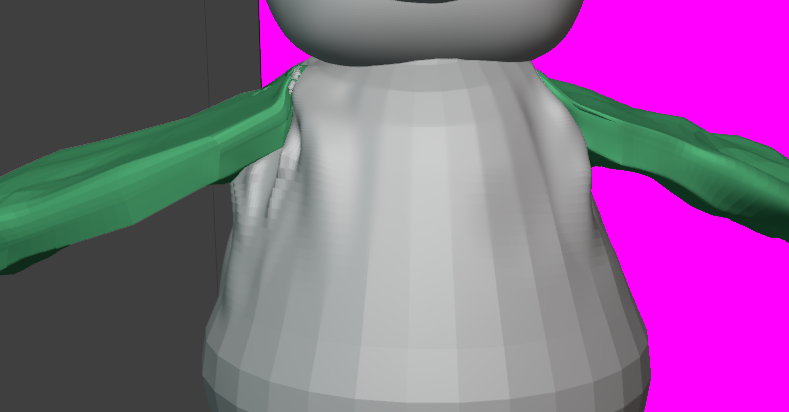
I started adding some volume around the armpits and shoulder.
At this point is was looking very weird so I decided I would see if I liked it after I did everything else, and then adjust if not.
After adding in some creased around the waist it looked better.
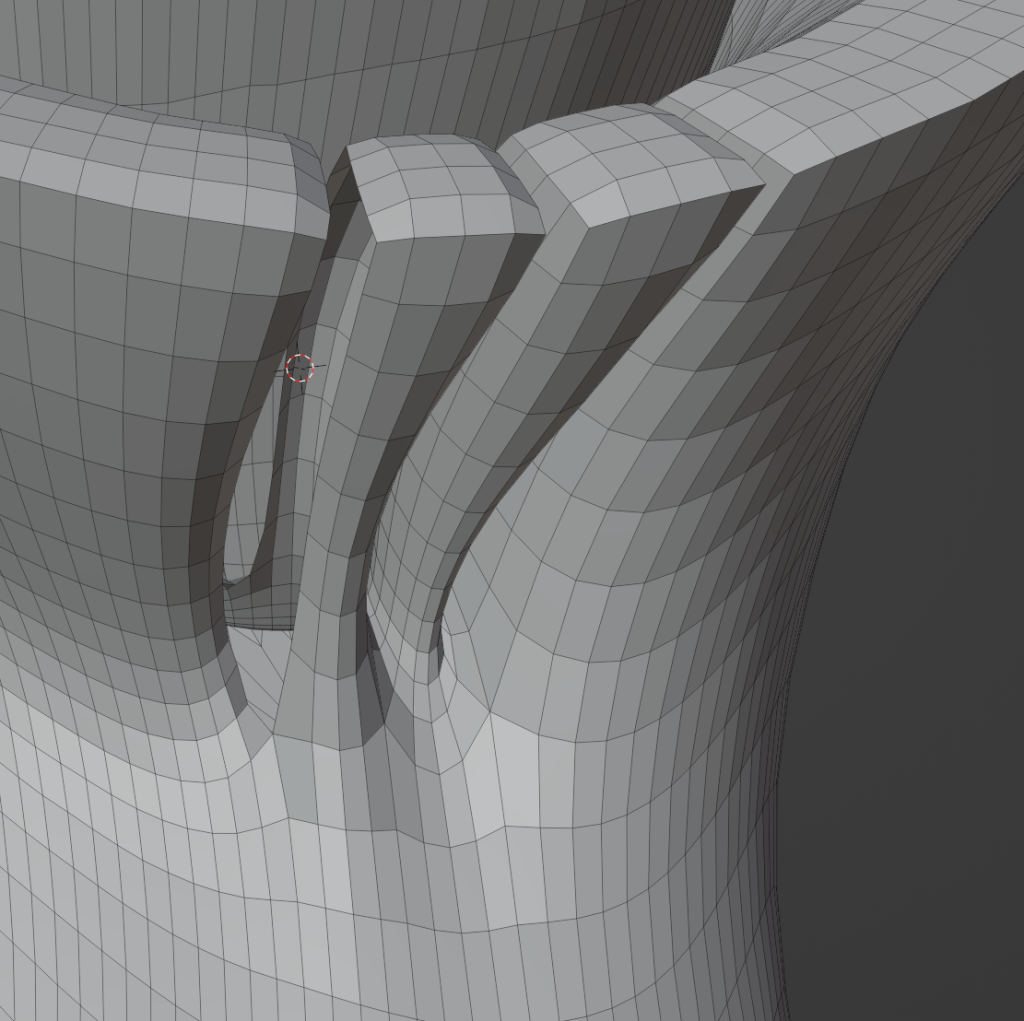
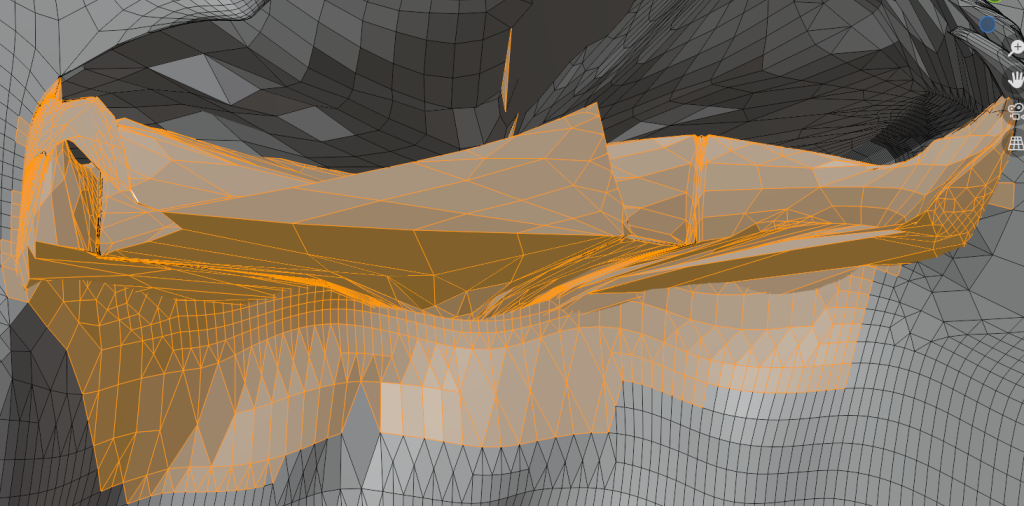
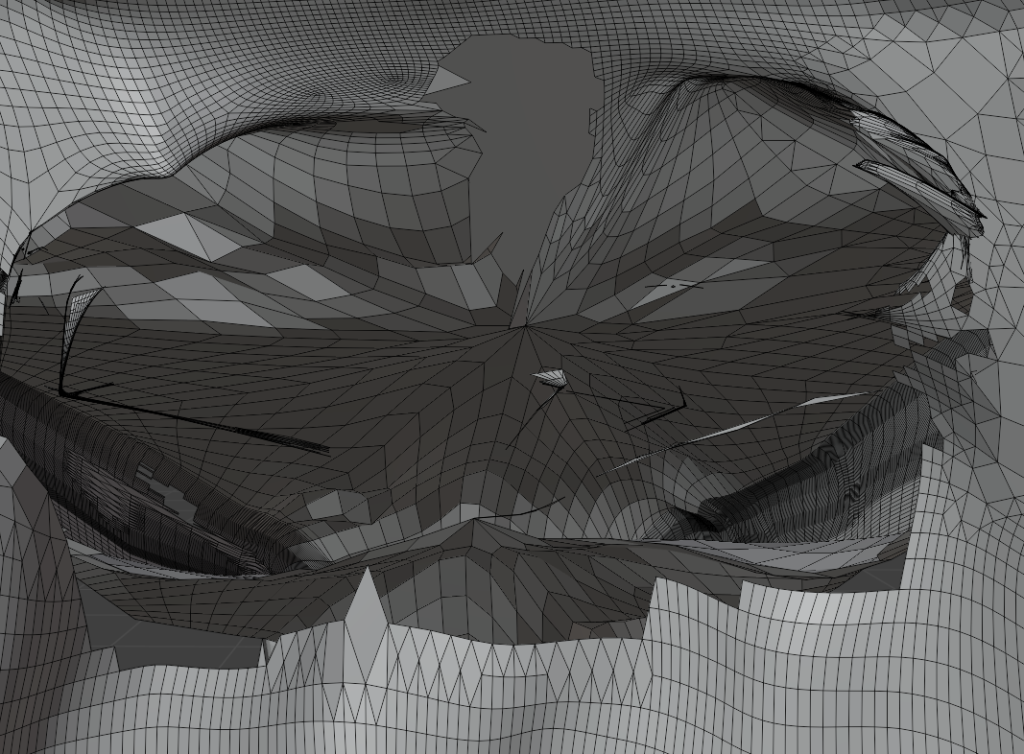
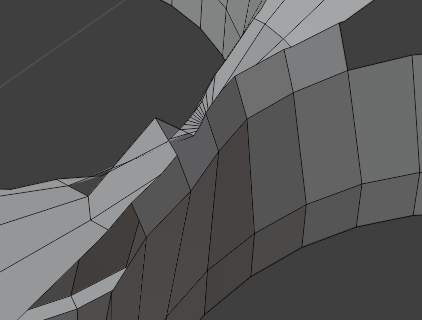
Unfortunately at this point I noticed the mesh got real messed up:
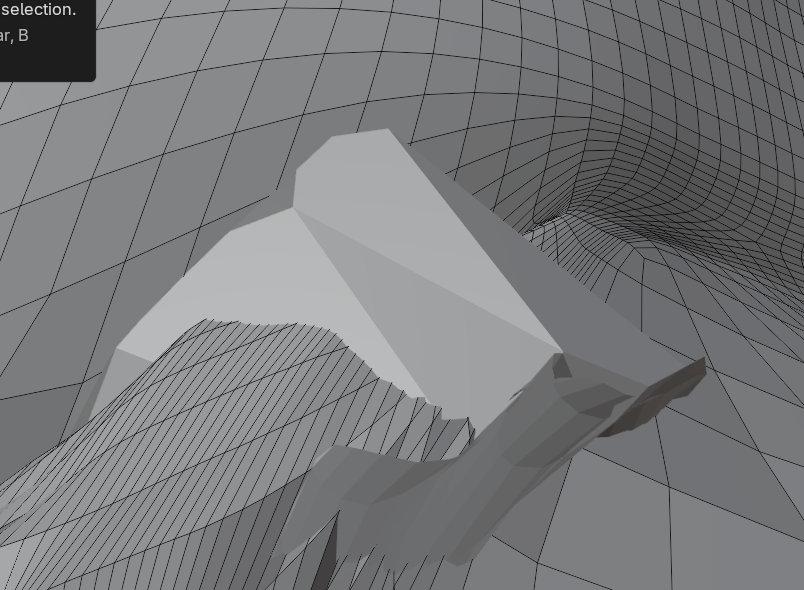
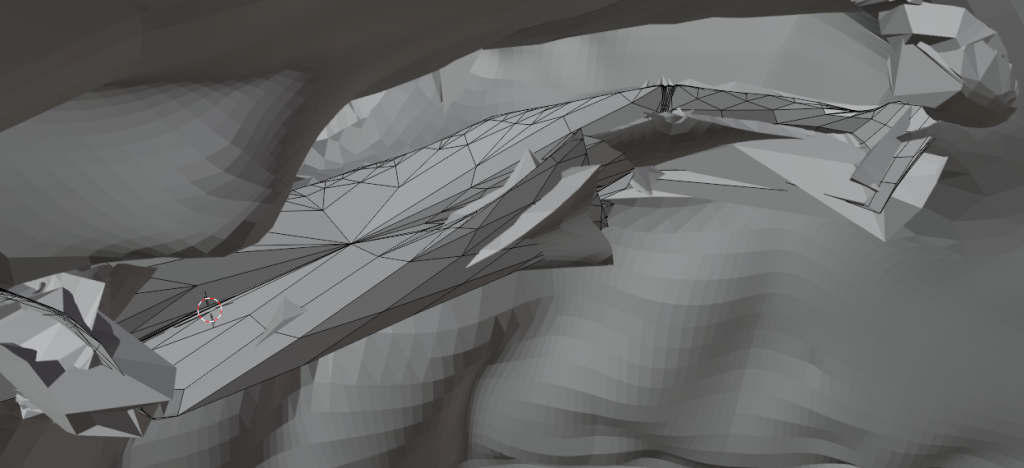
It seemed to be around the joints, where the objects were ‘booleaned’ together. It seemed to have happened when the object got subdivided or from sculpting.
It was fixed by annoying hours of Subdividing and deleting faces and then bridging them up.
Which took… 6 hours, and I wasn’t even finished.
So I adapt. (badly)
By deleting the jumper.
Thats about 20 hours of work lost or deleted but we vibe.
So because the issue was from the method of creating a new object and joining everything together, I decided to just edit things onto the Body and wing models themselves.
It works for the purposes needed, and should be faster…!
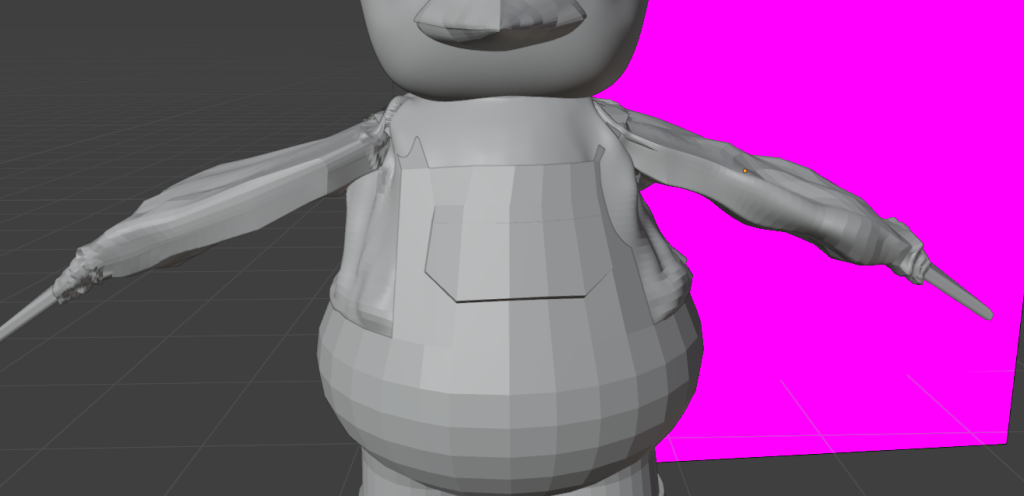
Using scaling, moving, extrusion, the knife tool and beveling:
I created a cuff and bottom of the sleeve.
Then I repeated it on the other sleeve.
Using loop cuts and scaling I made a basic effect of the jumper being tucked into the dungarees.
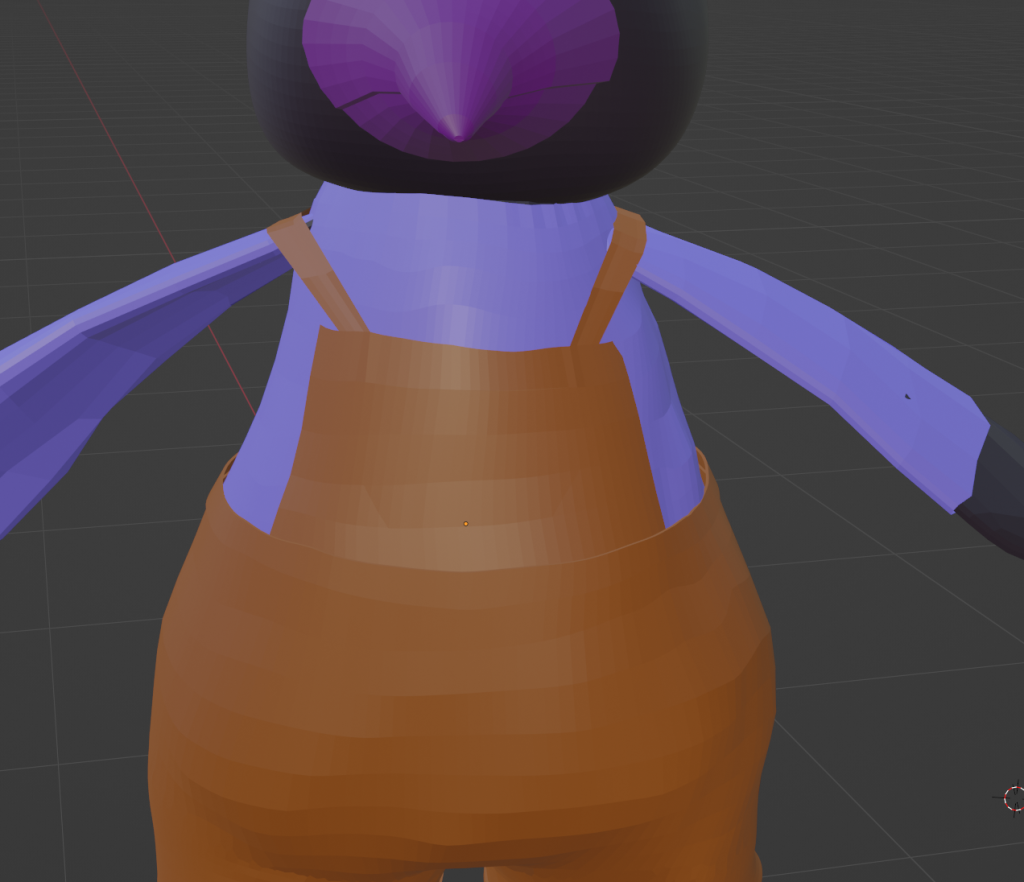
Next I adjusted the dungarees so they weren’t clipping as much.
I was going to try and make the hip area of the dungarees less awkward.
But:
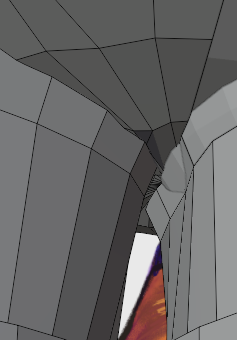
I kind of realised the crotch area of the dungarees were a bit of a mess, probably because of the boolean modifer, Luckily it was only a small area,
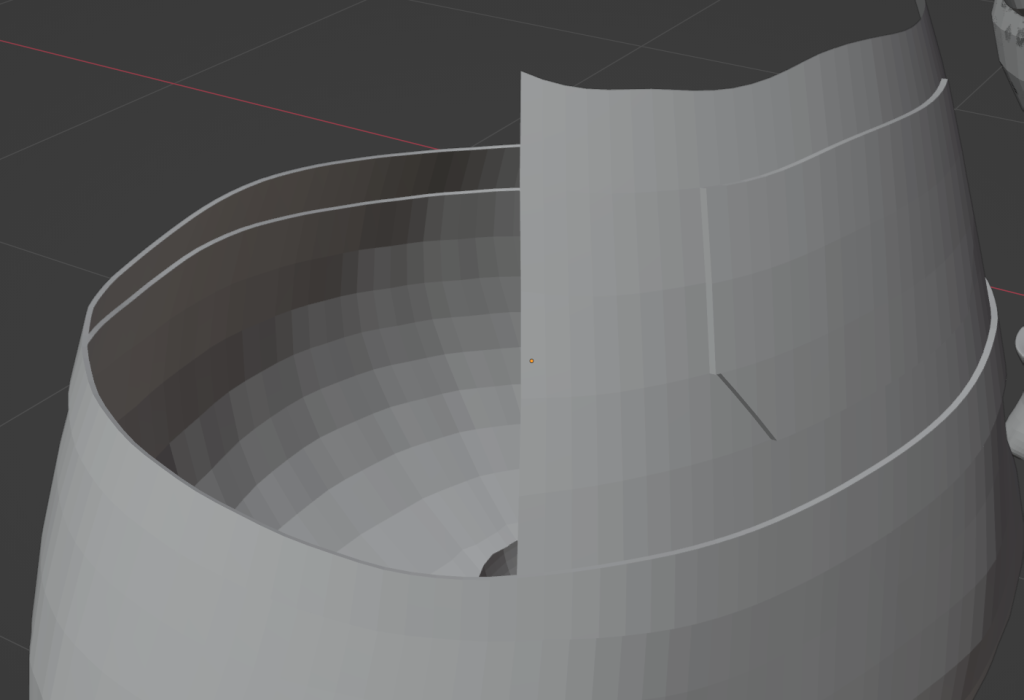
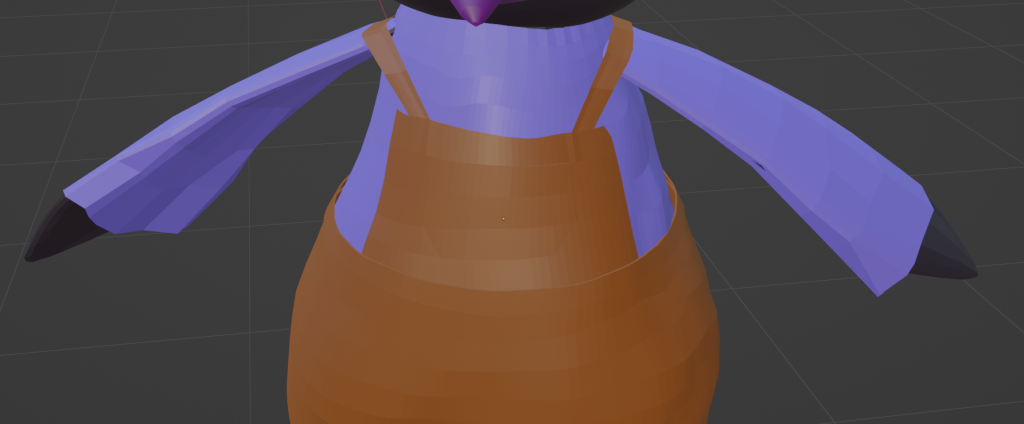
Thankfully my fix went well:
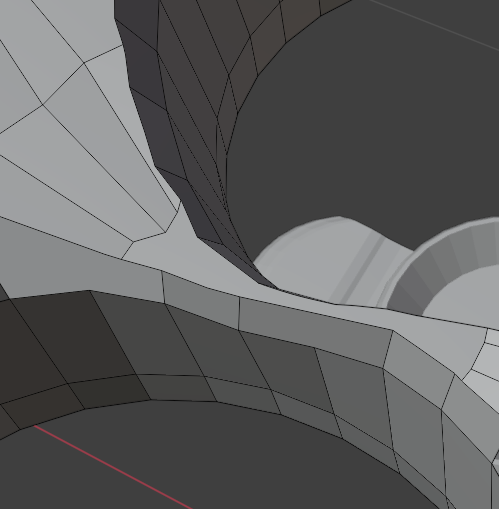
This time successfully, I deleted the deformed faces, then created a new, simple face.
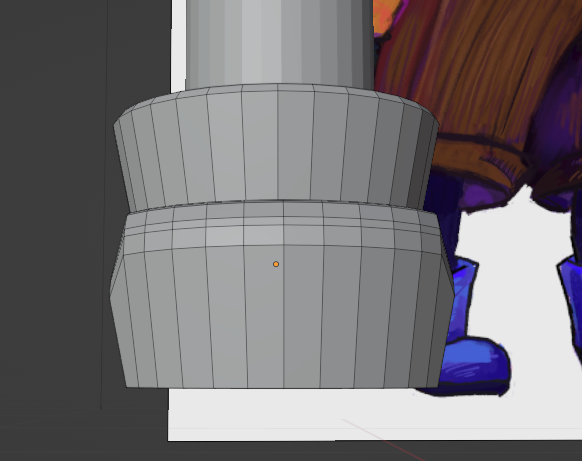
Moving on to
the shorts.
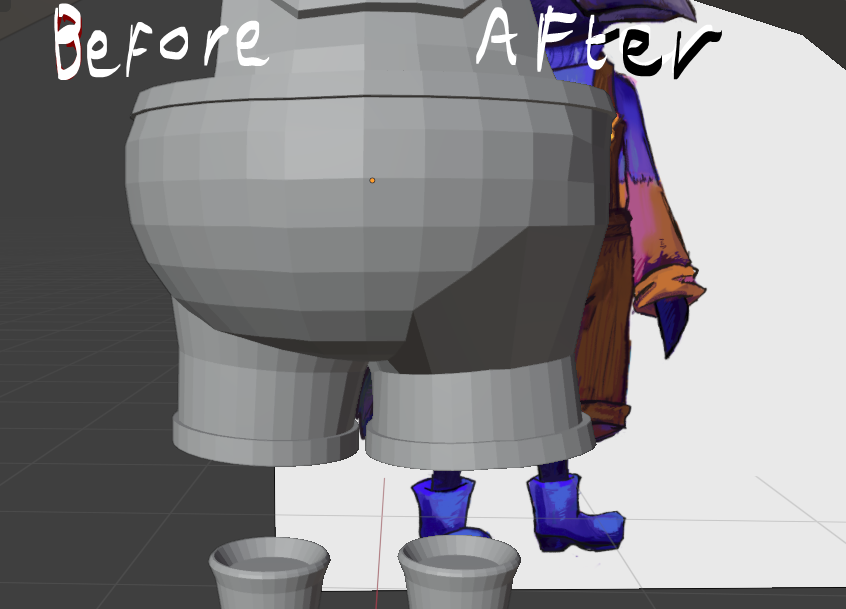
So on the model it was curving with her body a lot, but on the concept art it was more of a straight line. The fastest way to sort this, I figured, was deleting the faces and then just bridging them and it worked! I did have to add some extra edges to somewhat follow the curves around so it became a glitchy one plain mess.
I did it on both sides.
I subdevided, successfully, and started adding some details.
The main focus of these was to add some cloth like texture and to add some other details. I want to get across the sort of foresty cute vibe that Pia has so these little details can help.
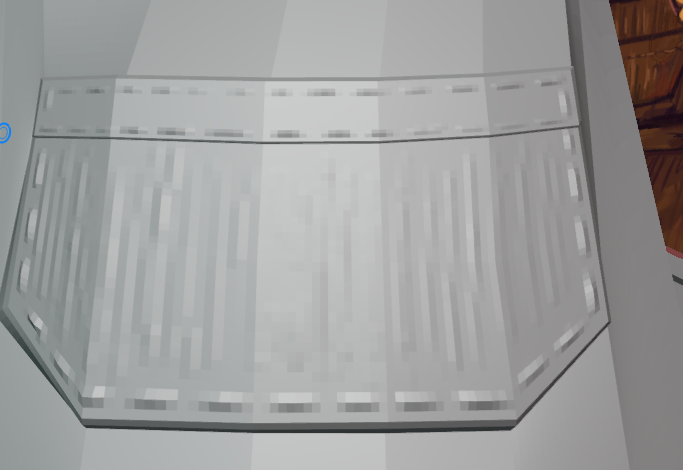
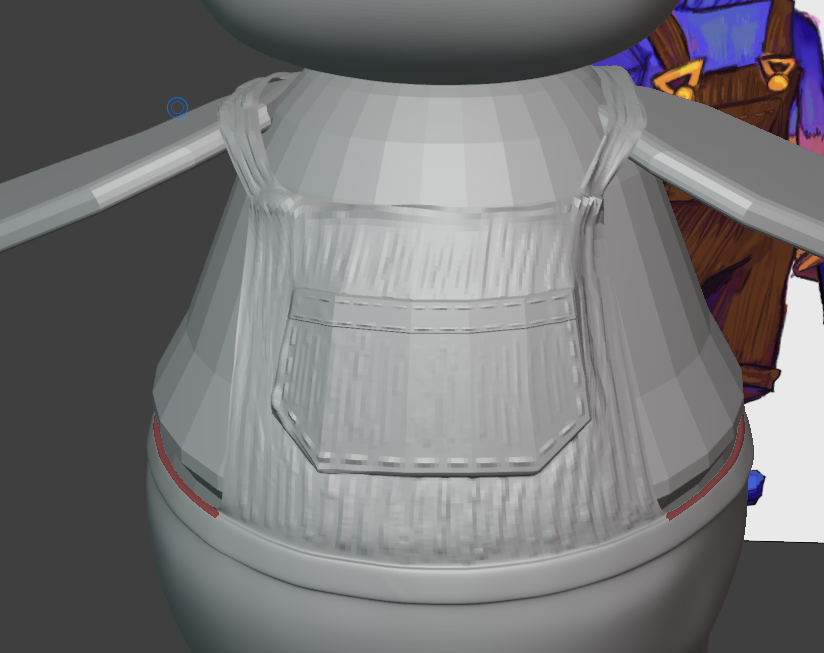
First I added some details to the pocket, to make it look stitched and like it was made of corduroy.
I then smoothed everything out and added a line at the top of the chest bib to make it distinct from the straps
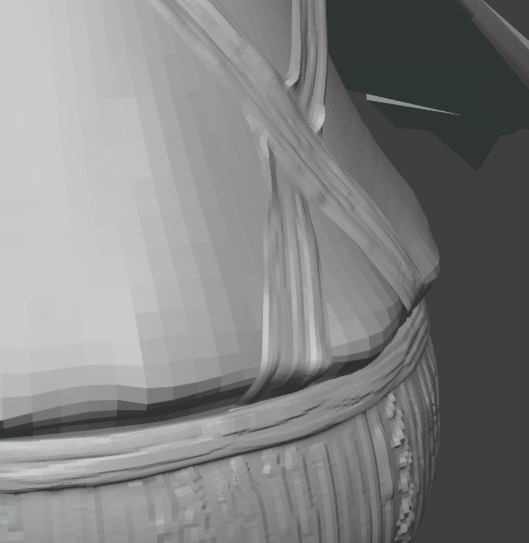
I then did the straps
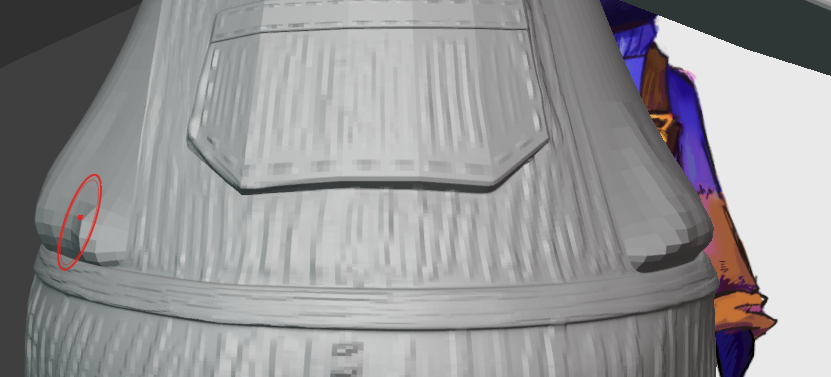
I gave some shape to the the straps, where they flare up at the sides.
I’ve had dungarees do this when you twist them or don’t iron them, which I feel like Pia doesn’t have the time to iron as she’s working for the bakery and doing crimes.
I added more corduroy texture.

I then did that to the rest. I primarily used Blender’s Draw dress for the stitches and seams, and the “Clay stripes” for the corduroy texture.
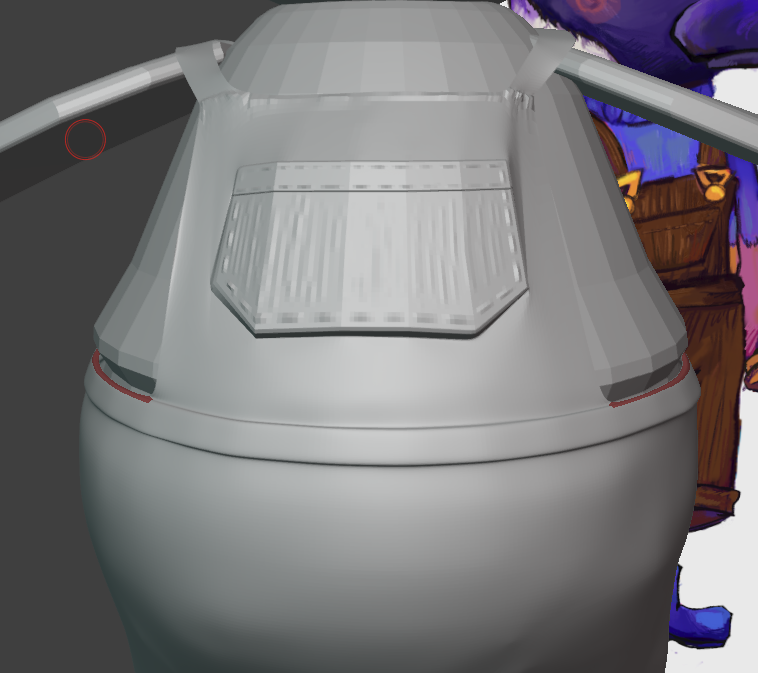
Next I did the body of the jumper.
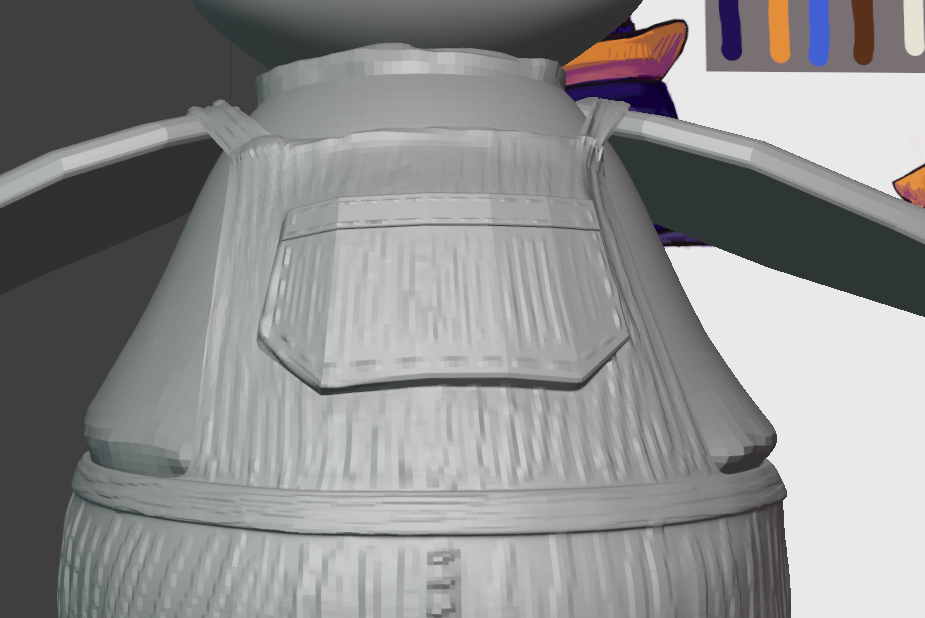
I started by rounding out the bottom tuck in bit and adding the collar area.
I made it a bit more bulbous and saggy like an old jumper and also made it poof out around more where it would be tightened.

I added some texture to the collar.
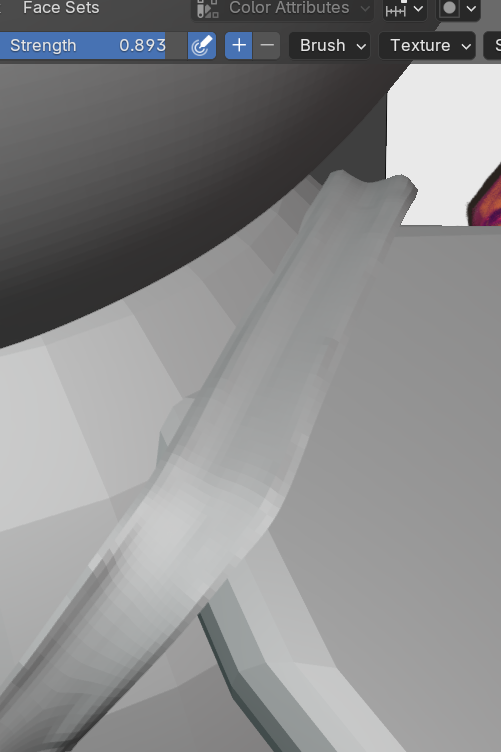
Now for the arms.
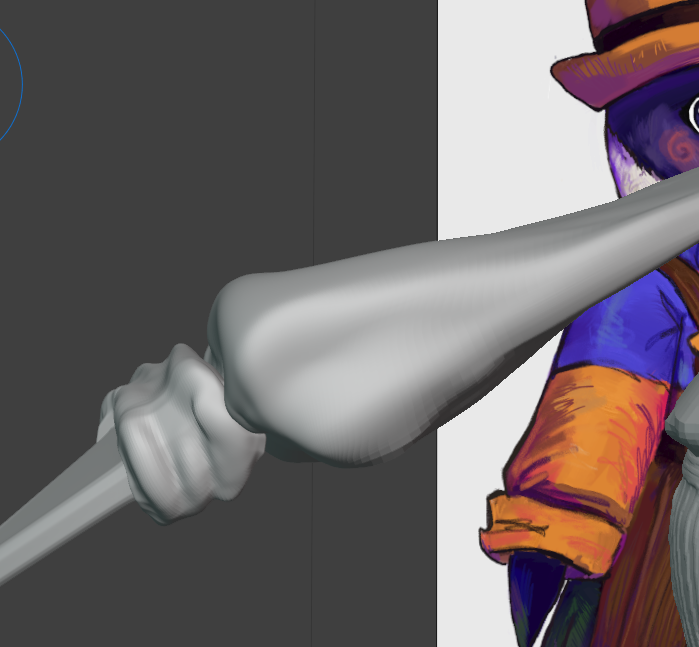
I then did the other arm.

My tactic for this was make big lump and then smooth out the lump.
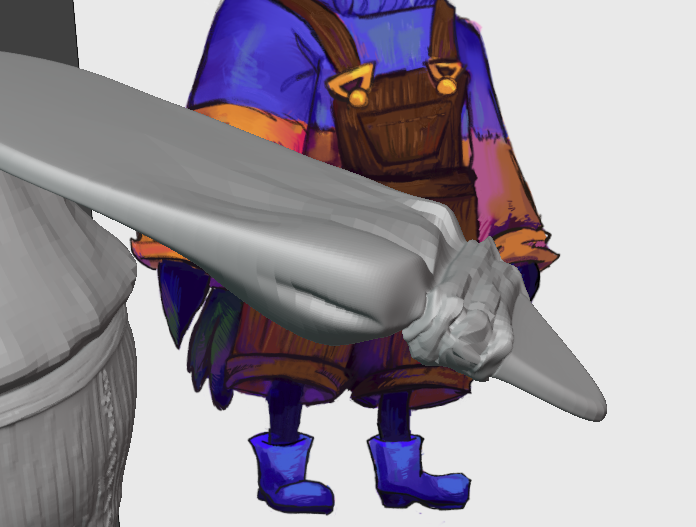
I got too this, which is good enough.
I did think about adding some defintion to the hands/feathers but it immdiately looked like a crab claw and I started giggling for several minutes and decided to not attempt again.
After adding some subdevision to the boots and hat, to smooth them out, I was done scuplting!! Time for the unwrapping. Oh noo….
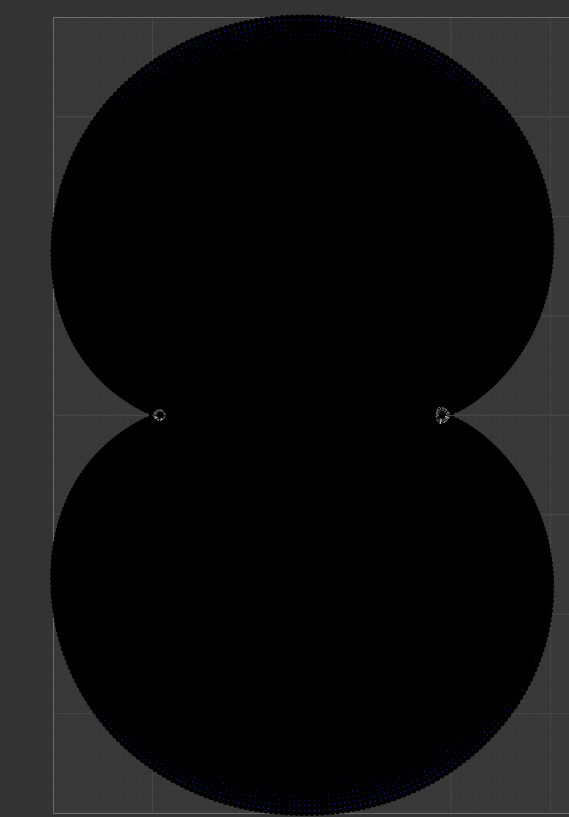
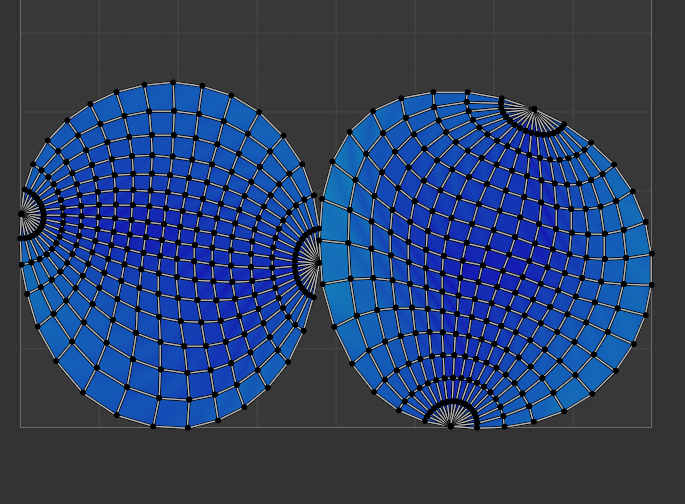
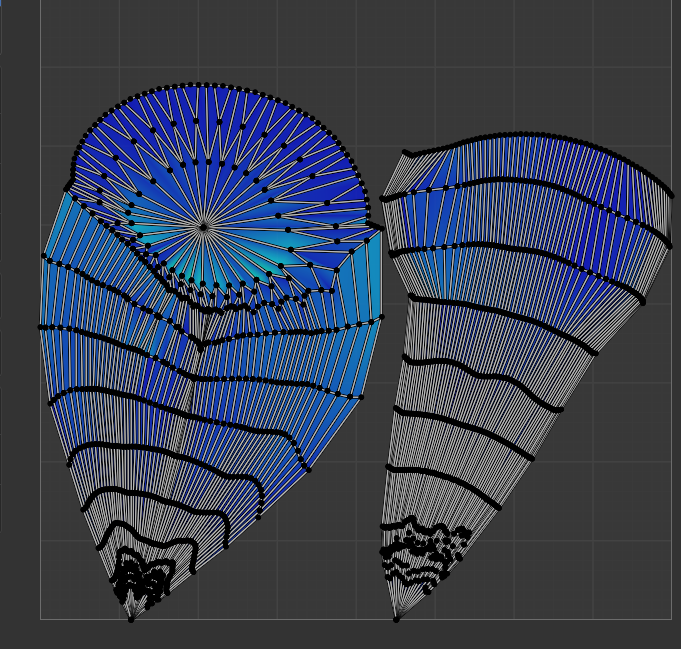
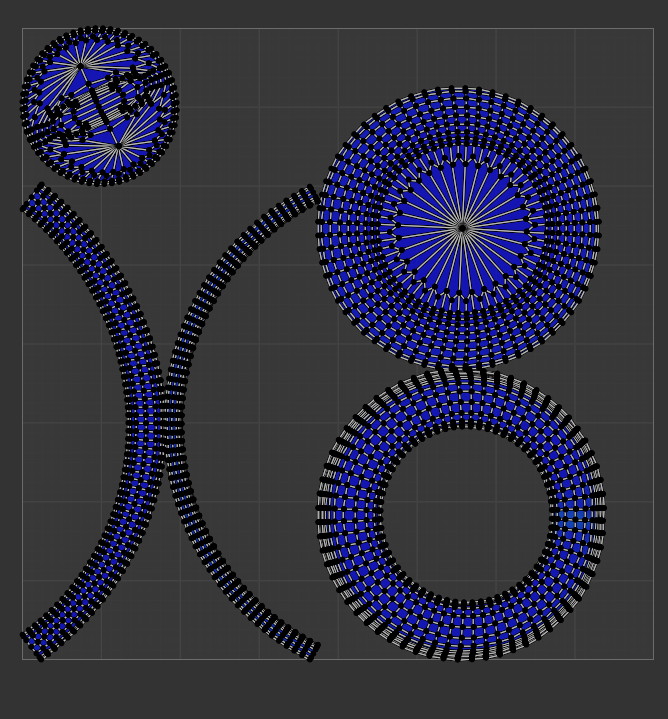
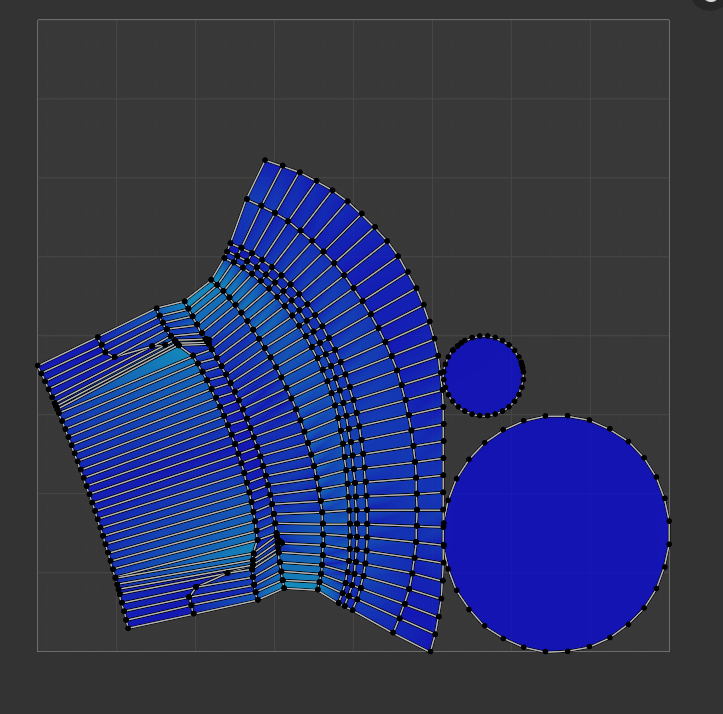
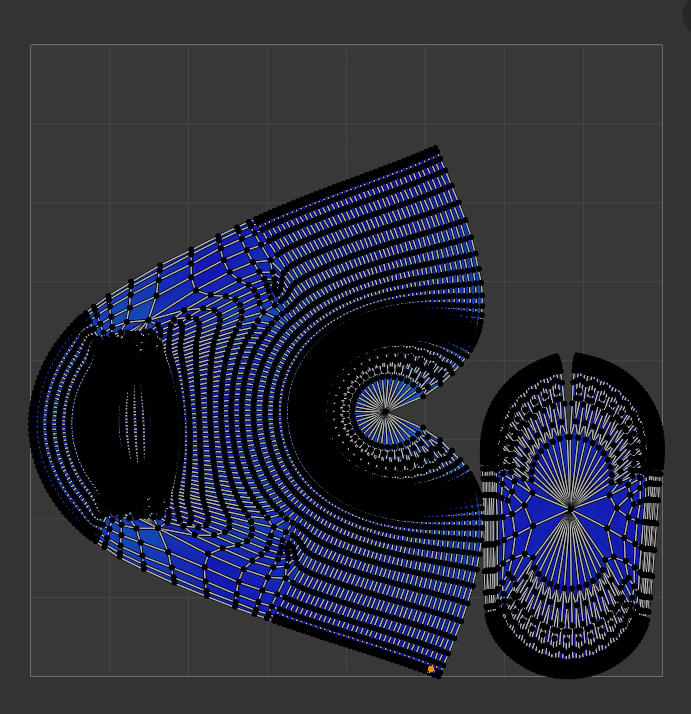
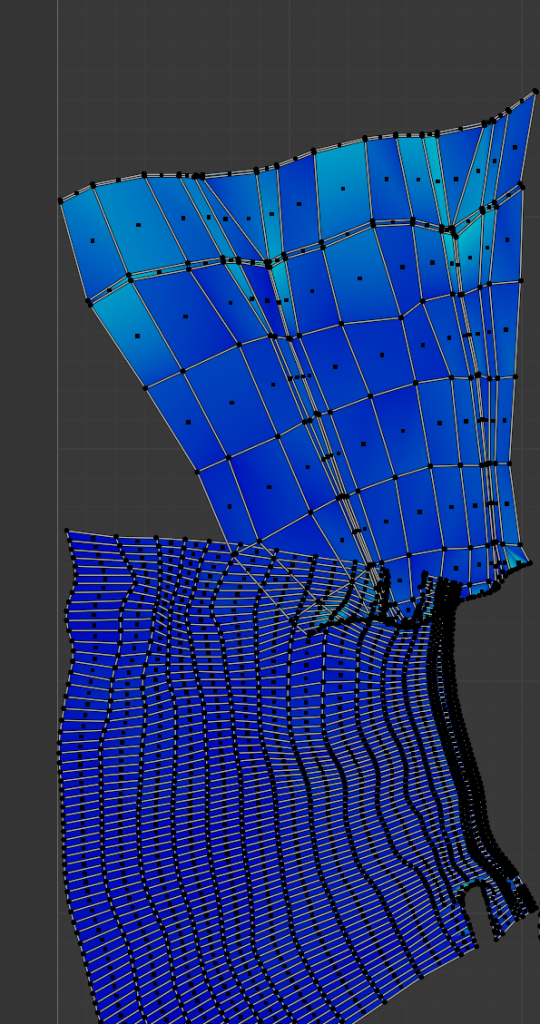
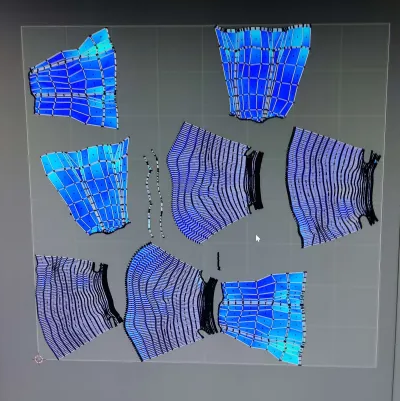
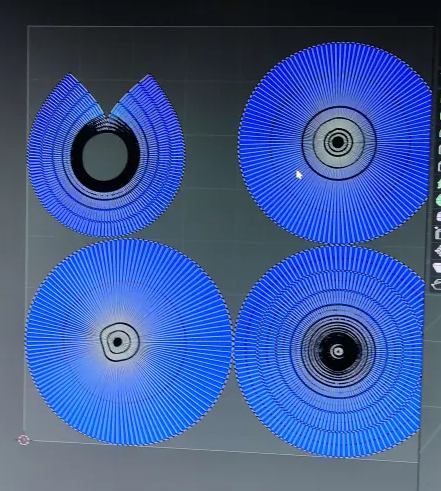
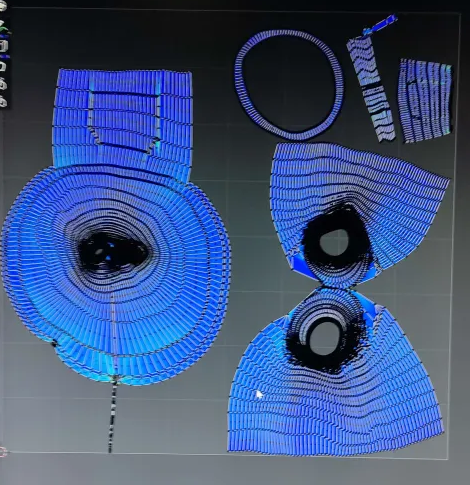
I did the unwrapping much the same as the first attempt, but it went a lot faster with knowledge and practice already done, and there was also a lot less dodgy/stretched areas in these unwraps.
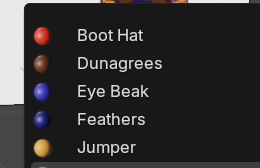
I seperated the parts into different materials
One by one I applied an image texture and painted over.
My main goal with each part was to add some fun texture, ala the concept art, but keep it mostly simple and cartoonish.
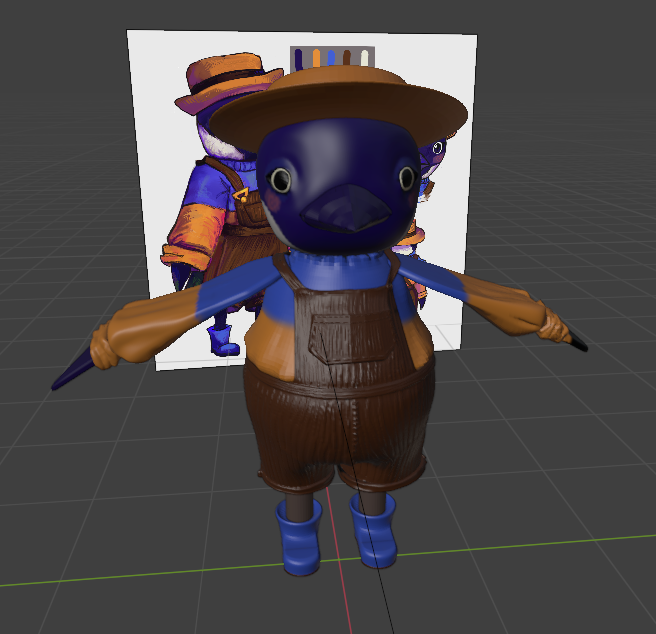
I started with some nice base colours, I colour dropped from the art.
It went very well.
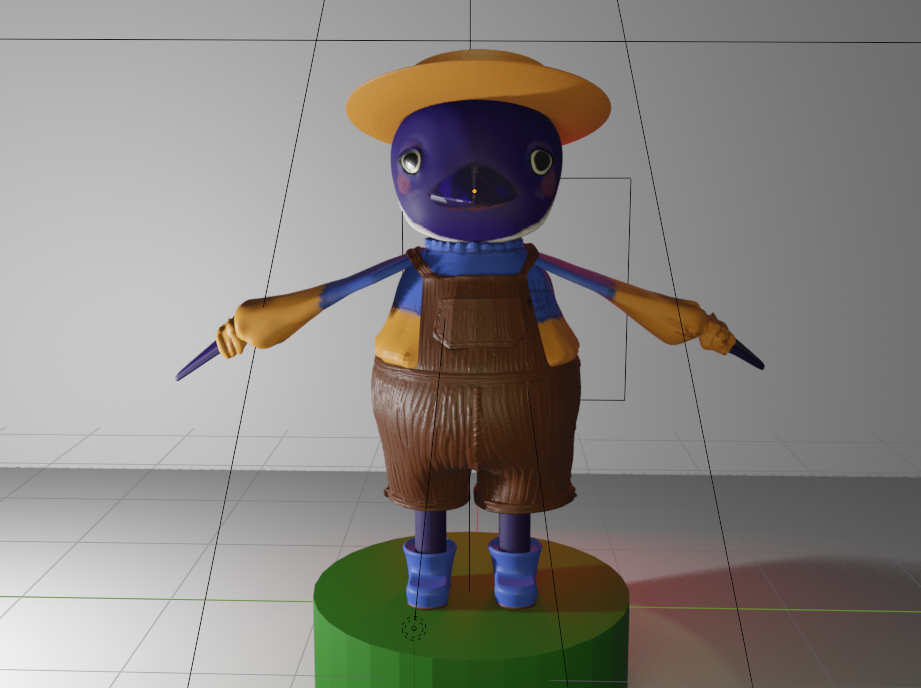
From there did some sketchie lines and added ‘blushies’ like in the art.
I wanted to do more but I was in a time crunch and also very very physically ill so I just wanted to finish the project to focus on recovering.
Leave a Reply